What’s Really(!) Been Cooking + Blueberry Muffins

When I last wrote, I was about 16 weeks pregnant and headed home to share the surprise with my family at the Thanksgiving table (and what a surprise it was!—they were elated of course). Up until that point, Suraj and I had only shared the news with a handful of people, as we really wanted to wait to go “public” until I had the chance to tell my family in person.

Now that I’m well into my second trimester and feeling great, here we are. I am due the beginning of May—just four months away! Eeek! My pregnancy has been wonderful so far and we both feel blessed that everything has gone so smoothly. It’s amazing to me how natural the process and changes have been, and how your body just knows what to do. And those baby kicks, oh, they are just the sweetest, aren’t they?

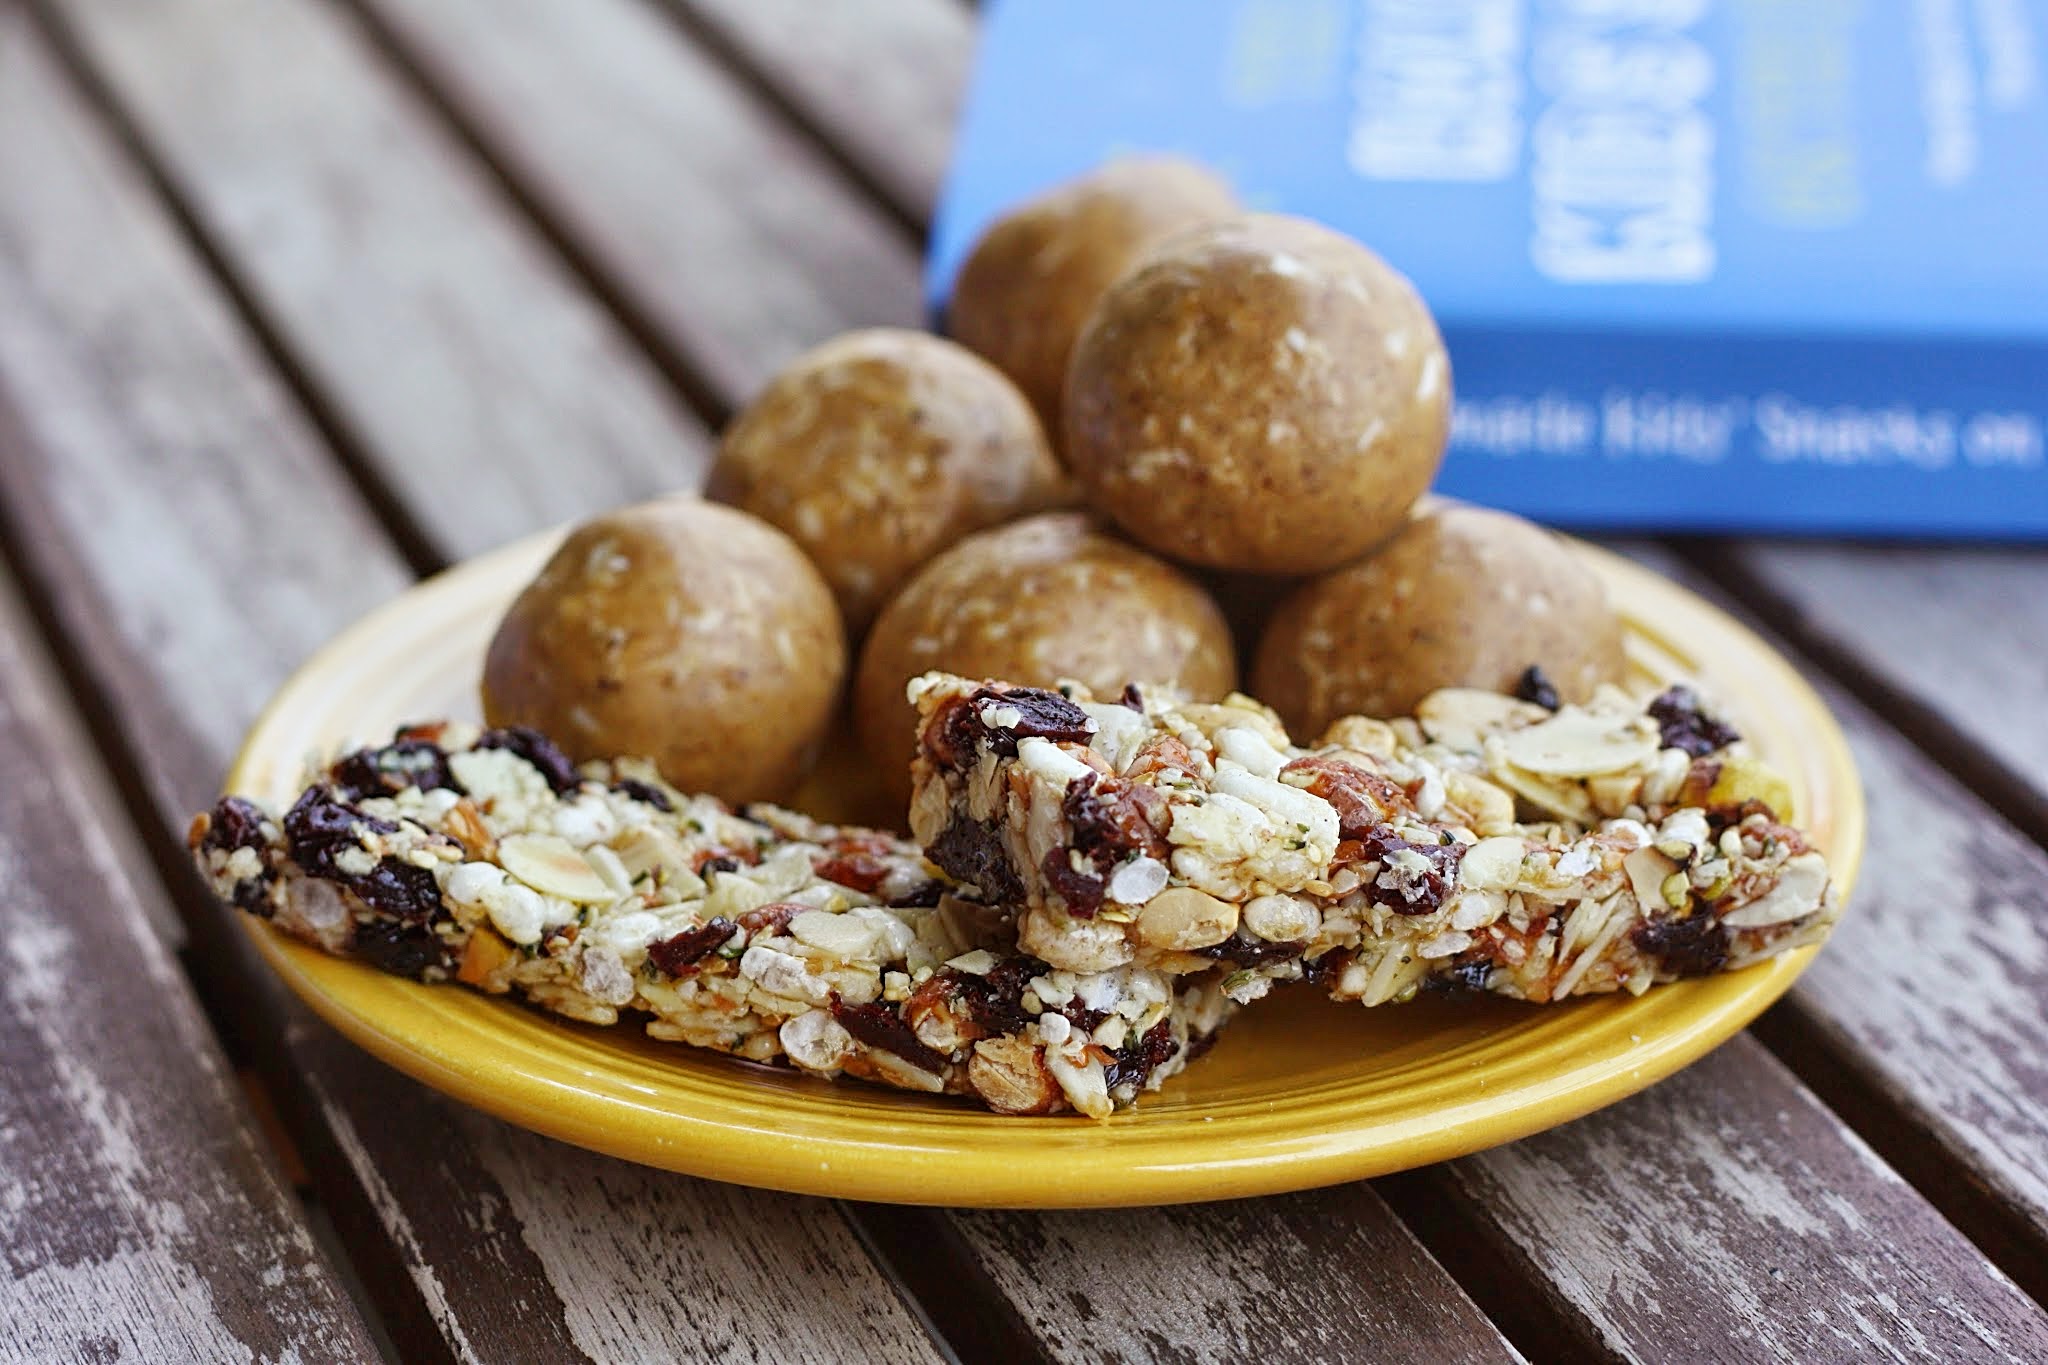
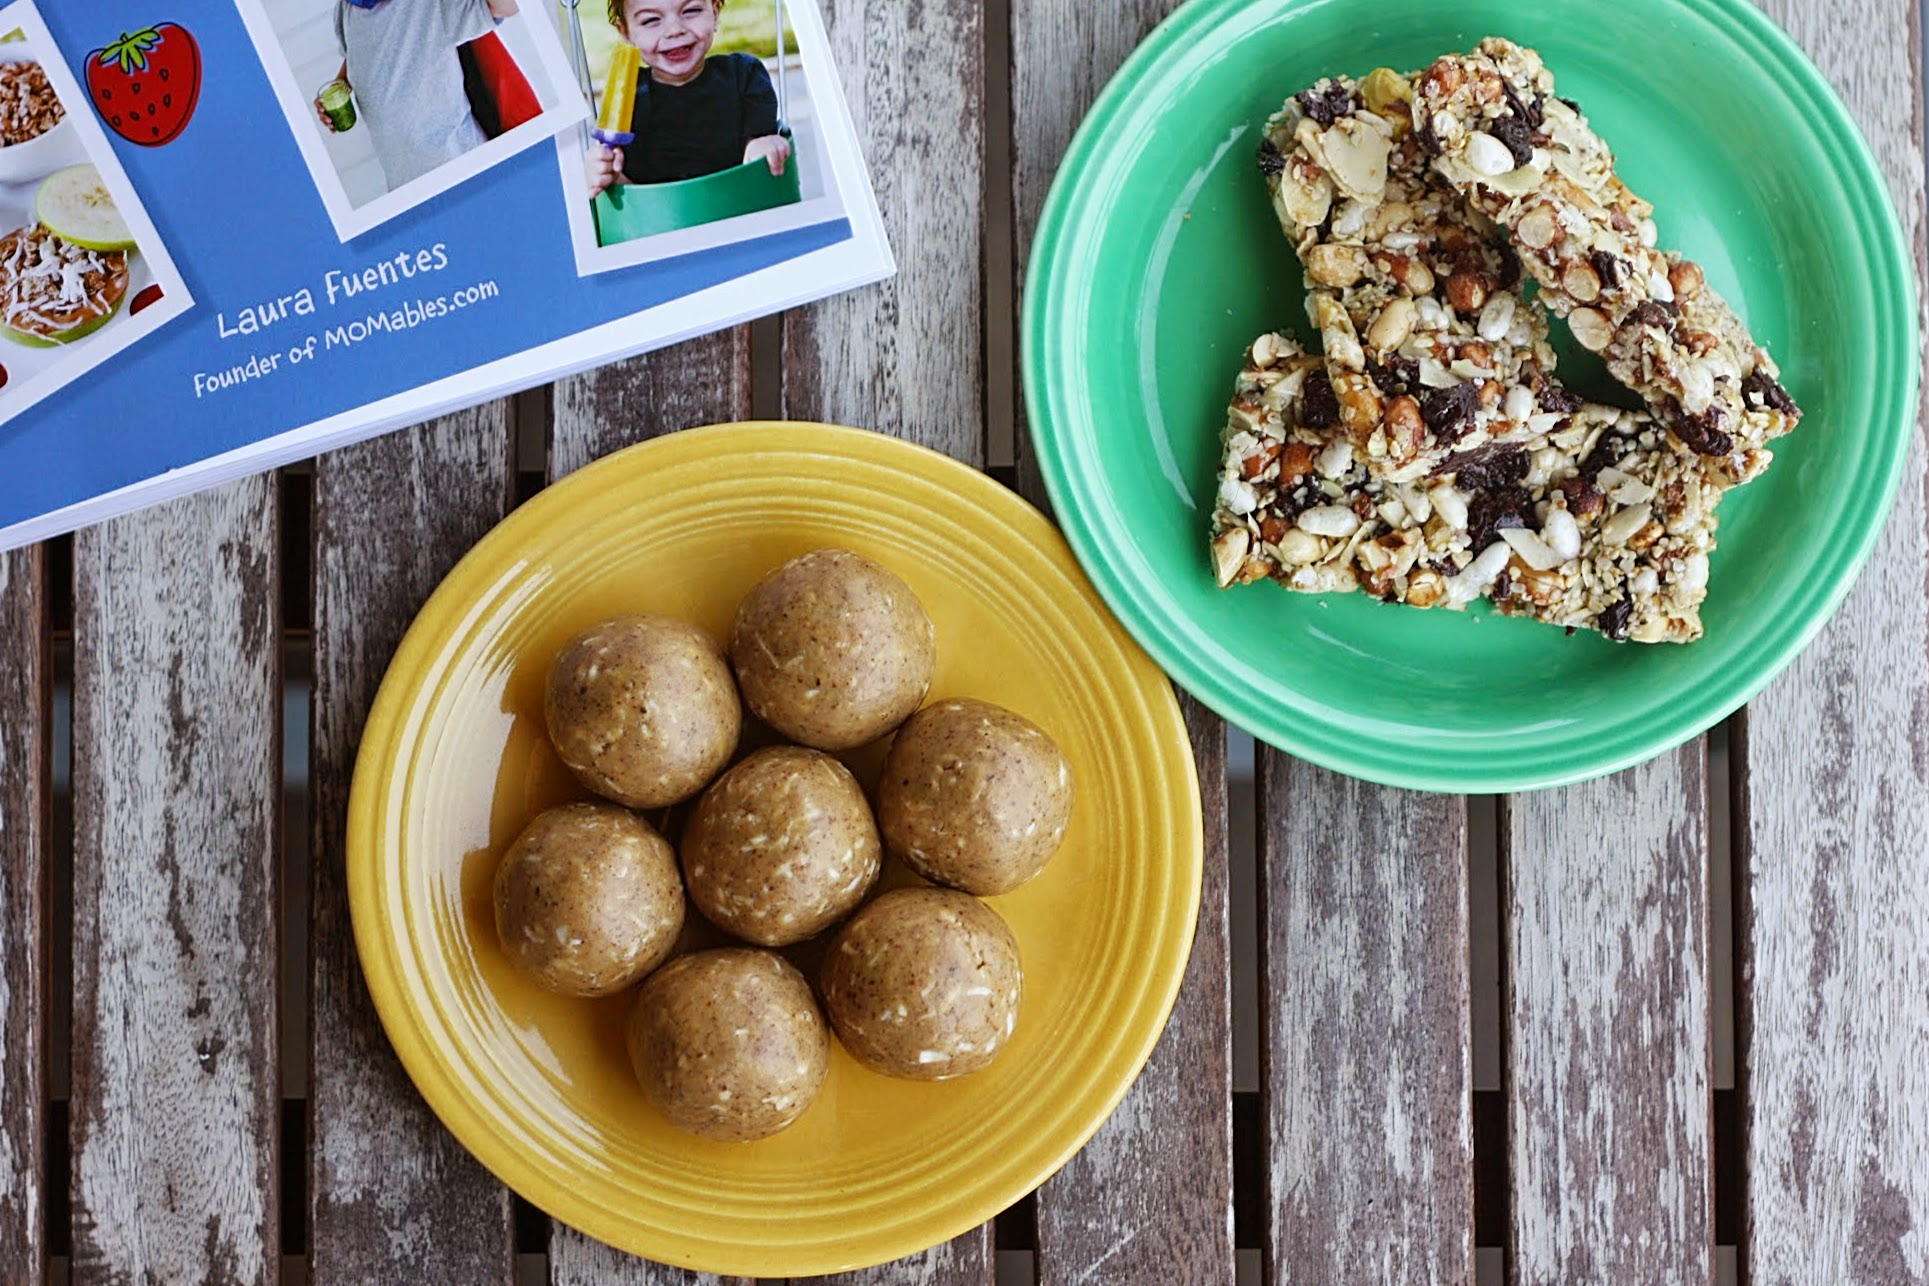
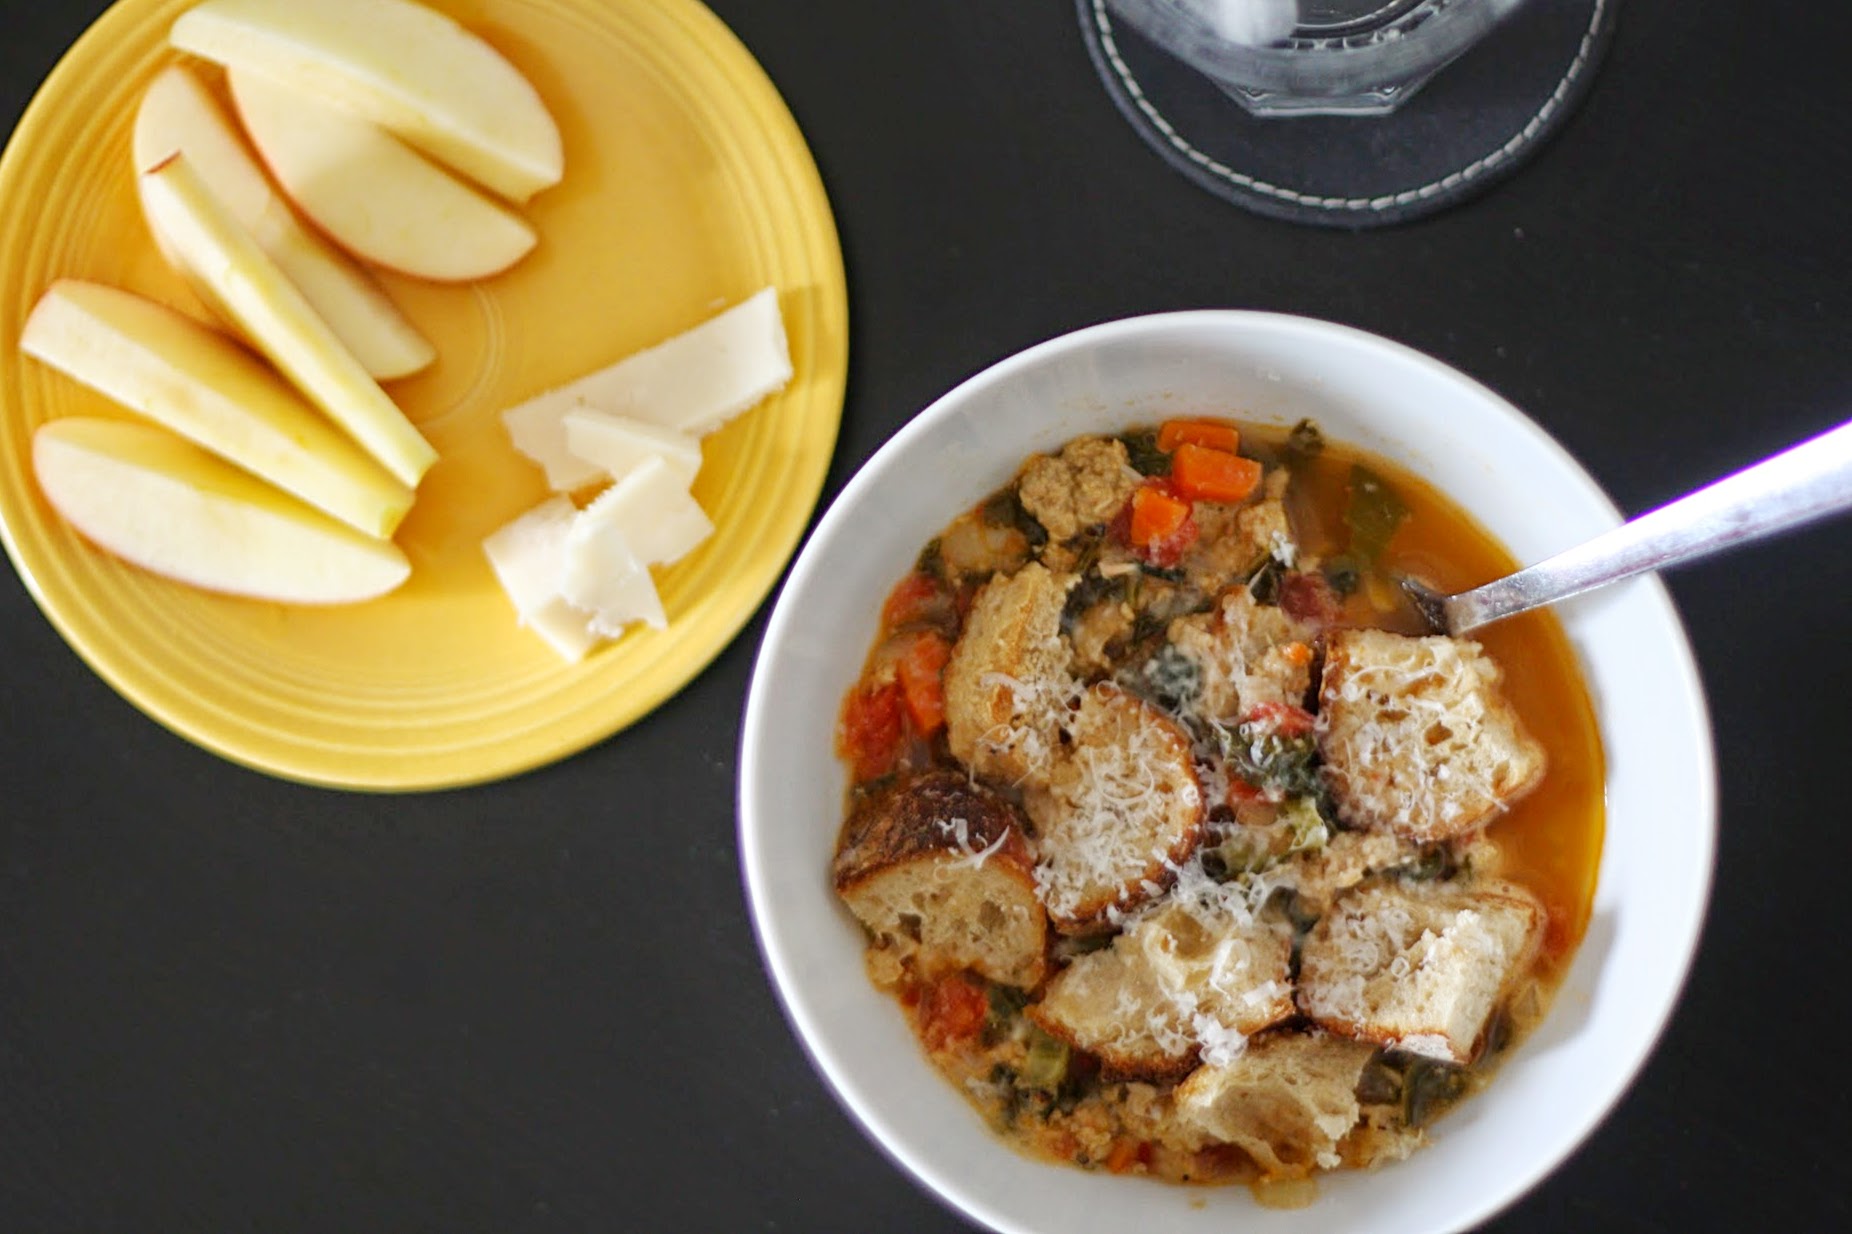
I’ve still been cooking up a storm, with perhaps a bit more of a focus on carb-y things, cheese, and eggs because those give me the most comfort. I also adore avocado, peanut butter, and clementines (aka our baby’s favorite food), but all of those things I liked before so no major surprise that I love them even more now. All in all, I’d say we are eating very well! (Though you can best believe I am ordering sushi the moment we leave the hospital…)

Keeping with the carb theme, I figured I’d share a simple and (somewhat) healthy recipe for blueberry muffins. I’ve been loving having these at tea time, spread with a little butter. I make a full batch, then freeze half for future snacks and breakfasts. They stay moist and tender from the sour cream, a key ingredient in baked goods, in my opinion. Enjoy!
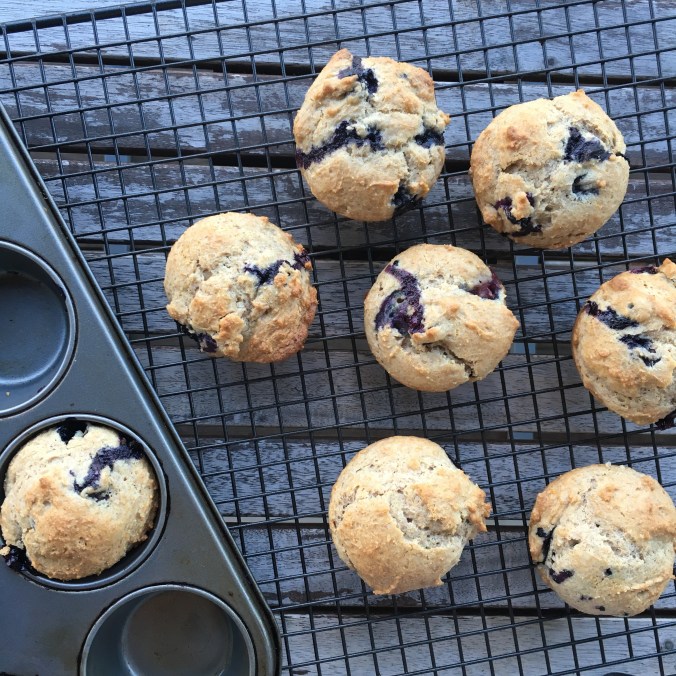
Muffins

Blueberry Muffins
Adapted from Cook’s Illustrated and Smitten Kitchen
You can use full-fat yogurt in place of the sour cream, but I really think the sour cream makes them the most soft and tender. // Yield: 9 to 10 standard muffins

1/2 cup sugar
1/2 teaspoon grated lemon zest
5 tablespoons unsalted butter, softened
1 large egg
3/4 cup sour cream
1 teaspoon vanilla extract
1 1/2 cups all-purpose flour (I used half spelt flour)
1 1/2 teaspoons powder
1/4 teaspoon baking soda
1/4 teaspoon salt
3/4 cup fresh blueberries
Raw sugar, for sprinkling on top

Preheat oven to 375°F. Line a muffin tin with 10 paper liners or spray each cup with a nonstick spray.

Rub the sugar and lemon zest together, using your hands, in the bowl of an electric mixer. This helps release the lemony goodness of the zest. Just a couple minutes will do the trick and it will smell heavenly.

Add the butter to the sugar and beat with an electric mixer until light and fluffy. Add egg and beat well, then sour cream and vanilla.

Put flour, baking powder, baking soda and salt into a sifter and sift half of dry ingredients over batter. Mix until combined. Sift remaining dry ingredients into batter and mix just until the flour disappears. Gently fold in your blueberries. The dough will be quite thick.

Fill your muffin cups ¾ full (I like to use an ice cream with a spring release for this) and sprinkle raw sugar on top. Bake for 25 to 30 minutes, until tops are golden and a tester inserted into the center of muffins comes out clean (assuming you don’t pierce a berry). Serve warm, split and spread with butter.

Advertisement

What’s Been Cooking

Park Walk

It’s been another busy month around here, with more work trips (this time to L.A.) and time spent outdoors enjoying the last of the fall foliage (photo above Suraj took on one of our many walks at a park nearby). This week, I’m off to Buffalo for Thanksgiving and am really looking forward to the break.

I don’t have a set recipe for today, but thought I’d just share some links to things I’ve been cooking these past few weeks, in case anyone is looking for inspiration:

–These sweet potato waffles are my new fav. I made this recipe for the first time a few weeks ago, after finally buying a new waffle maker, and they’re awesome. We have a stash stored in the freezer and they are excellent re-toasted and spread with peanut butter and fig jam (trust me on this one…).
–For a quick, ready-made lunch solution, I made a big batch of these freezer burritos a few weeks ago and can’t recommend them enough. I kept them vegetarian and used sour cream, refried black beans (this recipe), brown rice, sauteed ripe plantains, and cilantro for my filling. They reheat in about a minute in the microwave. Suraj is a huge fan. I may do another batch soon, with scrambled egg, for a breakfast version.
–This wild salmon soup is a staple for us, and is especially easy to throw together when I have homemade broth on hand. We usually use potatoes in place of the squash.
–I thought I didn’t like teriyaki until I tried this recipe, and now I’m a total convert. It’s SO simple and SO good. We had it for dinner last night with garlicky green beans. You can get chicken with the skin on (vital for this recipe) at Whole Foods; it’s in the sealed packages.

As for Thanksgiving, here’s a few things I’m taking home with me, as well as what I’ll be making there (each of my siblings is bringing a dish or two, and my mom’s got the rest…homemade pies included. So excited!):

broccoli cheese bites. Super easy to throw together and will be a good breakfast/snack during my 8-hour drive. Would also make a great appetizer if you did them in mini-muffin pans.
butternut squash and orzo salad. I’ve had this recipe bookmarked for months, after my friend Jess sang its praises. She was right; it’s great! I’m packing a huge container and we’ll likely eat it for a few lunches this week. I subbed feta for the blue cheese.
hummus. This is something I seem to take home and on vacation without fail (mainly because my sister loves it as much as I do). This recipe is my go-to; it’s so smooth! I add a little more water and/or olive oil at the end, and it’s done it about 30 seconds in my Vitamix. We’ll probably have it with salad and pita at some point. (Sidenote: Have you ever had pizza with hummus for dipping? You’ll never eat it any other way once you do.)
Italian vinaigrette. Is it weird that I am packing my own salad dressing to take home? Well I don’t care if it is because this is my new favorite dressing and I can’t imagine any salad without it. I also plan on using it in a panzanella (bread) salad I’ll make while I’m there, for which I’ll use this sourdough for the bread.
s’mores cupcakes. I made these a few weeks ago for a Halloween party, and they were a total hit. I’m going to make them again at Thanksgiving, for the kids (in hopes that they will eat them instead of all the pie).

Hope everyone has a fantastic holiday!

Thanksgiving Table


Dutch Babies

Dutch Baby 5

The first time I ever had a Dutch Baby pancake was in Buffalo, NY (where I grew up) at a restaurant called The Original Pancake House. My sister had told me about the pancakes—how each one was made to order (and required a 20-30 minute wait), and how they brought it out to your table piping hot, then prepared it for you by squeezing half a lemon and a flurry of confectioners’ sugar over top (which instantly makes the most delicious glaze-like syrup) followed by a bowlful of freshly sliced strawberries.

YUP. SOLD. Every time I’ve gone there since, it’s all I will order. Can you blame me?

With Buffalo being 8 hours away, however, I’ve been forced to learn how to make them at home. And that I have done. This recipe is my holy grail. I pull it out on weekends and have made it for guests as well, much to everyone’s delight. I actually think they’re easier to make then regular pancakes, as the 20 minute baking time = free time for you to do whatever else you need to do (slice fruit, make coffee/tea, cook sausage or bacon, chill, etc.). And the bonus is that they are super impressive when you pull them out the oven! Light and crisp on the edges and perfectly soft and pancake-y in the middle, they are everything brunch should be.

Dutch Baby 4

Dutch Baby 6

Dutch Babies

I always use cast iron pans for my dutch babies, as I really love how the batter rises in them, but glass pie plates work great too. For the flour, you can swap half of the all-purpose flour with spelt or whole wheat pastry flour (any more and it won’t rise as well). I’ve also successfully subbed in 1/4 cup dark buckwheat flour. / Note that there is no baking soda, baking powder or other leavener in this recipe–it’s not required! The heat of the oven forces the rise (magic, I tell ya).

For 2-3 people (enough for two cast iron pans):
1 cup + 2 tbsp all-purpose flour
1/4 cup sugar
1 tsp kosher salt
2 tbsp butter, melted
1 cup milk
4 eggs
1 tsp vanilla extract

2 tbsp butter, divided, for pans

For 4-5 people (enough for two cast iron pans)
2 1/4 cups all-purpose flour
3/4 cup vanilla sugar (or regular sugar)
2 teaspoon kosher salt
4 tablespoons butter, melted
2 cup milk, room temperature
8 large eggs, room temperature
2 teaspoon vanilla extract

4 tablespoons butter, divided, for pans

For serving: 
Lemon wedges
Confectioners’ sugar
Strawberries, raspberries, or blackberries

Maple syrup

Depending on what size batch you are making, put two or four cast-iron pans or pie plates in the oven, on the middle rack. Preheat oven to 400 degrees F.

While the oven is preheating, combine the flour, sugar, and kosher salt in a bowl. In a separate bowl, combine the melted butter, milk, eggs, and vanilla extract, then whisk into the flour mixture (unlike regular pancake batter, you don’t want lumps). You can also just dump all of these ingredients into a blender and blend for one minute if that’s easier (it is for me).

Once the oven is preheated and the pans are hot, place 1 tablespoon of butter into each pan and close door for a minute, to allow butter to melt. Once melted and bubbly, gently swirl butter around each pan, using pot holders of course, and then quickly pour batter into the center of each skillet. Close the door and bake for about 20 to 25 minutes, or until the batter has risen up the edges and it looks puffed and browned. Try not to open the door while they are cooking, as it may cause them to fall or not rise properly.

Remove from oven and immediately squeeze lemon wedges over pancakes then sprinkle with confectioners’ sugar (to make a lemony glaze). You can add a pat of butter too. Dump fresh berries on top and serve with maple syrup.

Note: If you have leftover batter, it keeps great if kept in a jar in the fridge. Just use it up within a couple of days.

Dutch Baby 3

Leftover-batter, weekday version: just as good! With ricotta, a schmear of strawberry jam, and berries.

Garlicky White Beans in Olive Oil

White Beans 2

Between work and weekends away, September was full. I started the month by participating in two back-to-back swim races—the first a 2-mile swim in the Merrimack River, and the second a 1.4-mile ocean swim in Cape Cod. I should probably preface this all by first telling you this: swimming in races, or competitively at all, is very new to me. I’ve never been on a swim team, or done a triathlon, or anything like that. I swam a lot as a kid, but that’s about it.

My close friend, Jen, however, is an accomplished swimmer and equally great cheerleader. After a few lessons with her last year (in which I actually learned to breathe properly while doing laps—eureka!), I felt good enough to try the 1-mile version of the Merrimack swim. I survived, and vowed to do it again this year, only this time aiming to complete the 2-mile stretch instead of the one. I also decided to finally join her for the ocean race, which I wussed out of last year because 1) shark sightings, 2) choppy waves, and 3) fear of swimming the wrong way into the great abyss.

Swim Race

Alas, both were great events. Exhausting and humbling too (the 60-70 year old bracket is NO JOKE). My favorite by far was the ocean swim. Over 400 swimmers, amazing views, great crowd, and a chance to swim in the open ocean—it was a really cool 53 minute moment.

After the swims followed a work trip to Pennsylvania (during which I also visited my sister and her family, woohoo), and then my birthday. And here we are. October. One of my very favorite months. For eating and for just being. And also for wearing scarves.

Continuing on this fall theme, I’ve wanted to post this recipe for white beans for a while now. I have been making them for years and it’s another staple in our house, especially in these cooler, heartier months. We eat beans and lentils a lot, a fact which I’m sure I’ve mentioned before. They’re such a great protein source and I find them especially perfect for incorporating into packed lunches.

This particular recipe is dead easy too—cook your white beans (or use canned), then simmer them in olive oil, garlic, and maybe a few spices until they’re silky smooth and flavorful. The recipe is very similar to the garlic confit I talked about here (tip #7), but probably even more versatile. You can eat the warm beans and oil with bread, toss with pasta, mix into salad (the oil is an instant dressing), spoon over cooked chicken and rice, or purée into hummus. And because oil is a natural food preserver, you can keep a jar in your fridge indefinitely, pulling it out whenever inspiration, or time, is running low.

Garlicky White Beans in Olive Oil
You can always use canned white beans in place of cooking your own—I just prefer doing it myself as it’s cheaper and I prefer the taste. If you end up cooking too many beans, just toss the extra in a freezer bag and lay flat to freeze (as I mention here—see tip #4), then crack off a chunk whenever you need them.

1 cup dried white beans (navy, cannellini, “small white,” or whatever you like), soaked overnight in water
Olive oil (I prefer “light” not extra-virgin for this, because you’re heating it)
Kosher salt
6 to 7 cloves garlic, peeled and left whole
Spices: red pepper flakes, dried basil, oregano, etc.

[If you’re using canned beans, skip directly to the next paragraph.] Drain and rinse the soaked beans and transfer to a cooking pot. Cover with at least one inch of water and bring the pot to a boil. Reduce to a simmer and cook until tender—this usually takes around 20 to 30 minutes but will depend on the size of the bean and how long you’ve soaked them for. You want them cooked all the way through and somewhat tender, but not falling apart.

Drain the beans well and return to the pot. Cover with enough olive oil to cover by about 1-inch. Yes, it’s a lot of oil, but it can be used/re-used in tons of ways! Even if you end up eating all the beans out of it later, the garlic-infused oil that remains is great as a salad dressing, as a bread dip, or drizzled over pasta.

Heat the beans and oil on low until you start to hear the oil sizzling a bit, but not popping like crazy, which would be dangerous. Add the salt (a generous amount—I probably use a teaspoon of kosher salt at least), garlic, and any spices you like. I use the three spices listed above—a big pinch of each. You’ll have to taste as you go along for seasonings, but just add whatever looks good to you. You could also add garlic powder, fresh herbs, or even a few tablespoons of pesto.

Cook on low for 20 minutes or so, until the seasonings are fragrant and the beans are really tender—it’s okay if they start falling apart. Just be careful not to let the garlic brown (instead of leaving them whole, you can also finely grate/microplane the cloves, which allows them to just melt into the oil—both are excellent).

Once the beans are silky smooth, remove from heat, cover, and let sit until warm but not hot. Serve however you like (see suggestions above), or transfer to a large glass jar and refrigerate—it will last indefinitely so long as the oil is covering the beans completely. I’d argue it even gets better with age.

White Beans 3

Foraging Elderberries

Elderberry Bush 1

This summer has been a great one. We’ve spent most weekends at the beach, taking walks in our local parks, and just relaxing at home. I’ve even managed to get in some summer reading, which, if I were the type of person to have a summer bucket list, would probably be somewhere near the top of my list. I’ve made my way through Americanah, The Girl on the Train, Everything I Never Told You, The Good Earth, and We Are All Completely Beside Ourselves (I really enjoyed all but the last one, which just kind of bored me, despite others loving it). Granted, a few of these were audiobooks, but with my ridiculously-long commute, the hell if I’m not counting them.

I also had a chance to do some foraging for elderberries this month, which, along with nettle, are one of my all-time favorite things to forage. And fortunately for me, the spot I get them from is right along the sidewalk of some nearby woodlands, so the picking’s easy! In five minutes, I have an entire bagful.

Elderberries are part of the honeysuckle family (which I had to tell you because, really, doesn’t that sound like an awesome family to be part of?) and if you haven’t heard of the berries, you’ve probably heard of—or even tasted—the flowers, as that is what the famous St. Germain liqueur is made from. The scent of the flowers is delicate, like a cross between vanilla and honey (some bushes are more fragrant than others). Here in New England, they bloom around mid-June and can commonly be seen alongside roadsides—every highway I drive seems to have at least a few bushes. Locating the flowers first is a good way to find the berries a couple of months later. I swear you’ll see them everywhere once you start looking!

Berries in Bowl

By mid-August, the flowers have turned into dark purple berries, which tip down toward the ground like little berry umbrellas. You can’t eat the berries raw (or, at least, they don’t taste all that great), but when you cook them, their very best qualities present themselves: a deeply fruity berry-grape taste and an intoxicating scent. You can bake with them, turn them into jams and compotes (see my version here), steep them in alcohol (photos here and here), or—my favorite—simmer them into a syrup, which is excellent when diluted with seltzer, or drizzled over yogurt or pancakes. I also love to use the syrup in my kombucha (during the second ferment, for you all kombucha brewers out there).

Aside from their lovely sweet-tart taste, elderberries are highly nutritious and medicinal. They are rich in flavonoids—the natural compounds with antioxidant qualities that protect cells against damage or infections—and contain vitamins A and B, along with significant amounts of vitamin C and amino acids.

Elderberry has long been known as one of the most effective medicinal plants for preventing and treating cold and fever, and it also stimulates the immune system. Many people take a shot of the syrup a day during winter to stave off viruses. In fact, Whole Foods and Amazon both sell tiny 3-oz bottles of the stuff for over $20 a piece! Even more reason to make your own (recipe below).

If you’re new to foraging elderberries, this link provides a great resource for positive plant identification. Once you find the berries, the options for using them are endless!

Elderberry Syrup

Bottled syrup.

Elderberry Syrup
Once you collect your ripe elderberries, the most time-consuming part is removing the berries from the stems (see photo above), which cannot be consumed. I find the process really relaxing though—get some tea, sit outside, and start tickling those berries off their little umbrellas. // As for the syrup, feel free to swap or add in whatever spices you like (clove or anise are nice too). I like to use raw honey as it ups the nutrition factor even more—it contains live enzymes that are good for your gut—but regular honey is fine too. // Yield: 3 cups

3 cups fresh elderberries, washed, unripe berries discarded
6 cups water
2-inch piece fresh ginger, peeled and chopped
1-inch cinnamon stick
1 whole vanilla bean
1 cup raw honey

Combine everything but the honey in a large pot (I like to scrap the vanilla bean seeds into the pot, then throw in the pod too).

Bring the mixture to a boil, then reduce to a simmer. Simmer for at least one hour, or until the liquid is reduced by half (I can usually tell by the streaks/marks left on the side of the pan as it cooks down). Mash the elderberries a few times while it’s simmering, if you happen to be in the kitchen. The scent will be intoxicating.

Once reduced, let the mixture cool to warm (about 100°F degrees; if it’s any warmer, it will kill off those good enzymes in the raw honey), then strain into a large bowl, mashing the berries in the strainer to get all the juices out. If a few pieces get through, that’s fine.

Whisk in the raw honey until thoroughly combined, then bottle. Refrigerate indefinitely and use however you like—in seltzer, over yogurt and pancakes, or on its own as an immune-boosting shot.

For Elderberry Kombucha: Add 1/4 to 1/3 cup of the syrup to a 750-ml swing-top bottle and fill the rest of the bottle with brewed (fermented) kombucha. Let sit on the counter for 2 to 3 days, or until effervescent and fizzy. Refrigerate. Serve over ice.

Elderberry Kombucha

Elderberry kombucha (syrup behind it).

Cream Scones

Scone 5

This scone recipe is one of the only recipes I know by heart. I’m not sure how long I’ve been making them—it’s probably creeping up on a decade now—but I can tell you this: every person I have ever made them for has either 1) requested the recipe, and/or 2) requested that I bring them to all future gatherings. This includes people who 1) don’t normally cook, and/or 2) say they “never thought they liked scones.”

The secret lies in the cream. Use any other liquid—milk, buttermilk, half & half—and they’re just not the same. Use the cream and you’re in for the flakiest, tastiest, most delicate scone you’ve ever had in your life, I promise. Even fancy bakery shop versions pale in comparison.

I’m headed to the Adirondack Mountains in New York next week (vacation! finally!) to spend some time with my family, and these scones are already on our pre-planned menu (yes, my sister and I do this in advance to make everyone’s lives easier). We bring the scones frozen and unbaked (dried cherry and chocolate chip are this year’s options), and bake them up fresh in the morning. Scone and vacation bliss all rolled into one.

Unbaked Scone

Cream Scones
I first found this recipe on the Smitten Kitchen blog, but it’s originally from the America’s Test Kitchen Cookbook (which I own and love). I’ve tried countless other scone recipes in addition to this one, and none have ever held a candle to these. As I mentioned, I make the full batch then freeze the extras (cut and unbaked, as seen above). When needed, just bake them straight out of the freezer—adding a minute or two to the cooking time (no defrosting required). They are a freezer staple and especially convenient when hosting overnight guests.

2 cups (10 ounces) unbleached all-purpose flour (I’ve tried subbing half whole-wheat and it’s good, but not quite the same)
1 tablespoon baking powder
3 tablespoons sugar
1/2 teaspoon salt
5 tablespoons chilled butter, cut into 1/4-inch cubes
1/2 cup chocolate chips, chopped nuts, or chopped dried fruit
1 cup heavy cream (I like Trader Joe’s brand or High Lawn Farms because they are the only two I’ve found without stabilizers or additives)

Adjust oven rack to middle position and heat oven to 425°F.

Whisk flour, baking powder, sugar, and salt together in large bowl.

Using a pastry blender (this is what I use) or your fingertips, quickly cut butter into flour mixture until mixture resembles coarse meal, with a few slightly larger butter lumps; when doing it with your fingers, just quickly rub the flour-coated butter pieces between your thumb and middle finger, almost like you’re snapping your fingers. The goal is to create thin little sheets and pea-sized flecks of butter, so work quickly. You do not want the butter to melt or soften at all (the coarse, cold bits are what make the scones flaky)—it should not be uniform in texture.

Stir in chocolate chips or add-in of choice.

Pour the heavy cream over the mixture, and mix with a rubber spatula or fork until dough begins to form, about 30 seconds. Transfer dough and all dry, floury bits to your countertop and knead dough by hand just until it comes together into a rough, sticky ball, 5 to 10 seconds. Try not to overwork the dough. You still don’t want those butter bits to melt.

Form dough into a large square or circle and cut into 8 wedges or squares. You can also just scoop out the dough using a large ice cream scoop if you prefer rounds.

If you don’t want to bake all the scones at once, place the extras on a sheet and transfer to the freezer. Once frozen, transfer scones to a plastic bag for future baking.

For those you want to bake right away, place rounds or wedges on an ungreased baking sheet. Brush with milk or cream and sprinkle with coarse sugar if desired. Bake until edges are slightly browned, 12 to 15 minutes. Cool on wire rack for at least 10 minutes. Serve warm or at room temperature, within a few hours of baking them (scones are one of those things that don’t keep very well—though they can be saved by a little reheat in the toaster oven if necessary).

Note: If you have extra cream and you’re not sure how to use it up, just put half a cup or so in a mason jar and shake vigorously until the “sloshing” noise subsides and the cream has turned from a liquid into soft-whipped cream. Add a spoonful of sugar and shake a little more. Voila, fresh whipped cream! Put it on your scone with jam or stewed berries (as pictured below).

Scones 4

Healthy Snacks

Snacks 1

The perks of being a cookbook editor are probably pretty obvious—you get to read hundreds upon hundreds of great recipes day after day. Yes, it is fun—and yes, it is exhausting. I liken it to going to the grocery store and buying one of every single thing in the store. You can make so…many…things…! The possibilities are endless! But where do you even begin? What do you do?

Simple. You faint like an over-excited goat.

(Sorry, too great not to share.)

Really though, this is what actually happens: You bookmark all your favorite recipes while you’re editing, tell everyone at lunch about your grand cooking plans—then forget about it all completely by the time you’ve reached home at 7:30 pm. You eat Chipotle for dinner.

BUT WAIT!, months later, the printed book arrives and it’s like Christmas! You get excited all over again, go nuts with your arrow flags, and bring an advanced copy home to (finally) commit to the task.

You make many, many snacks (or smoothies, or one-pot dinners, or whatever the subject may be) and declare how much you love your job, and your authors. You text your coworker friends, email your author your thanks, and decide to write a post on your blog about it all, which, ironically, is probably how you came across the book idea/author in the first place (yep, a blog).

That was a fun ride, wasn’t it? #booklyfe

So back to the snacks. They come from a new book called The Best Homemade Kids’ Snacks on the Planet (yes I realize the title is wicked long—it is part of a series). The author, Laura Fuentes, and I are now working on our third book project together, which pretty much puts us in best-bud territory. Laura’s recipes are awesome, and the photos she and Alison Bickel churn out are amazing. Do I sound like a proud parent? Well, I am. Sometimes you have to gloat.

After finally getting my hands on a copy yesterday (there are quite a few of us fighting over them), I picked two recipes to make for myself. This was not an easy decision as 1) I LOVE snacks, a fact you may remember from this post, and 2) I was starving so all of the recipes seemed to be calling my name. I finally settled on one one super-simple, no-bake recipe (cookie dough balls) and one healthy baked treat (a granola-type bar). I loved them both so much that I asked Laura if I could share each of them here, and she of course agreed (best buds!).

Whether you’re making them for yourself or your kids, these are quick and easy recipes. They’re also filled with natural ingredients, and are about a zillion times better than the store-bought stuff, from both a taste and a nutritional standpoint. I’ll be making them weekly—until I’m swayed by the rest of my tabbed recipe pages, of course.

No-Bake Cookie Dough Balls
These are actually called “Winnie the Pooh Snacks” in the book, but I felt slightly creepy using that title as I was just making them for myself and thought Suraj might be a bit weirded out seeing a container with that label in the fridge. They’re so good though! Like a mix between a buckeye (minus the chocolate) and peanut butter cookie dough—but with all-natural ingredients. If you’re unsure on the coconut, I’d encourage you to try them anyway, as I didn’t find that flavor noticeable at all. Next time I’m adding a few mini chocolate chips too. // Yield: 8 to 10 balls

1/2 cup (112 g) creamy almond butter (I used ¼ cup almond butter + ¼ cup natural peanut butter—definitely recommend)
1/4 cup (85 g) honey
1/2 teaspoon vanilla extract
1/3 cup (27 g) unsweetened, dried coconut
1/3 cup (42 g) coconut flour* (see Note below)
1/2 teaspoon cinnamon

In a medium bowl, combine all ingredients, mixing until they form a ball of dough. If your dough is dry, add a little more nut butter or honey. If it’s too wet, add a little more coconut flour. (Mine was just fine.)

Scoop out tablespoon-size portions and roll into balls.

Place on a plate and serve immediately or refrigerate in an airtight container for up to three days.

Note: Coconut flour is available in grocery stores now, and is a great product to keep on hand. It contains no gluten and no grain, and is low in digestive carbs and high in fiber and protein. It contains only one, all-natural ingredient—coconut—but is actually very subtle (and slightly sweet) in taste, so even if you don’t like coconut, you really can’t detect much of that flavor. And because it’s so high in fiber, you only need a small amount in any recipes calling for it, as it absorbs a good deal of liquid/moisture.


Energy Bars (aka Homemade KIND Bars)
These fruit and nut bars are the perfect cross between a granola bar and rice krispie treat, and remind me a lot of KIND bars (only with fewer ingredients). Light enough for a snack, but still satisfying. Brown rice syrup is available in most grocery stores, usually near the honey. You can swap out pretty much any of the nuts or fruit with what you have on hand, as I did below. Note that when you take them out of the oven, they may seem too soft, but they set up more once they’re full cooled. You can cut them into either squares or bars. // Yield: 8 bars or 16 squares

1 cup (110 g) almonds, coarsely chopped (I used blanched, sliced almonds)
1/2 cup (48 g) sunflower seeds, chopped (I used a mix of hemp seeds, sesame seeds, and crushed peanuts instead, as I didn’t have sunflower seeds)
1/3 cup (6 g) crisped brown rice cereal (I used plain puffed white)
1/4 cup (35 g) raisins
1/4 cup (35 g) dried blueberries (I just used ½ cup chopped dried cherries for the raisins/blueberries)
1/8 teaspoon sea salt
1/4 teaspoon cinnamon
1/3 cup (115 g) brown rice syrup

Preheat the oven to 325°F (170°C). Line a square baking pan with parchment paper. (I greased it with a little coconut oil first so the paper would stick.)

In a large mixing bowl, combine almonds, sunflower seeds, brown rice cereal, raisins, blueberries, sea salt, and cinnamon. Pour brown rice syrup over nuts and fruits, using a spatula to evenly distribute the syrup throughout.

Pour mixture into baking pan. Place a second piece of parchment or waxed paper on top of mixture and press down to compact ingredients (I just used wet hands). Remove the top layer of paper.

Bake for 20 to 22 minutes, or until the bars begin to brown around the edges. Remove from oven and cool to room temperature.

Using excess parchment paper as handles, lift the bars out of the pan and place on a cutting board, paper side up. Peel off paper and cut into bars or squares. Store extras in the fridge. I like to wrap them individually in waxed paper so I can pack them in my lunch bag.

Snacks 4

Ribollita Soup

Ribollita Lunch

We are a soup-loving household. I grew up on homemade chicken noodle soup; Suraj on dal and sambar. The roots run deep.

Soup ticks all our boxes. Can it be made in advance?—check. Is it a one pot meal?—check. Does it contain vegetables?—check. Does it contain protein?—check. Can it be eaten with bread?—check check check (okay, this last one may just be me…).

Ribollita is one of our very favorite soups and on an almost weekly rotation here. It’s Italian—Tuscan, to be precise—and features veggies, beans, and bread, which in my mind, is the ultimate trifecta. We add sausage as well (mostly to satisfy Suraj’s usual “Where’s the meat?” question), but seeing as it’s a soup with peasant origins, this can easily be skipped should you so choose. I’ve made both versions, and neither lasted long.

Finally, it’s worth mentioning that the leftovers here are actually better than the first serving, which makes the next day’s lunch something to really look forward to. I have one last bowl left for tomorrow, expertly hidden in the back corner of the fridge. Territorial? Maybe. Smart? Hell yes.

Ribollita Bowl

Pre-crouton dousing.


Ribollita
Quite a few ingredients here can be substituted as you like. You can use either hot, mild, or sweet Italian sausage, or skip entirely if you’re vegetarian, and just start with sauteing the vegetables in a little olive oil, and then using vegetable stock later. You could use celery instead of kale stalks (as is traditional—I just didn’t have any and didn’t want to waste the stalks). And/or you can skip the white wine and use more broth instead (though most of it cooks off anyway—and it imparts a perfect tang, in my opinion). You can also add in any other veggies you like, such as diced zucchini or cubed potato (which is especially good if you’re doing a vegetarian version). Play around! It’s only soup! // Adapted from Bon Appetit. // Serves 6 to 8.

2 cups coarsely torn day-old hearty bread, such as sourdough*
2 tablespoons olive oil, plus more
1 pound Italian sausage (we like hot), casings removed
1 cup dry white wine (I used Pinot Grigio)
1 medium onion, finely chopped
3 medium carrots, finely chopped
5 to 6 kale stems, finely chopped
3 garlic cloves, minced
1 teaspoon crushed red pepper flakes
1 bunch Tuscan kale, stems/ribs removed, leaves torn into small pieces
1 can diced tomatoes
2 cups cooked white beans (I used some from my freezer, which I had previously soaked and cooked; you can use canned if that’s what you have)
8 cups chicken broth (I used homemade)
Kosher salt and pepper, to taste
Parmesan, shaved or grated, for serving

Preheat oven to 350°F. Toss bread cubes and olive oil on a rimmed baking sheet. Toast, tossing occasionally, until golden brown and crunchy, about 15 minutes. Let croutons cool.

Using your hands, mix sausage and wine in a medium bowl until smooth. Transfer to a large soup pot set over medium heat and cook, stirring occasionally, until firm but not browned, about 4 minutes.

Add onion, carrots, kale stems, and red pepper flakes. Cook, stirring occasionally, until vegetables are tender but still hold their shape, 20 to 25 minutes. Add kale leaves, tomatoes, beans, and broth and bring to a boil. Reduce heat and simmer, stirring occasionally, until flavors have melded, about 1 hour. Add kosher salt and pepper to taste.

Divide soup among bowls and top with croutons and a grating of Parmesan.

*Ribollita is the landing place of all the little knobs and crusts of sourdough that don’t make the toast cut but that I can’t bear to throw away either.  I save them up in my freezer, and when my bag is full, the soup pot immediately gets turned on. That said, any type of hearty bread will work just fine. We recently used some garlic Tuscan from Wegman’s (!) and it was perfection.


Homemade Breakfast Cereal

Cereal Bowl Final

I went home to upstate New York last week for Easter. It’s about an eight-hour drive from New Hampshire if I only stop once for gas, and every hour that passes feels like five. Flying there is much faster, of course, but this time around I had five GALLONS of olive oil in my trunk to deliver to family members (we did a bulk buy, as I mentioned here). I kept imagining the scenario in which I would be pulled over and would have to explain what, exactly, I was doing with a car full of olive oil, but gladly that never happened.

Going home was nice. My mom and most of my siblings still live in the area, so it’s always busy/lively when I go back. I’m still getting used to the idea of my Dad not being there though. It’s been six months since he (unexpectedly) passed away, and I still have a hard time believing he’s not just going to walk back in the door or come sit down at the table with us. I want to talk about him, but most times I can’t do so without a huge lump jumping into my throat and my eyes welling up. In time.

…so back to Easter. There was a lot of food—as always. With nearly everyone in my family being food-obsessed (my brother is a chef and the rest of us are just avid cooks/bakers), there’s always a full spread. Ham, Polish sausage, scalloped potatoes, green beans, Brussels sprouts, asparagus, you name it. I decided to add a panzanella bread salad to the mix (loosely based off this recipe, with a lot of garlic and feta added in), using a loaf of homemade sourdough I had brought with me. It was excellent and we ate the leftovers for days. I made a cake for dessert too, following Dorie Greenspan’s celebration cake recipe (a favorite), and filling it with fresh orange curd made from my sister’s abundant CSA citrus share. It was all so good.

Aside from the things we made while I was there, I brought along several jars of my homemade cereal. I’ve been making it for years now, and everyone likes it so much that I literally give it to my mom as a Christmas present.

Why do I make my own cereal? Well, you can probably guess—most cereals on the store shelf, even the “healthy ones,” are filled with unpronounceable things you probably want to avoid. Here’s what my homemade version contains: spelt flour, almond meal, kefir, coconut oil, maple syrup, salt, cinnamon, baking soda, vanilla and maple extracts. All healthy, recognizable ingredients, right? Plus, it’s easy to make and yields a huge batch. Stored in the freezer, it lasts months.

As for the taste, think nutty granola meets muesli (or Great Grains meets Oatmeal Crisp if you want a brand-name comparison). Crunchy and slightly sweet upon first bite, then softening like porridge or oats as it absorbs the milk (I like it best this way). It’s the only breakfast cereal I’ll ever need. And, coincidentally, my best Christmas gift.

[Hover over photos for captions.]


Homemade Breakfast Cereal
Start this recipe the night before you want to make it; I usually start it on a Friday night and finish it on Saturday. The process is this: Soak your ingredients the night before (I talk about the importance of soaking grains/flours in this post), bake it into a cake the next day, then crumble and dry the cake pieces out. Voilà, cereal! It’s really a simple and fun process. Recipe adapted from here. | Yield: About 14 cups.

To soak the night or day before:
4 1/2 cups spelt flour (or regular whole wheat)
1 1/2 cups finely ground almonds/almond meal/almond flour
3 cups plain kefir, buttermilk, or yogurt (thinned with water)

To mix in after soaking:
3/4 cup melted coconut oil
1 cup maple syrup or honey (or 1/2 cup each, or 1/2 cup maple syrup and 10-15 drops liquid stevia)
1 teaspoon sea salt
2 teaspoons baking soda
1 tablespoon ground cinnamon
1 teaspoon vanilla extract
1 teaspoon maple flavoring, optional

To serve:
Dried fruit and chopped nuts (I like chopped dried plums, dried cherries, walnuts, and toasted hazelnuts; pictured is just sliced almonds as it was for my mom)

The night or day before you want to bake the cereal: Mix flour, ground almonds, and soaking medium of choice in a large glass bowl. Mix just until no dry flour remains, but don’t overdo it—you want to keep it loose so it’s easy to combine with the other ingredients the next day. Cover with a loose lid and leave on the counter for 12 to 24 hours. (Mine bubbles up quite a bit and grows in size because my kefir is so active; see first photo in series above.)

The next day: Once soaking is complete, preheat oven to 350º F (175º C). Lightly grease two 9×13-inch pans or one large 11×17-inch pan, which is what I used.

In a mixer, combine the second group of ingredients, then add the soaked flour mixture a cup or so at a time, beating until fully blended. I work slowly here, so it all incorporates well.

Pour batter into pans and bake for about 30 minutes, until a toothpick inserted in the center comes out clean and the cake is lightly golden in color.

Let cool then crumble the cake into small pieces, about the size of marbles or a little larger. Spread on cookie sheets if drying in the oven, or dehydrator sheets if using a dehydrator (I’ve used both with success). In oven, dry at 200º F (95º C) for at least 4 to 5 hours, rotating sheets and turning cereal every hour or so. The cereal is done when the pieces feel completely dry (like granola), with no moisture remaining. In dehydrator, dry at around 135º F (60º C) overnight.

Once cool, add in any dried fruit or chopped nuts you like. Store in the freezer if not using immediately.

Eat with either warm or cold milk (dairy, almond, or otherwise), with blueberries or sliced bananas if you have them. [Note that I usually have about 1/2 cup or less of the cereal itself, as it’s super filling!]


Cereal with milk

Cucumber Roti (Flatbread)

Cucumber Roti

Breakfast is easily my favorite meal of the day. (You’ll be seeing a lot of it on this blog, I assure you.)

It’s also one my favorite parts of the weekend. I love the gentle pace that comes along with it, the rituals behind it (for us: tea, then more tea), and the stretch of the day ahead. It’s comforting. It’s warm. It’s that place where you want to sit and stay awhile.

Aside from eggs in all forms (omelet for Suraj, scrambled for me), we gravitate toward Indian breakfast items. Dosa/iddly, poha, and savory pancakes like moong dal cheela and cucumber roti (recipe below) are our top picks. I think if I ever actually wrote a cookbook myself (aside from just hiring people to do it), it would be on Indian breakfasts. There is just SO much to love when it comes to this cuisine, this meal. Wholesome ingredients, a light touch of spice, veg-centric, filling-but-not-coma-inducing (and often fermented, like dosa)—addicting, in a word. My “to blog” list includes dozens of these recipes, and I hope to one day share them all here (check out my Instagram in the meantime for photos of most of them, and proof that I am in fact obsessed).

Our weekend breakfasts all take more time to prepare than pouring a bowl of cereal, but that’s what I like about them. I like listening to Sunday Morning while pulling things together, and having Suraj come join me to finish the tea while I take things off the stove, or cut up some fruit. When we sit down together, we’re both relaxed, but hungry, and can look forward to a warm meal in front of us, and the day ahead.

In the case of this cucumber roti, or flatbread, it’s one I posted about to friends on Facebook a few weeks ago, when I was once again waxing poetic about this very subject (I’m fast becoming a broken record, aren’t I?). A few people asked for the recipe, which I’m more than happy to share here. It’s rather easy to prepare, gluten-free by nature, and full of flavors that work beautifully together (cucumber, coconut, rice, cilantro). The cucumber and coconut help keep the interior soft and subtly sweet, while the outside crisps up in beautiful contrast—it’s a savory pancake/flatbread like no other. I hope it finds its way into one of your weekend mornings.

Cucumber Roti 2


Cucumber Roti (Flatbread)
This savory flatbread is made simply from grated cucumber mixed with rice flour, coconut, and a few spices/herbs (cumin, cilantro, chili). There is no water or other liquid added; the cucumber itself hydrates the dough. It is light on the stomach, yet filling at the same time. You can find grated, frozen coconut at any Indian grocery store. It’s pretty cheap, requires no prep, and tastes amazing; I just defrost it in the microwave for about 45 seconds. If you can’t find it, you can use unsweetened, dried, shredded coconut—just soak it in 1/2 cup of hot water for 20 minutes or so, then add it to the dough along with the soaking water (I haven’t tried this personally, so you may need to play with the water ratio).

2 cups rice flour (I use white rice flour, as it’s easier to digest than brown)
1 english cucumber, peeled and grated
1 carrot, peeled and grated
1 teaspoon cumin powder
1 teaspoon cumin seeds
1/4 teaspoon turmeric powder (optional)
1 teaspoon salt
1 cup fresh coconut
1 to 1 1/2 teaspoons salt (the salt helps draw out the moisture)
4 green chillies, finely chopped (optional)
1/2 cup chopped fresh cilantro
Coconut oil, ghee, or other cooking oil
Butter, for serving

Combine all the ingredients (except for the oil and butter) in large bowl. Don’t add any water, just start kneading it all together with your hands. As you work, the moisture from the cucumber will start releasing and hydrate the flour. After a few minutes, it should start coming together into a ball and feel like play dough. If it still feels too crumbly, add a couple of drops of water and keep kneading (I’ve never had to do this, but if you had a small cucumber, maybe you’ll need to).

Divide the dough into equal portions, making each one about the size of an orange. Working with one piece at a time, place on top of a sheet of waxed paper and press down with your fingers to flatten to about 1/4 inch thickness. You may need to wet your hands with a little water if they’re sticking. Conversely, you can lay a second piece of waxed paper on top of the dough (flattening slightly) and gently roll it out with a rolling pin (or use a tortilla press).

Heat a cast iron pan or skillet with a few teaspoons of coconut oil or ghee over medium heat. It’s hot enough when a drop of water sizzles. Gently transfer the roti to the skillet; I do this by taking off the top sheet of waxed paper (if using), then picking up the whole thing by the bottom piece of waxed paper and flipping it over onto the skillet, so the waxed paper sheet is now on top—I then quickly and gently peel off the top paper.

Cook for 4 to 5 minutes on each side, until lightly browned in spots. Remove and serve hot with butter and a sprinkle of salt. We like to have ours with hard-boiled eggs, avocado, Greek yogurt, Indian pickle, and chutney.

If you have any leftovers, just keep them in the fridge and reheat in the toaster. They make a great weekday breakfast this way!