Homemade chicken broth, or bone broth of any kind, is a highly nutritious food and one that’s been in the press quite a bit lately (New York Times, Forbes, etc.). Essentially, it is the liquid that results from cooking down bones/meat + vegetables + water for anywhere from 6 to 24 hours (if you add salt and seasoning to it, it’s called broth; if you don’t, it’s called stock).
Bone broth dates back to prehistoric times, but has recently been rediscovered for its health benefits. While there are a lot of magical claims swirling around on the subject, here are the top three reasons I love it and consider it an important food:
- Homemade broth is full of nutrients, including calcium and magnesium, two important minerals that we can absorb easily through drinking/eating it. Bone broth also contains glucosamine and chondroiton, which are thought to help ease arthritis and joint pain (many people take these in supplement form, but broth is an excellent all-natural source).
- Bone broth is rich in gelatin. Gelatin is source of protein, helps support digestive health (many say it can help heal digestive disorders), and keeps our skin, hair, and fingernails healthy and strong. Everyone benefits from adding gelatin to their diet.
- Bone broth proves our Moms are always right. Studies now show that chicken soup does indeed help cure colds and flu. Why did we ever doubt them?
To summarize, bone broth is good for our guts, bones, joints, and skin (and soul if you’re still following Jack Canfield). It also happens to taste great and turns every soup we make into something remarkable… which is probably why I make a huge batch of the stuff every other week. The flavor of homemade broth is rich and decidely umami. Store-bought versions just don’t compare, from both a health and taste perspective. Just check out the ingredients next time you buy a can or carton; it’s full of flavorings and preservatives that try to mimic the flavor of the real stuff, but always fall short.
The good news is that you can make your own homemade broth for next to nothing, using ingredients you probably discard otherwise. Just how do you it? Here is my simple and easy method: I keep a gallon-size “broth bag” in my freezer at all times. Whenever we have bones left over from a meal, such as roasted chicken, they go in the bag. Whenever I have vegetable cores and scraps leftover from food prep, they go in the bag. When they bag is full—I try to fill it with roughly half bones and half veggies—I dump the contents into a big pot, cover it with water, add some peppercorns, and let it simmer all day or night. In the end, the bones are so broken down you can easily snap or crush them, all the veggies are spent, and the resulting liquid is full of both nutrients and flavor. I strain and discard all the solids, add salt, and refrigerate or freeze the broth, using it throughout the week to make soups and stews, braise other meats and vegetables, and cook rice in. It’s indispensable in our kitchen.
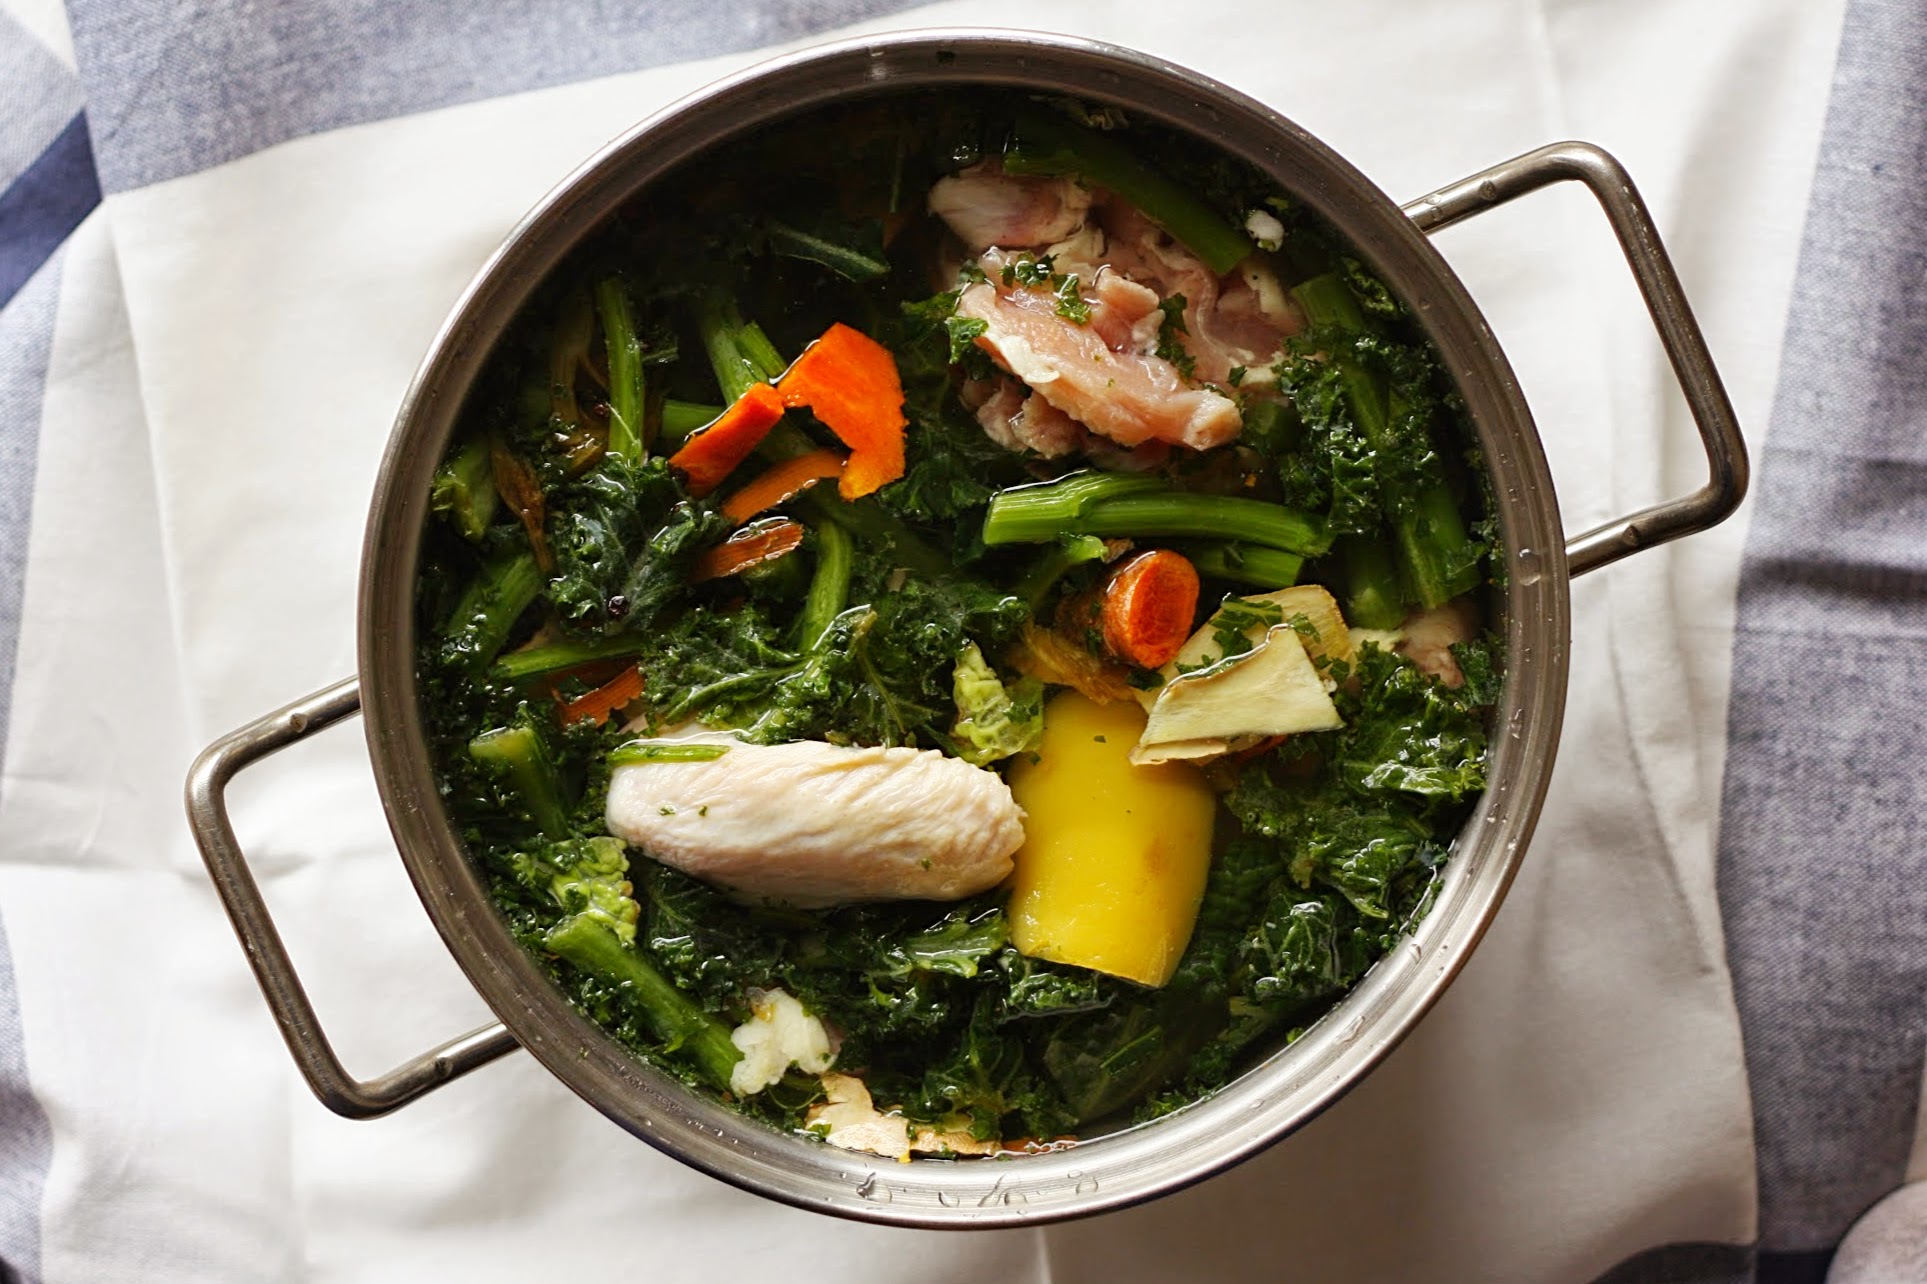
Any combination of meat/bones and veggies will work. In the broth pictured, for instance, the following is what I used. The first three items were leftover from cutting up a whole (organic) chicken, which is super easy and cost-effective once you get the hang of it. All of these items filled one gallon-size freezer bag:
- two raw chicken wings, including tips
- one raw chicken back (the part between the breasts)
- one giblet pack that was inside the whole chicken (I took out the liver piece—it’s too strong for broth)
- one pork bone shoulder (leftover from slow cooker pulled pork we had made)
- roasted chicken thigh bones (meat had already been eaten off; we had baked the thighs)
- kale stems
- carrot peels
- outer leaves of a cabbage
- base of a bunch of celery, including leaves
- base and tops of a few summer squash/zucchini
- onion skins
- ginger peels
- turmeric peels
I realize that some people may wrinkle their noses at this list and the prospect of cooking down chicken bones and other otherwise-unsavory parts, but I actually find it to be quite a beautiful and respectful act. Using all these parts allows us to use the whole animal—not just the all-mighty “boneless, skinless chicken breast”—which is much more considerate and ethical to both the animal and our environment as a whole. It goes without saying that choosing and using organic meats (preferably pastured and local too) is also part of this. The good news here is that most of these items are quite cheap, and very often on sale. I never pay more than $10 to $12 for a whole, organic chicken; chicken thighs on the bone are usually under $5 for a pack of 5 to 6; and sometimes you can even find “chicken backs,” which are sold expressly for making broth, for just a few bucks.
I’ve provided a template recipe for making your own bone broth below, which I encourage you to use as a jumping off point. Try it once and I promise you’ll be a convert.
[Hover over the photos for captions.]


Bone Broth
You really can’t “mess up” broth—basically any bones or meat-on-the-bone you can save/use are great. The meat can be either cooked or uncooked; I usually use a combination. As for vegetable scraps, with the exception of potatoes and tomatoes, any sort are welcome. // All this said, if you really want to make things easy on yourself: buy an organic rotisserie chicken from the store, remove all the meat and use it in other meals, and cook whatever remains along with a bunch of carrots, celery, and an onion. You could also do this with a raw whole chicken too. // Yield: About 16 cupsMeat Parts (cooked or uncooked; with or without meat attached; organic highly preferred):
Leftover pieces of rotisserie or roasted chicken, including bones with or without meat on them (eaten or uneaten—you will be boiling it for hours so you really needn’t worry about contamination)
Chicken wings, including tips
Chicken backs and/or feet (I realize this sounds weird, but they make great broth!)
Beef, lamb, or pork bonesVegetable Parts (basically anything you’d put in the compost bin; organic wherever possible):
Kale, chard, or any other hearty greens, stems especially
Cabbage, outer leaves and core especially
Celery, including bottom core and leaves
Carrots, including peels and tops
Cilantro or parsley stems
Onion and garlic skins (or just a whole onion, quartered)
Leeks, especially the (typically inedible) green tops
Lemon peelsOther Add-Ins (for Flavor):
Whole peppercorns
Bay Leaf
Any herbs you may have, such as rosemary or thyme
Kosher saltSave up any of the above items in a gallon-size plastic bag, keeping it in the freezer.
Once the bag is full, pull out the largest stock pot you have, and dump it all in (no need to thaw). Cover with filtered water and add any of the “Other” items you like. I usually just do a handful of peppercorns, and add the salt at the end. You could also do this in a slow cooker instead, and just cook on low overnight or all day. Both methods are great; I’ve just been doing the stove-top version lately as the smell of the broth cooking literally wakes me up in the middle of night when it’s in the slow cooker, ha. (I have a ridiculously sensitive sense of smell.)
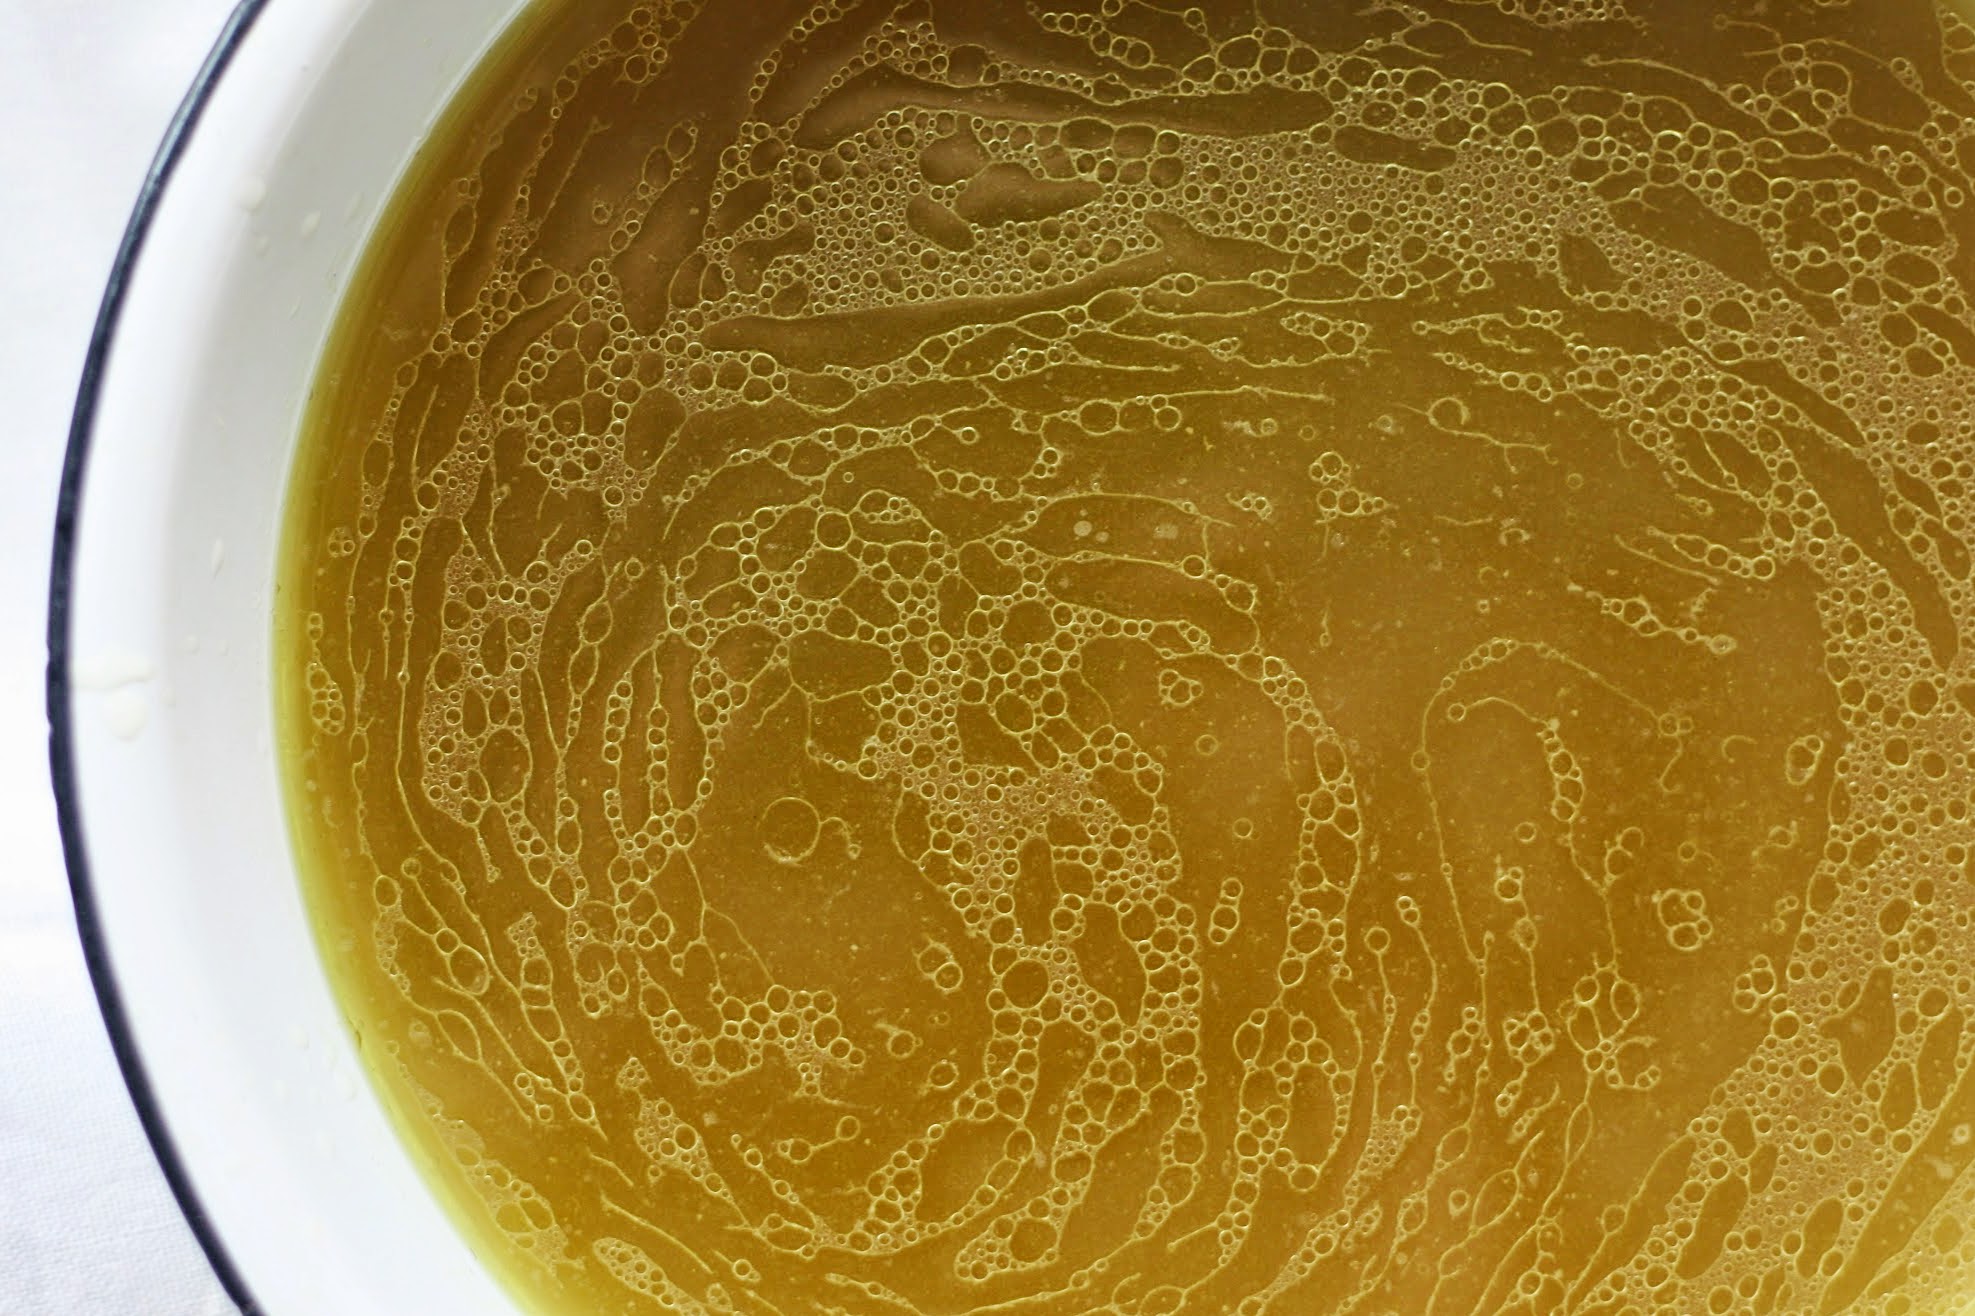
Bring to a boil then reduce to very low simmer and cook for at least 4 hours, ideally 6 to 10. Add water as needed if it looks like it’s cooking down too much. By the end of cooking, the liquid should be a rich golden color, with some oil drops on top (this is a great sign and = flavor).
Strain all the liquid (broth) and discard the solids. Add salt to taste—if you think your broth is too strong, add additional water until it’s as you like. I usually don’t though, even it’s really rich, because I like to freeze it in this “condensed” form, and then just add more water once I’m actually using it to make soup or other things. It takes up less space in my freezer this way.
Allow to cool and then transfer to large glass jars or other storage containers; refrigerate until needed. If your jars develop a layer of fat on top after chilling, that is great (see photo below). This actually helps seal in the broth and allows it to keep in the fridge for longer (just don’t break the seal). I just mix this layer back into the broth once I’m ready to use.
If freezing, carefully pour the strained liquid into gallon size freezer bags. Lay flat on a baking tray and freeze until “sheets” are solid (see photo below), then just stack them in your freezer. Run under warm water to defrost.
Use your broth any and everywhere! (Or be super trendy and drink it plain.)


looks yummy, should make it on my wedding anniversary
Thanks for the recipe ❤
LikeLike
Pingback: Sofrito (a Dinner Savior) | Eat & Edit
Pingback: My Top 10 Kitchen Tips | Eat & Edit
Pingback: How to Make Bone Broth 101 | Review
Pingback: What’s Been Cooking | Eat & Edit