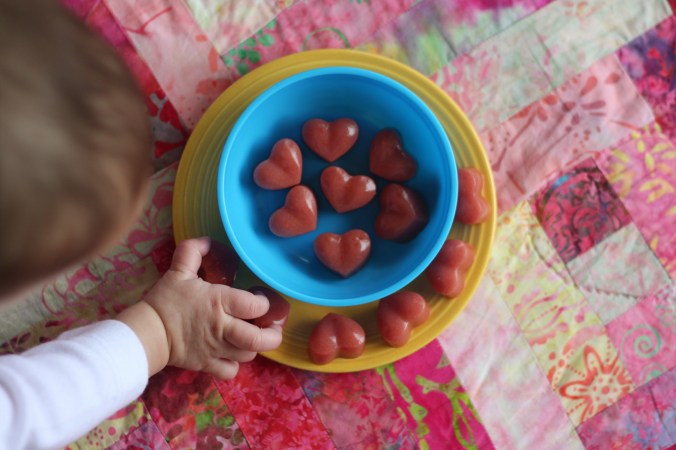
This summer has been a great one. We’ve spent most weekends at the beach, taking walks in our local parks, and just relaxing at home. I’ve even managed to get in some summer reading, which, if I were the type of person to have a summer bucket list, would probably be somewhere near the top of my list. I’ve made my way through Americanah, The Girl on the Train, Everything I Never Told You, The Good Earth, and We Are All Completely Beside Ourselves (I really enjoyed all but the last one, which just kind of bored me, despite others loving it). Granted, a few of these were audiobooks, but with my ridiculously-long commute, the hell if I’m not counting them.
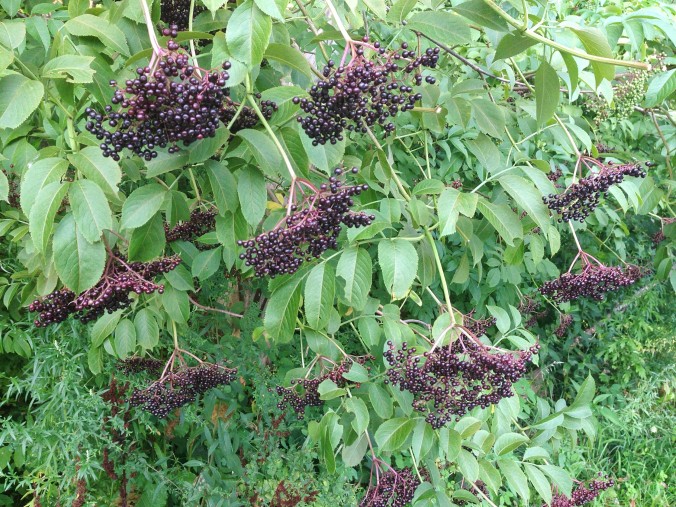
I also had a chance to do some foraging for elderberries this month, which, along with nettle, are one of my all-time favorite things to forage. And fortunately for me, the spot I get them from is right along the sidewalk of some nearby woodlands, so the picking’s easy! In five minutes, I have an entire bagful.

Elderflowers…

… (eventually) turn into elderberries.
Elderberries are part of the honeysuckle family (which I had to tell you because, really, doesn’t that sound like an awesome family to be part of?) and if you haven’t heard of the berries, you’ve probably heard of—or even tasted—the flowers, as that is what the famous St. Germain liqueur is made from. The scent of the flowers is delicate, like a cross between vanilla and honey (some bushes are more fragrant than others). Here in New England, they bloom around mid-June and can commonly be seen alongside roadsides—every highway I drive seems to have at least a few bushes. Locating the flowers first is a good way to find the berries a couple of months later. I swear you’ll see them everywhere once you start looking!

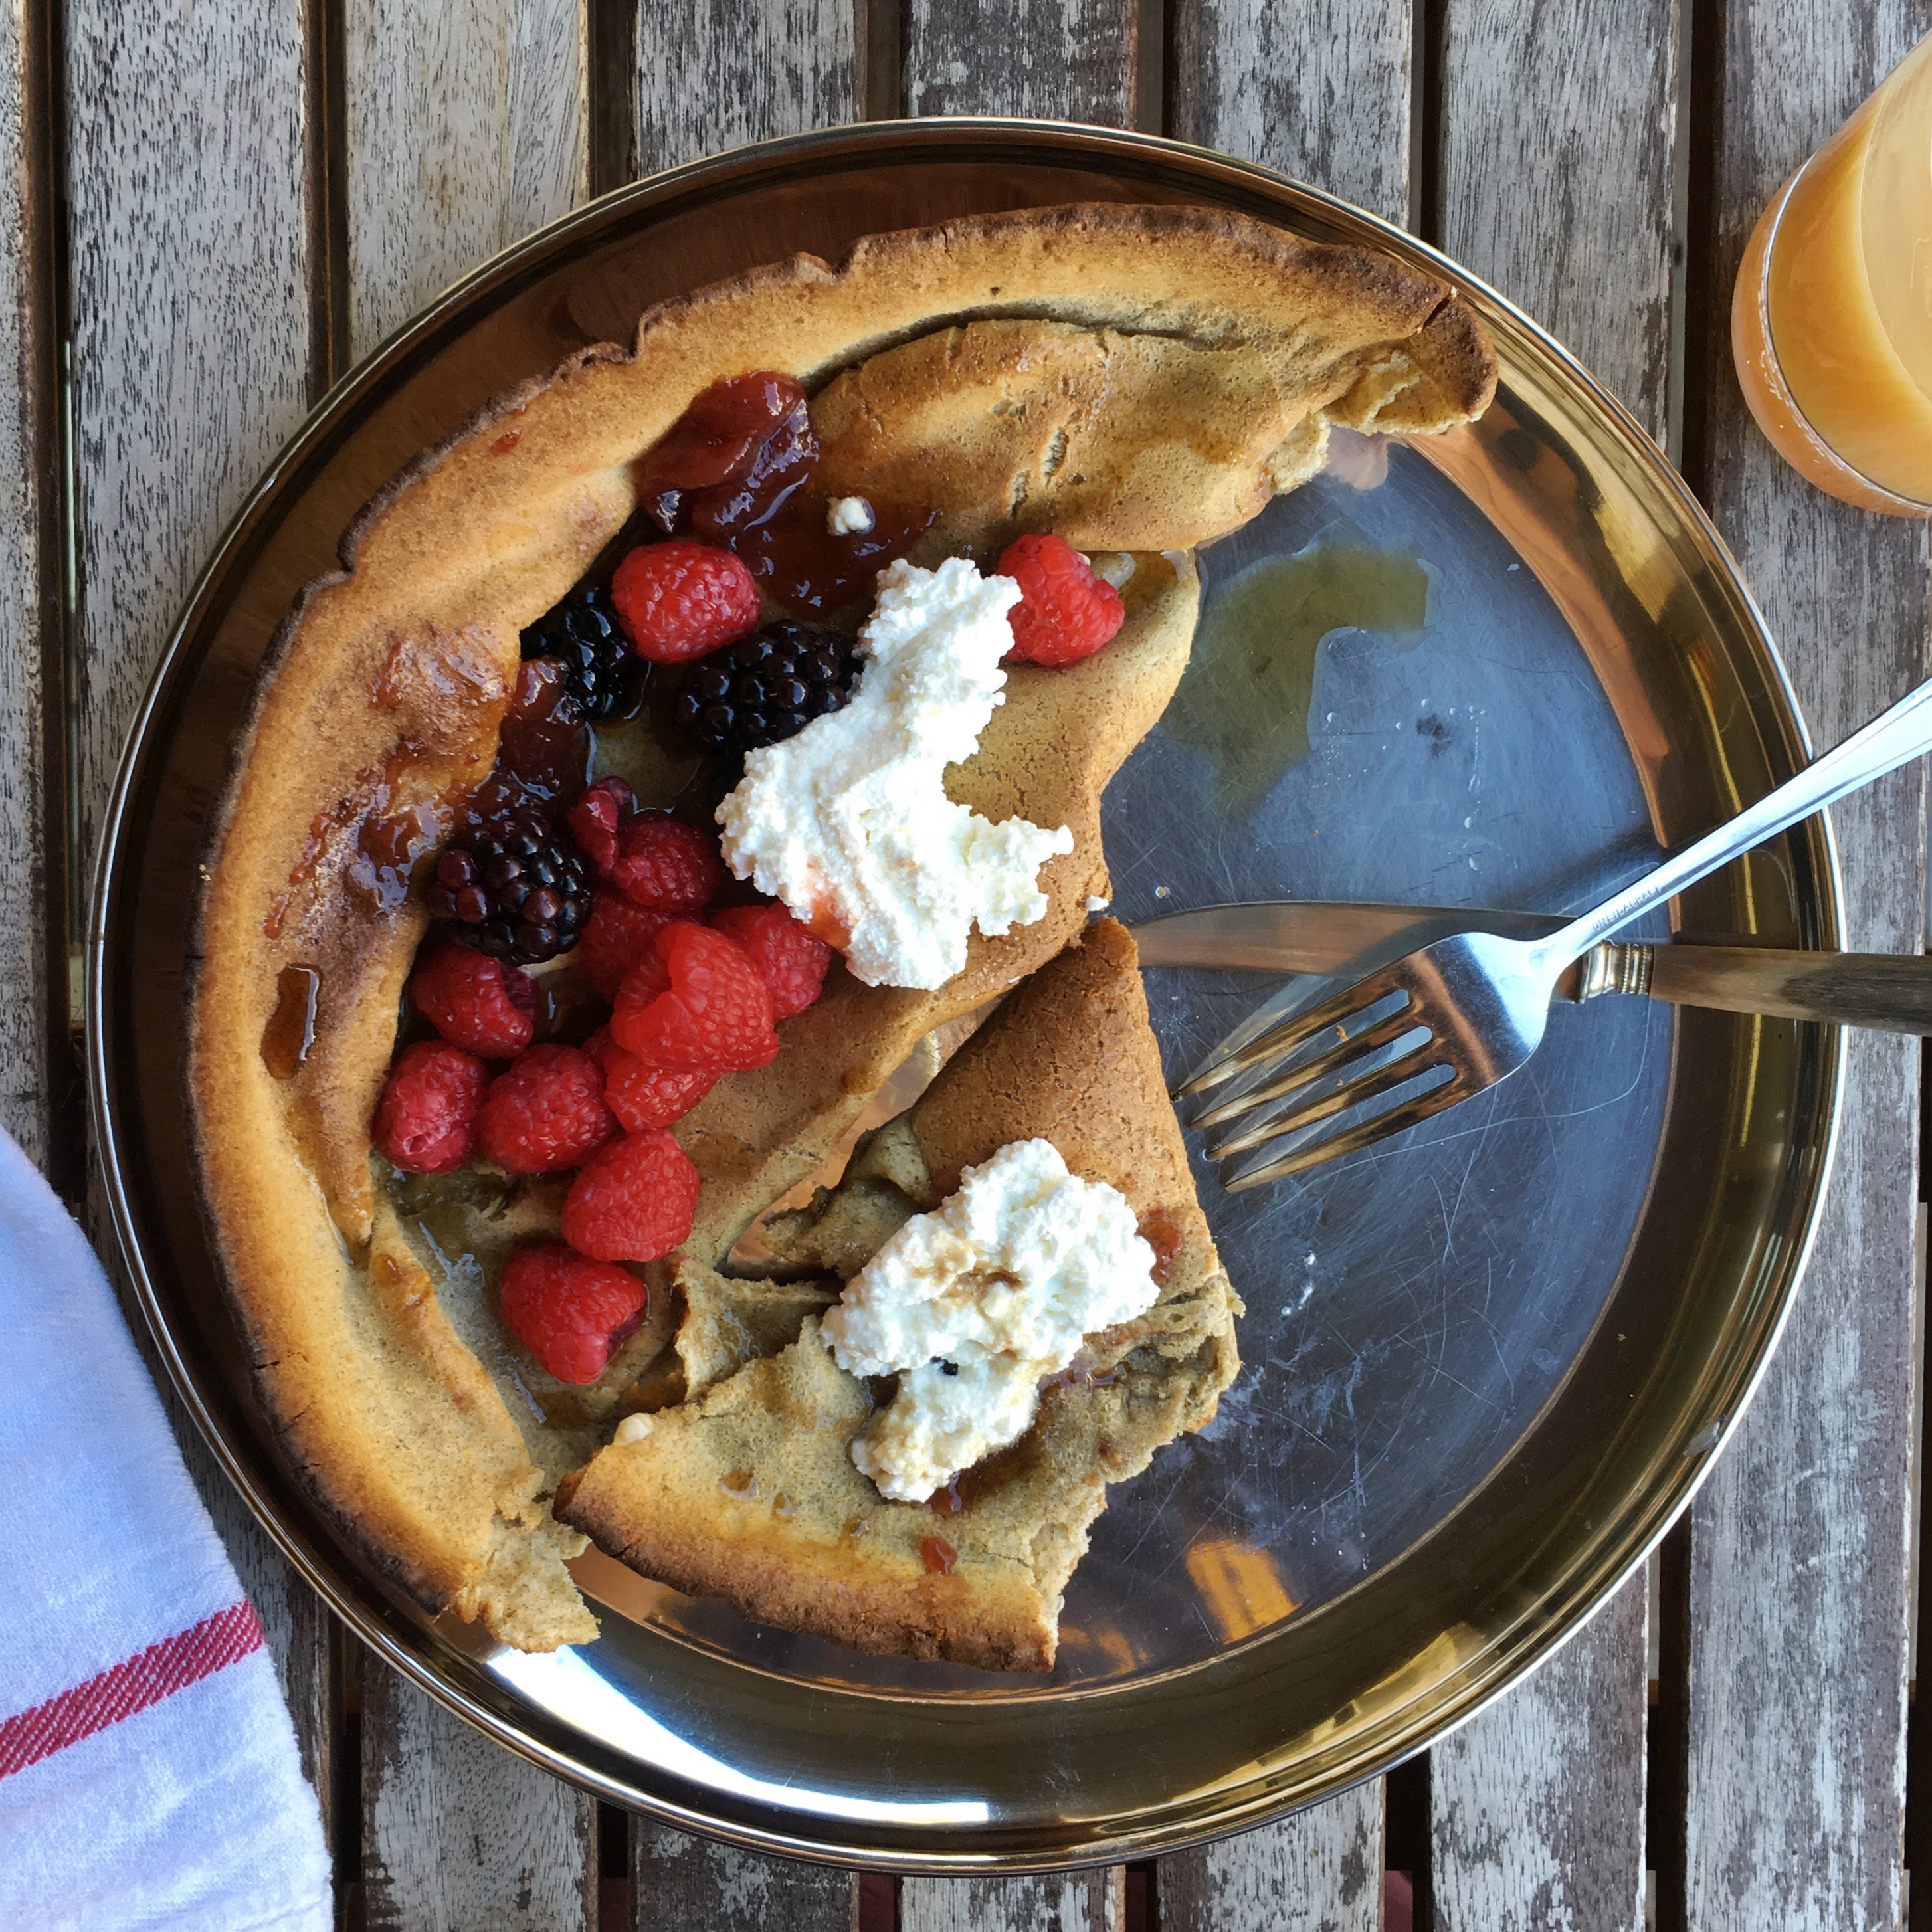
By mid-August, the flowers have turned into dark purple berries, which tip down toward the ground like little berry umbrellas. You can’t eat the berries raw (or, at least, they don’t taste all that great), but when you cook them, their very best qualities present themselves: a deeply fruity berry-grape taste and an intoxicating scent. You can bake with them, turn them into jams and compotes (see my version here), steep them in alcohol (photos here and here), or—my favorite—simmer them into a syrup, which is excellent when diluted with seltzer, or drizzled over yogurt or pancakes. I also love to use the syrup in my kombucha (during the second ferment, for you all kombucha brewers out there).
Aside from their lovely sweet-tart taste, elderberries are highly nutritious and medicinal. They are rich in flavonoids—the natural compounds with antioxidant qualities that protect cells against damage or infections—and contain vitamins A and B, along with significant amounts of vitamin C and amino acids.
Elderberry has long been known as one of the most effective medicinal plants for preventing and treating cold and fever, and it also stimulates the immune system. Many people take a shot of the syrup a day during winter to stave off viruses. In fact, Whole Foods and Amazon both sell tiny 3-oz bottles of the stuff for over $20 a piece! Even more reason to make your own (recipe below).
If you’re new to foraging elderberries, this link provides a great resource for positive plant identification. Once you find the berries, the options for using them are endless!

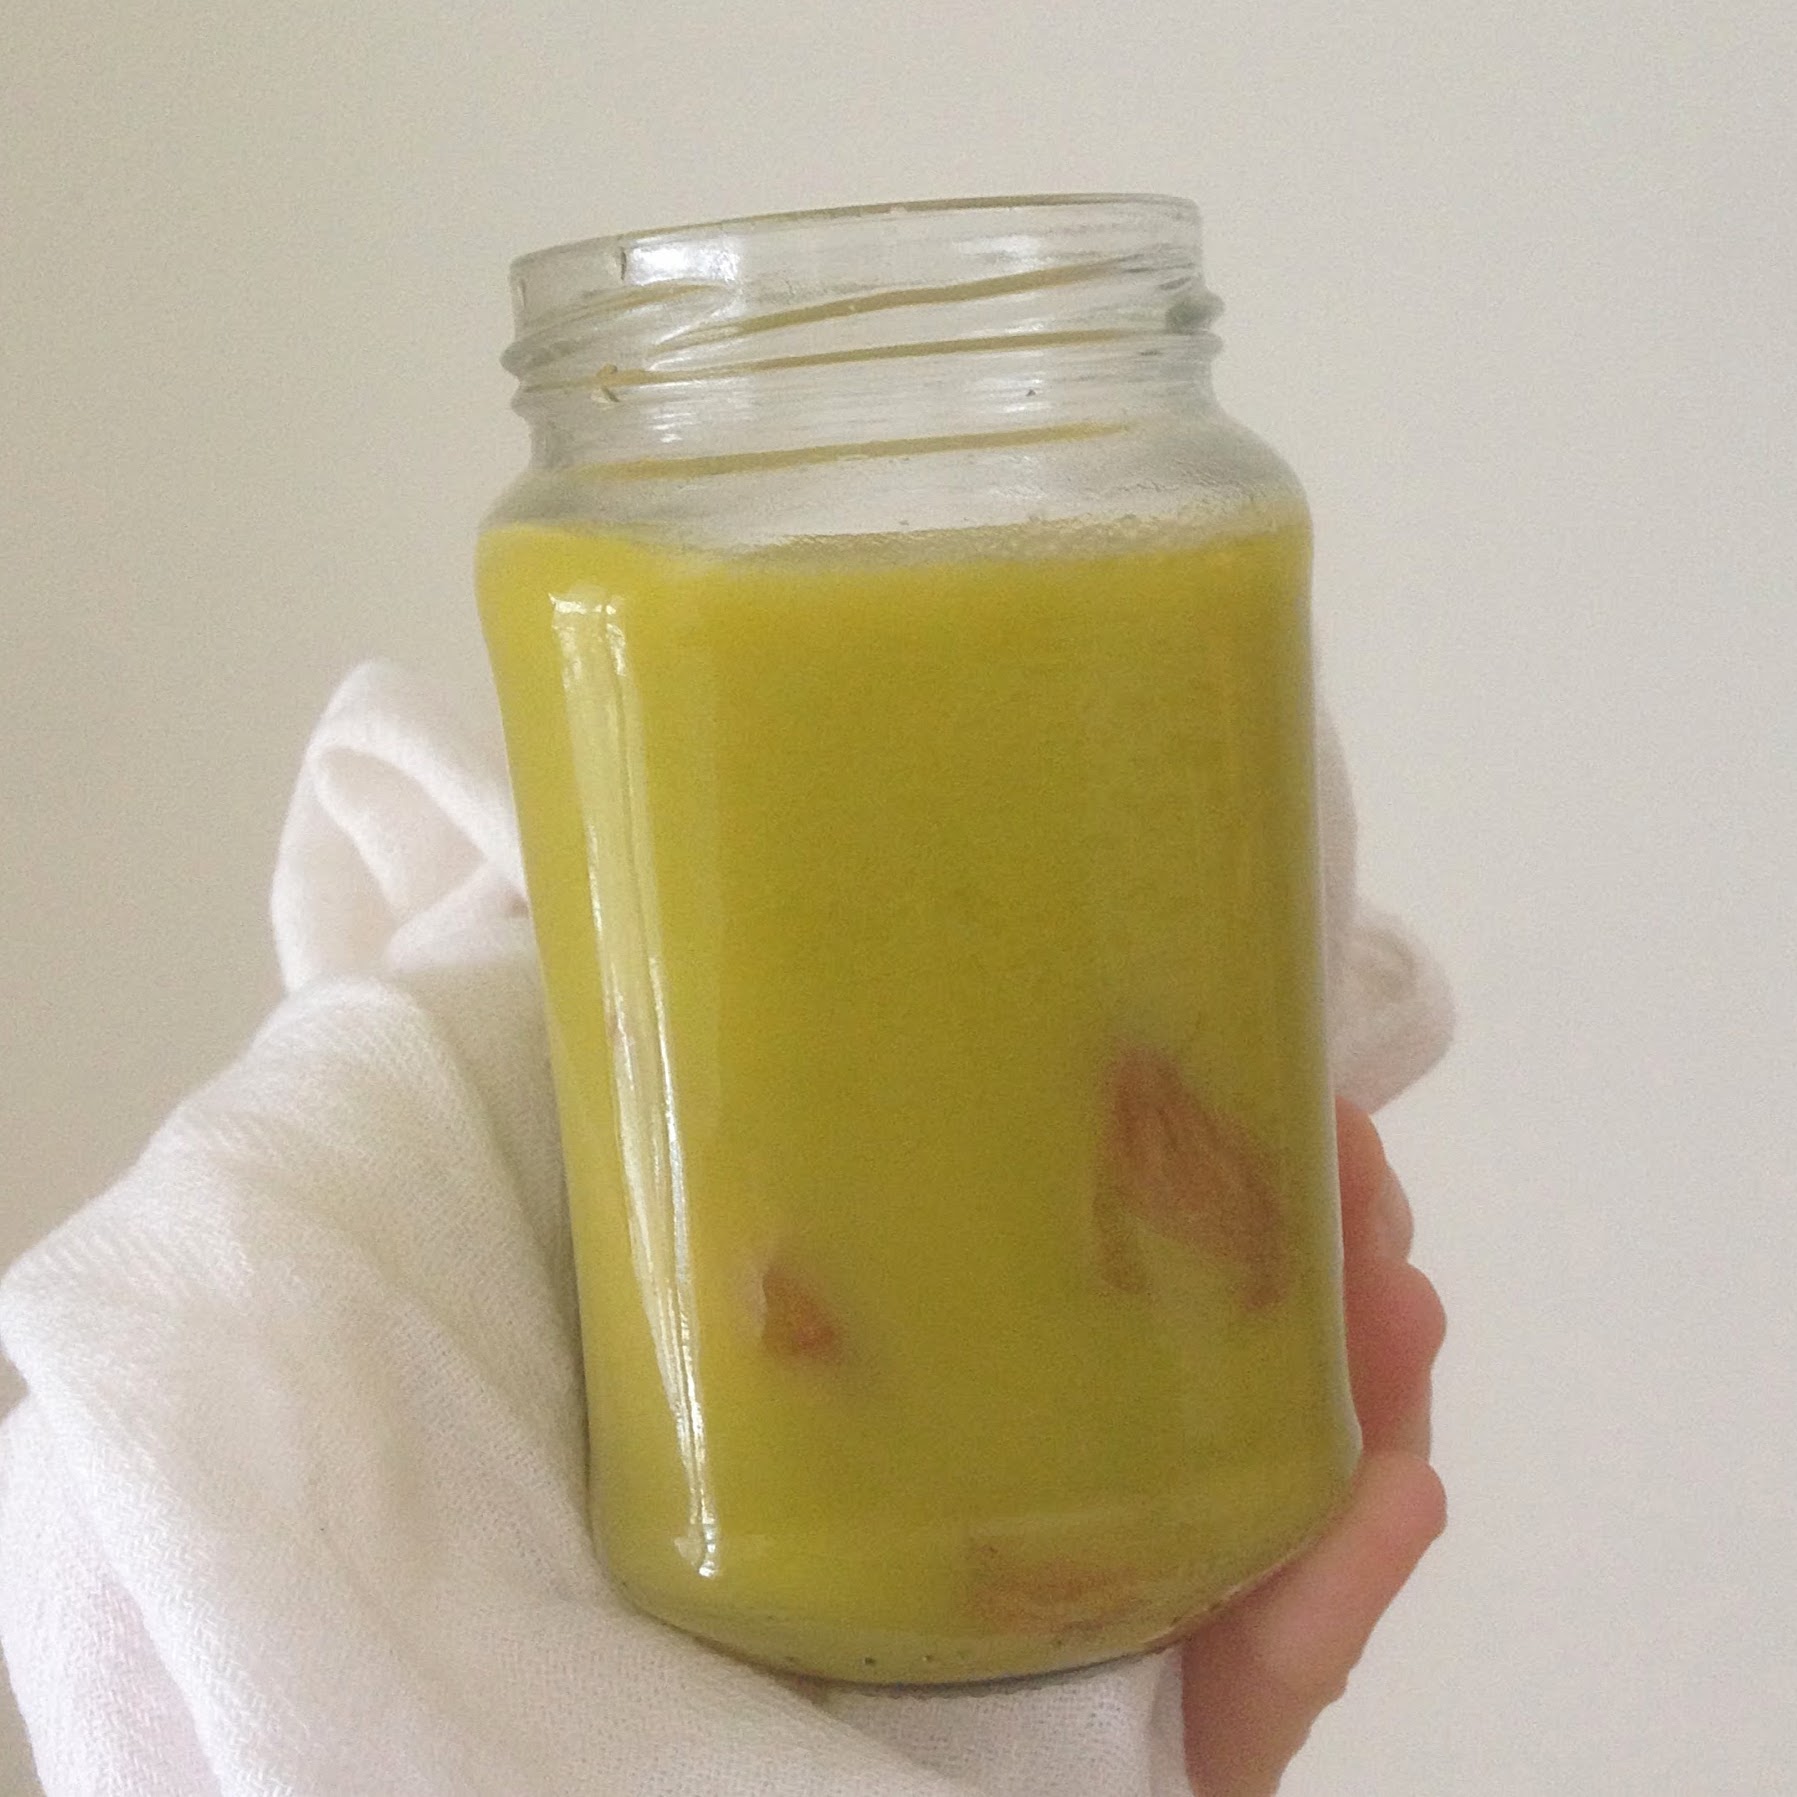
Raw honey + strained liquid.

Be sure to combine well.
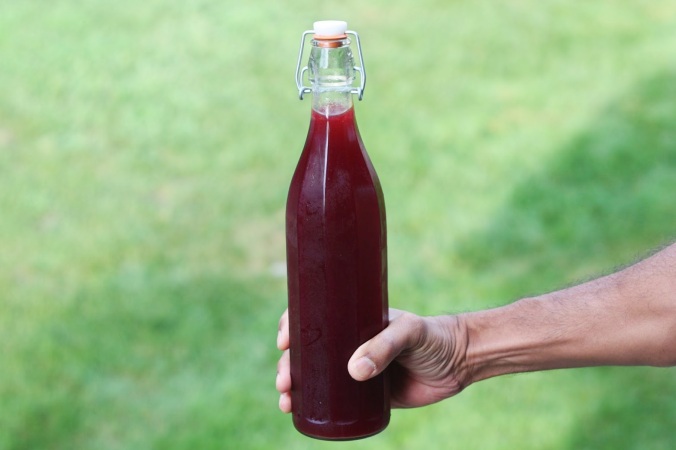
Bottled syrup.
Elderberry Syrup
Once you collect your ripe elderberries, the most time-consuming part is removing the berries from the stems (see photo above), which cannot be consumed. I find the process really relaxing though—get some tea, sit outside, and start tickling those berries off their little umbrellas. // As for the syrup, feel free to swap or add in whatever spices you like (clove or anise are nice too). I like to use raw honey as it ups the nutrition factor even more—it contains live enzymes that are good for your gut—but regular honey is fine too. // Yield: 3 cups
3 cups fresh elderberries, washed, unripe berries discarded
6 cups water
2-inch piece fresh ginger, peeled and chopped
1-inch cinnamon stick
1 whole vanilla bean
1 cup raw honey
Combine everything but the honey in a large pot (I like to scrap the vanilla bean seeds into the pot, then throw in the pod too).
Bring the mixture to a boil, then reduce to a simmer. Simmer for at least one hour, or until the liquid is reduced by half (I can usually tell by the streaks/marks left on the side of the pan as it cooks down). Mash the elderberries a few times while it’s simmering, if you happen to be in the kitchen. The scent will be intoxicating.
Once reduced, let the mixture cool to warm (about 100°F degrees; if it’s any warmer, it will kill off those good enzymes in the raw honey), then strain into a large bowl, mashing the berries in the strainer to get all the juices out. If a few pieces get through, that’s fine.
Whisk in the raw honey until thoroughly combined, then bottle. Refrigerate indefinitely and use however you like—in seltzer, over yogurt and pancakes, or on its own as an immune-boosting shot.
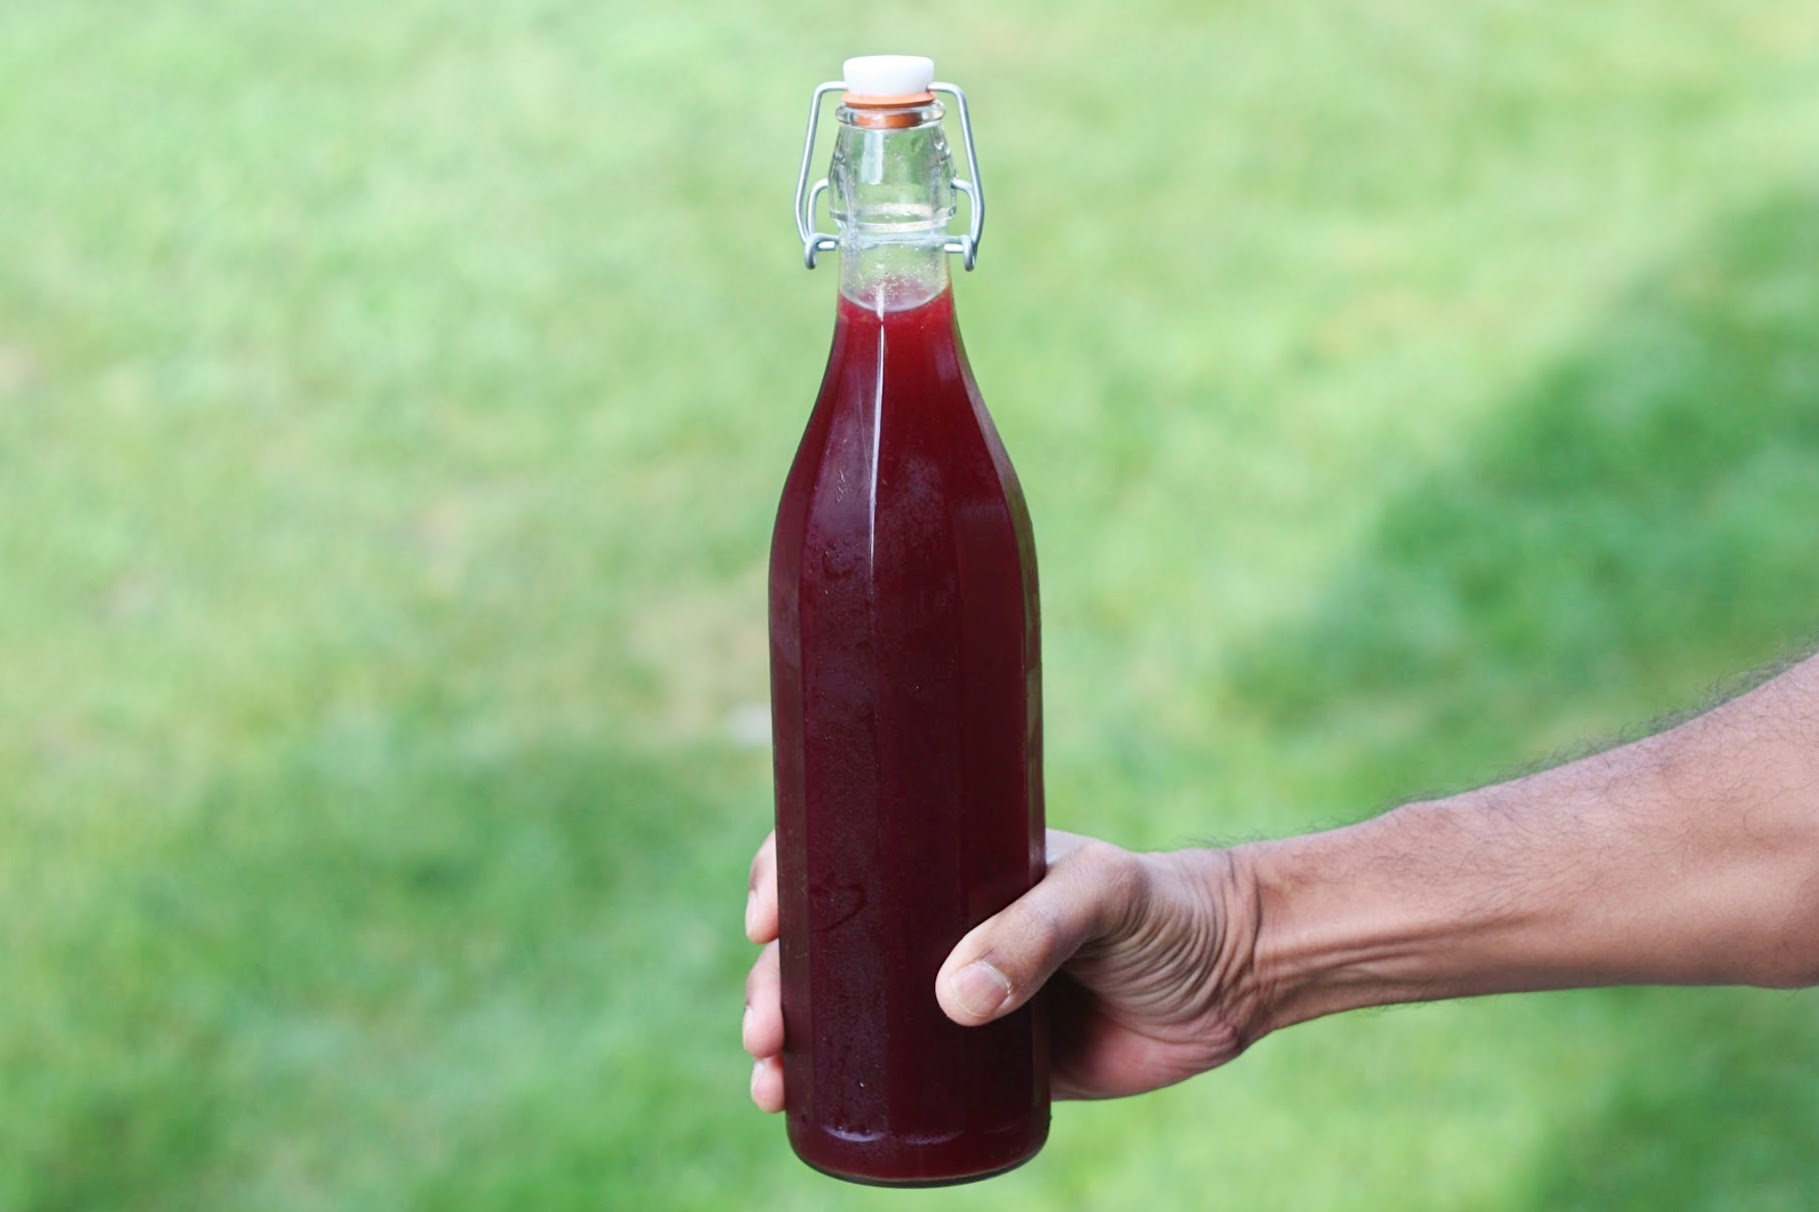
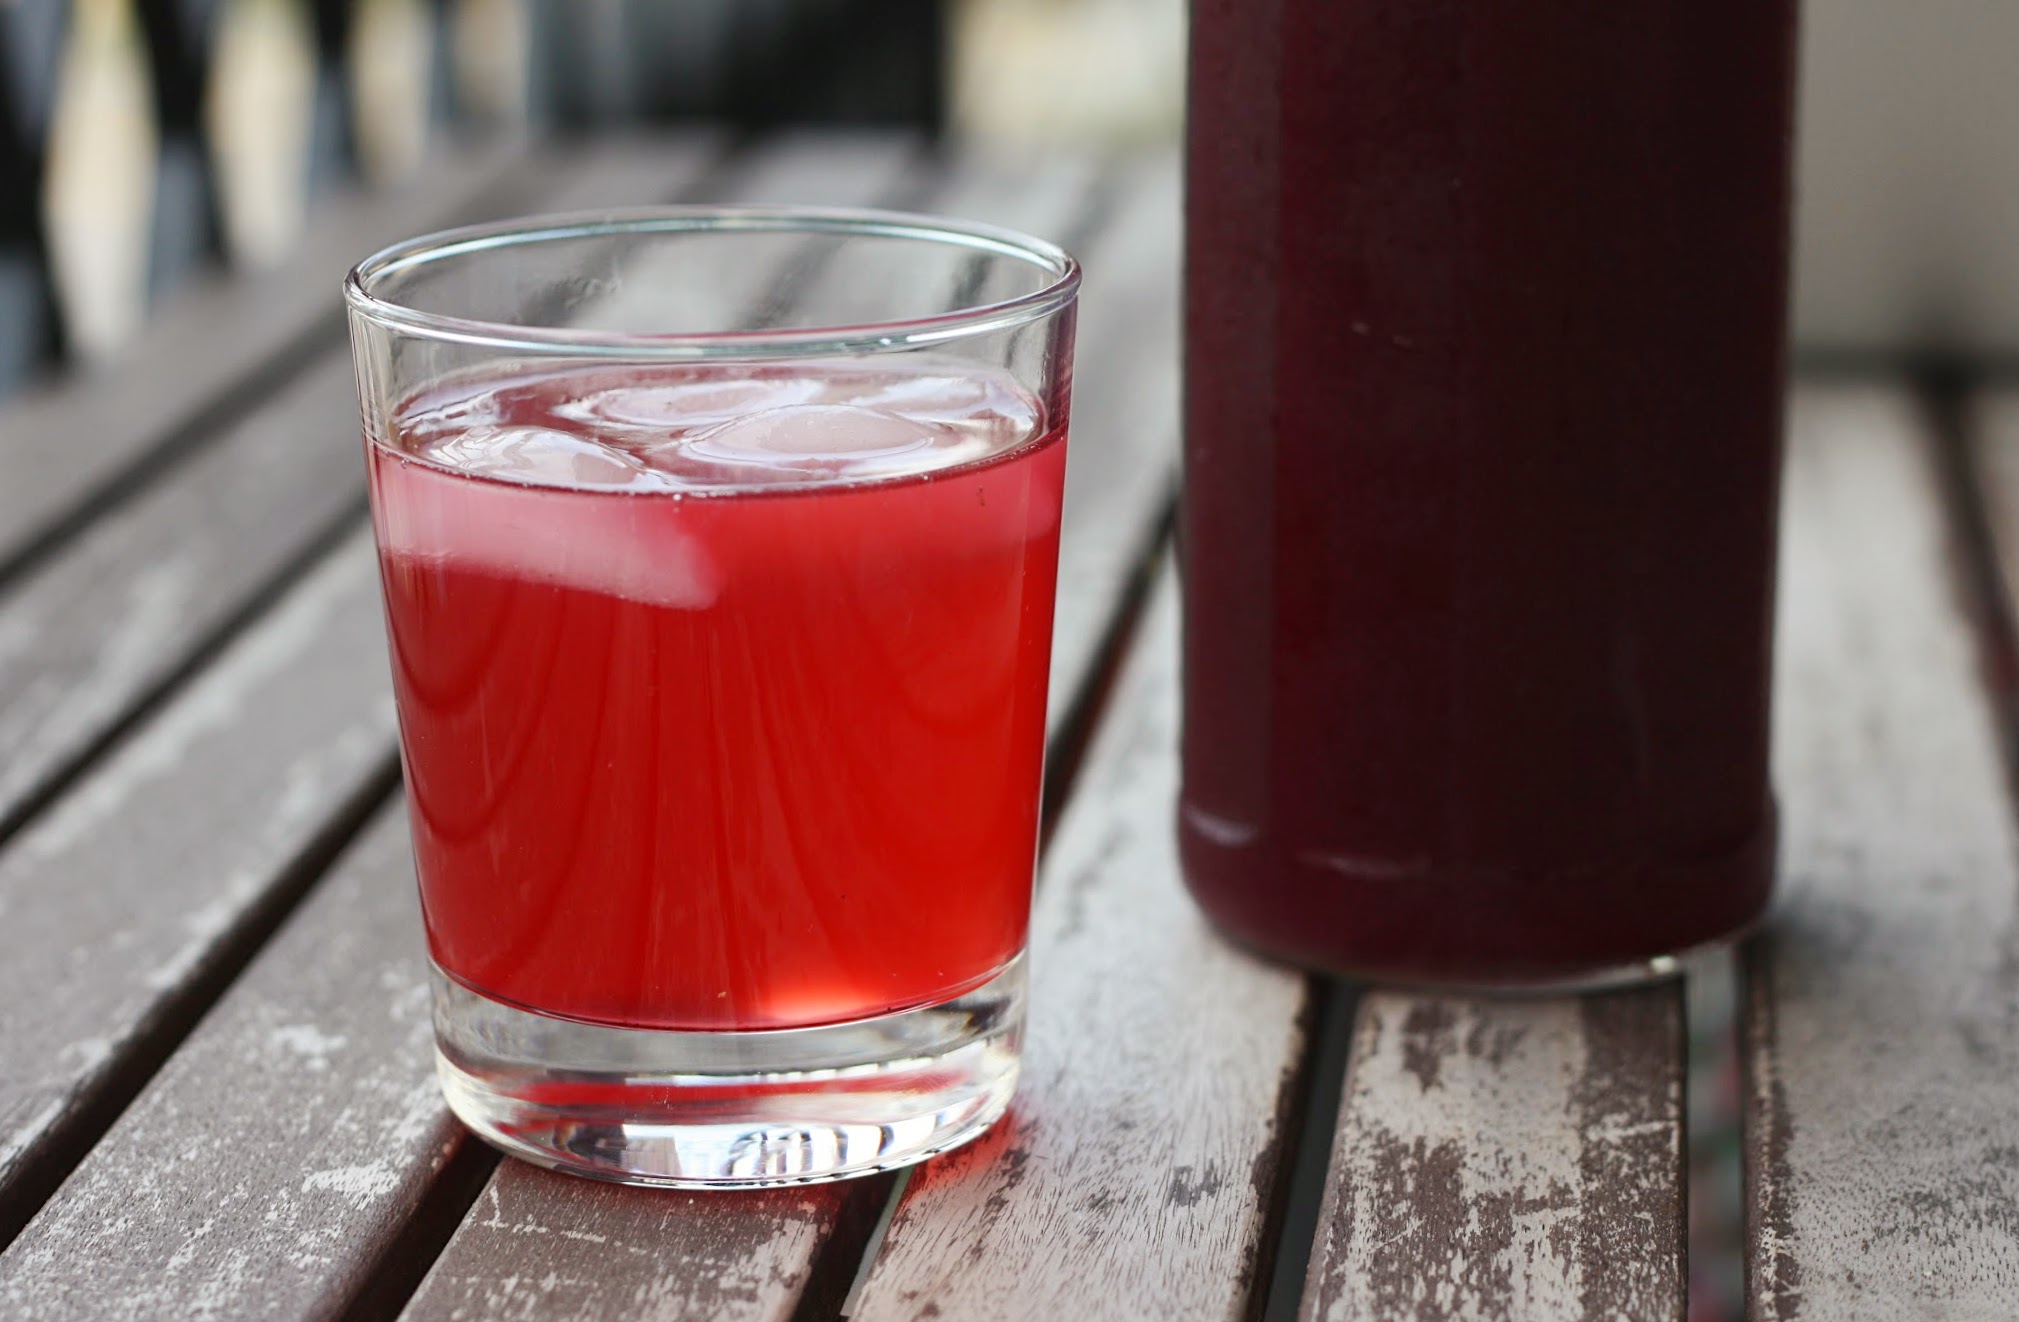
For Elderberry Kombucha: Add 1/4 to 1/3 cup of the syrup to a 750-ml swing-top bottle and fill the rest of the bottle with brewed (fermented) kombucha. Let sit on the counter for 2 to 3 days, or until effervescent and fizzy. Refrigerate. Serve over ice.

Elderberry kombucha (syrup behind it).