My mom comes to visit at least once a year. She stays a few days, and, unasked, does all my laundry, mending, cleaning, and so on. She claims she “enjoys” doing these things and of course I do nothing to dispute that.
We do try to add in a few activities and outings other than chores when she comes to stay, of course, and those usually include checking out new places/museums/shows, eating semi-fancy meals out, and cooking Indian food at home for her (she is a big fan).
A few years back, she came to visit around Mother’s Day and I felt like I really had to up the ante. Knowing she loves the outdoors as much as I do, I signed us up for a “Wild Coastal Edibles” walk, which I found while browsing my local conservation area’s website (not being a native New Englander, I’m always looking for new parks and areas to explore). The walk was led by author, environmentalist, and wild foods enthusiast Russ Cohen, and for four hours on a Sunday morning, he took us around Marblehead, Massachusetts and taught us all about the wild plants and weeds right under our noses that we could safely pick and eat without harming ourselves or the overall vegetation. We picked garlic mustard, chickweed, dandelion, sassafras (smells like root beer!), nettle, elderflower, kelp and kombu (seaweed), beach peas, and so much more. After the walk, he treated us to a spread of foods he had already prepared using some of these foods. The knotweed crumble bars still haunt my dreams—they were so fantastic. Needless to say, Mom and I loved the walk so much that we still talk about it. If you ever find one of these walks in your area, it’s definitely worth checking out!


After the walk, I bought a couple of books on wild edibles and an app (“Wild Edibles Forage” by “Wildman” Steve Brill) for my phone, but most of what I know I learned on that walk. Foraging is just so fun. It gives you a chance to learn about what’s around you and really interact with your environment and the bounty it can provide. You also sometimes happen to run into cool people doing the same thing as you—old Greek and Italian men in particular (usually hunting mushrooms or wild greens). Foraging is an age-old tradition and I’m all about bringing it back into style.
Since moving to New Hampshire last year, I’ve found a few different edibles around where I live. Most I find just by walking or cycling by and seeing them. I then take a photo and/or inspect the plant for positive identification (usually using my app) and make sure it’s in a place where it’s okay to pick. Many plants, even in parks, are fine to pick responsibly, so long as you are only helping the situation—for invasive plants, this usually means pulling out the whole plant, so it doesn’t keep spreading; for non-invasive plants, this usually means picking only part of the plant, so it can easily keep producing/reproducing. Check with your local park for their rules and regulations. It goes without saying that any edibles on someone’s property should only be picked with permission (though I usually find this is readily given… especially in the case of dandelion greens and other weeds). And be sure no spray has been applied to the plants.
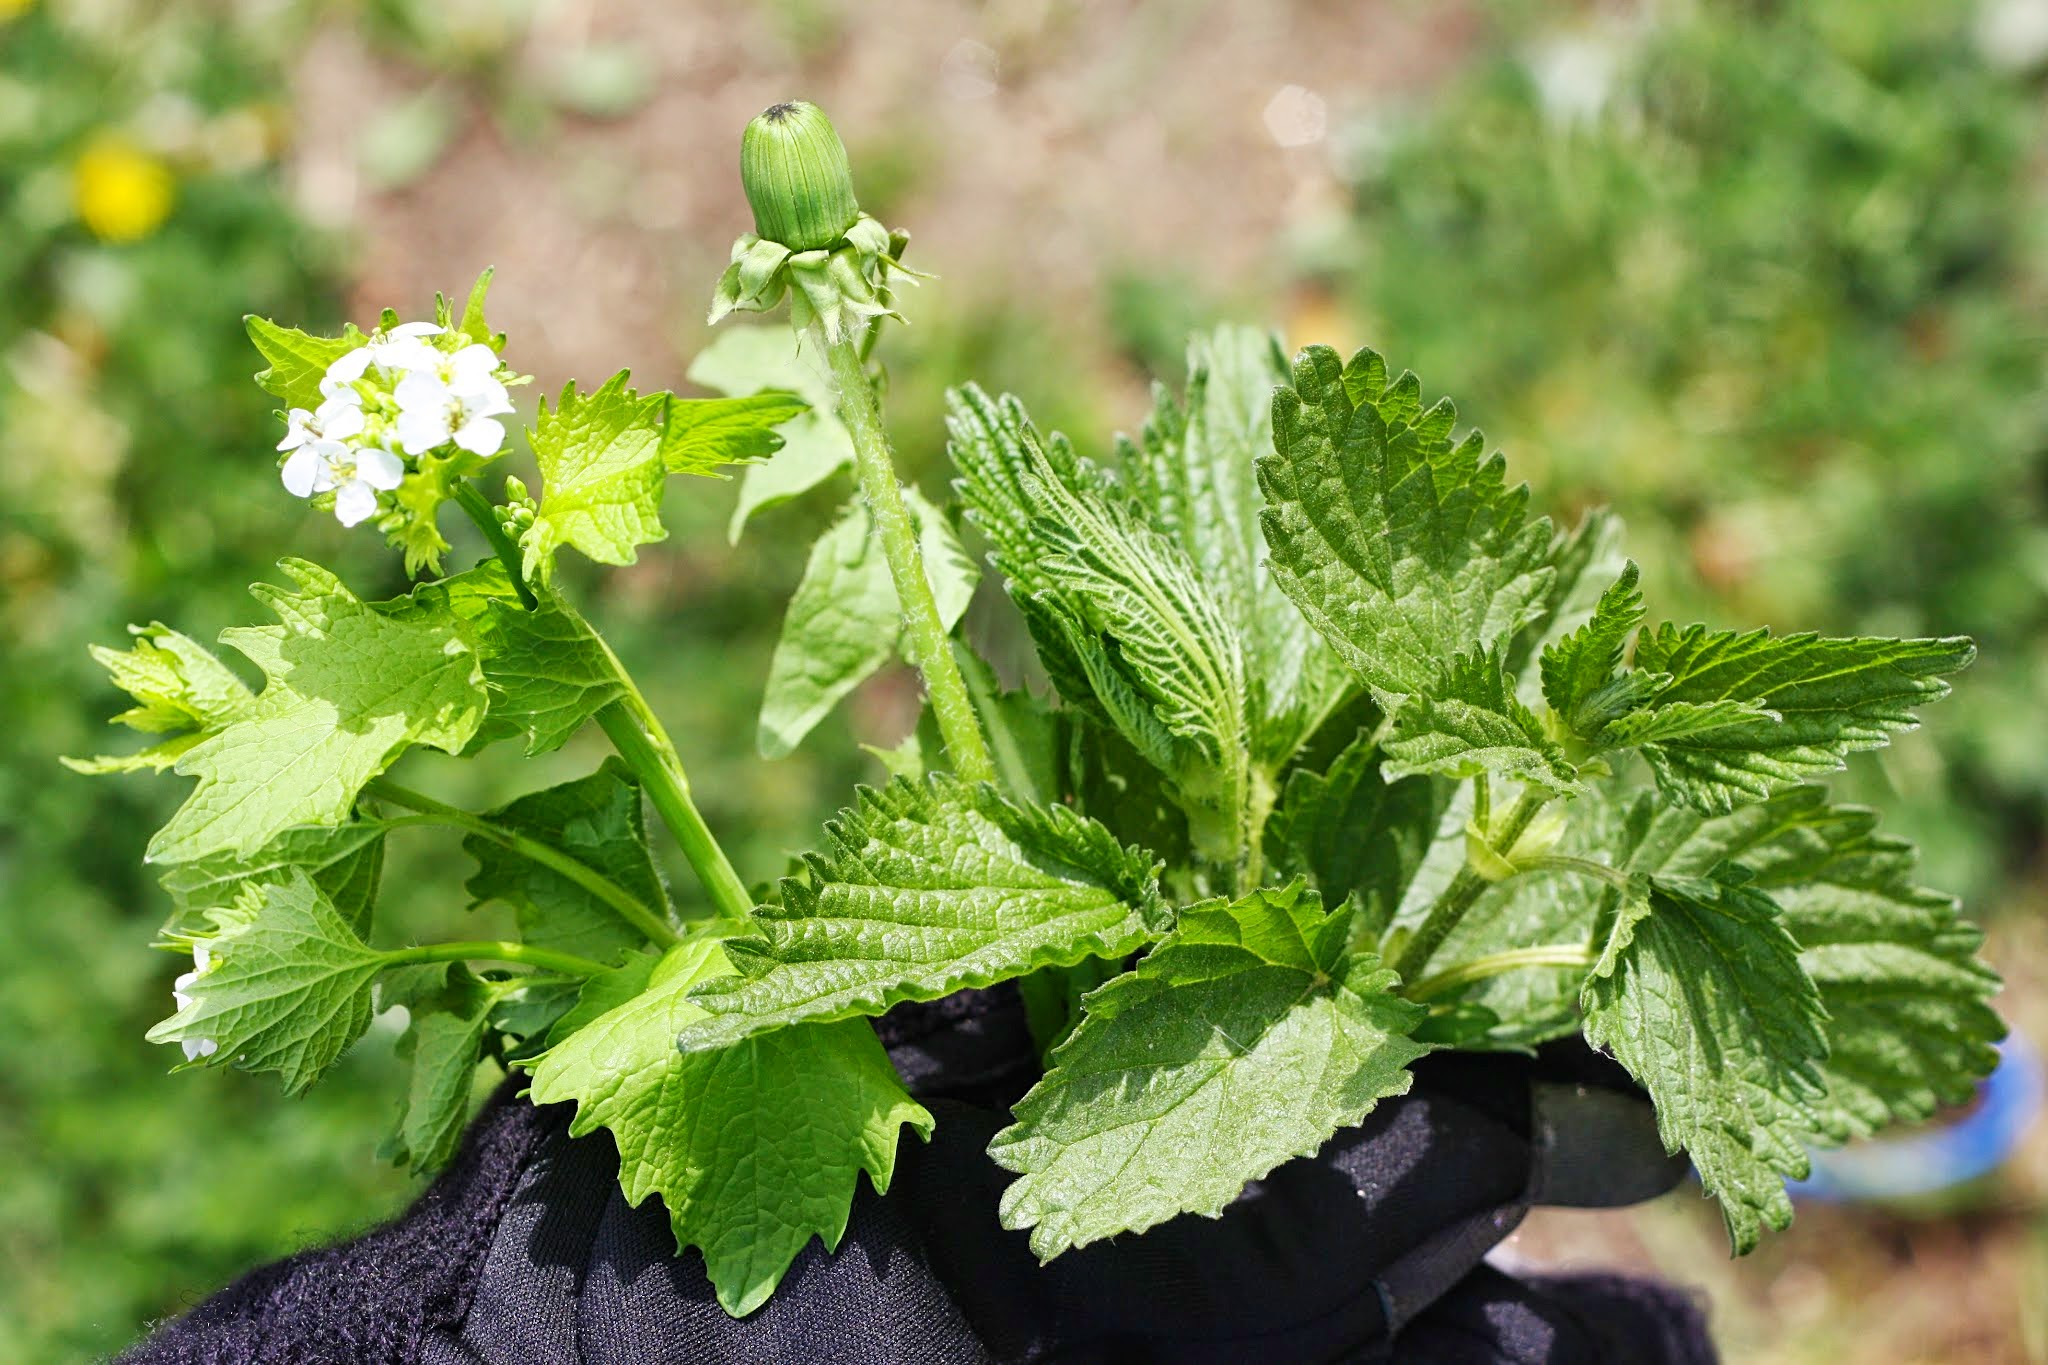
From left: garlic mustard, dandelion, stinging nettle (note gloved hand!).
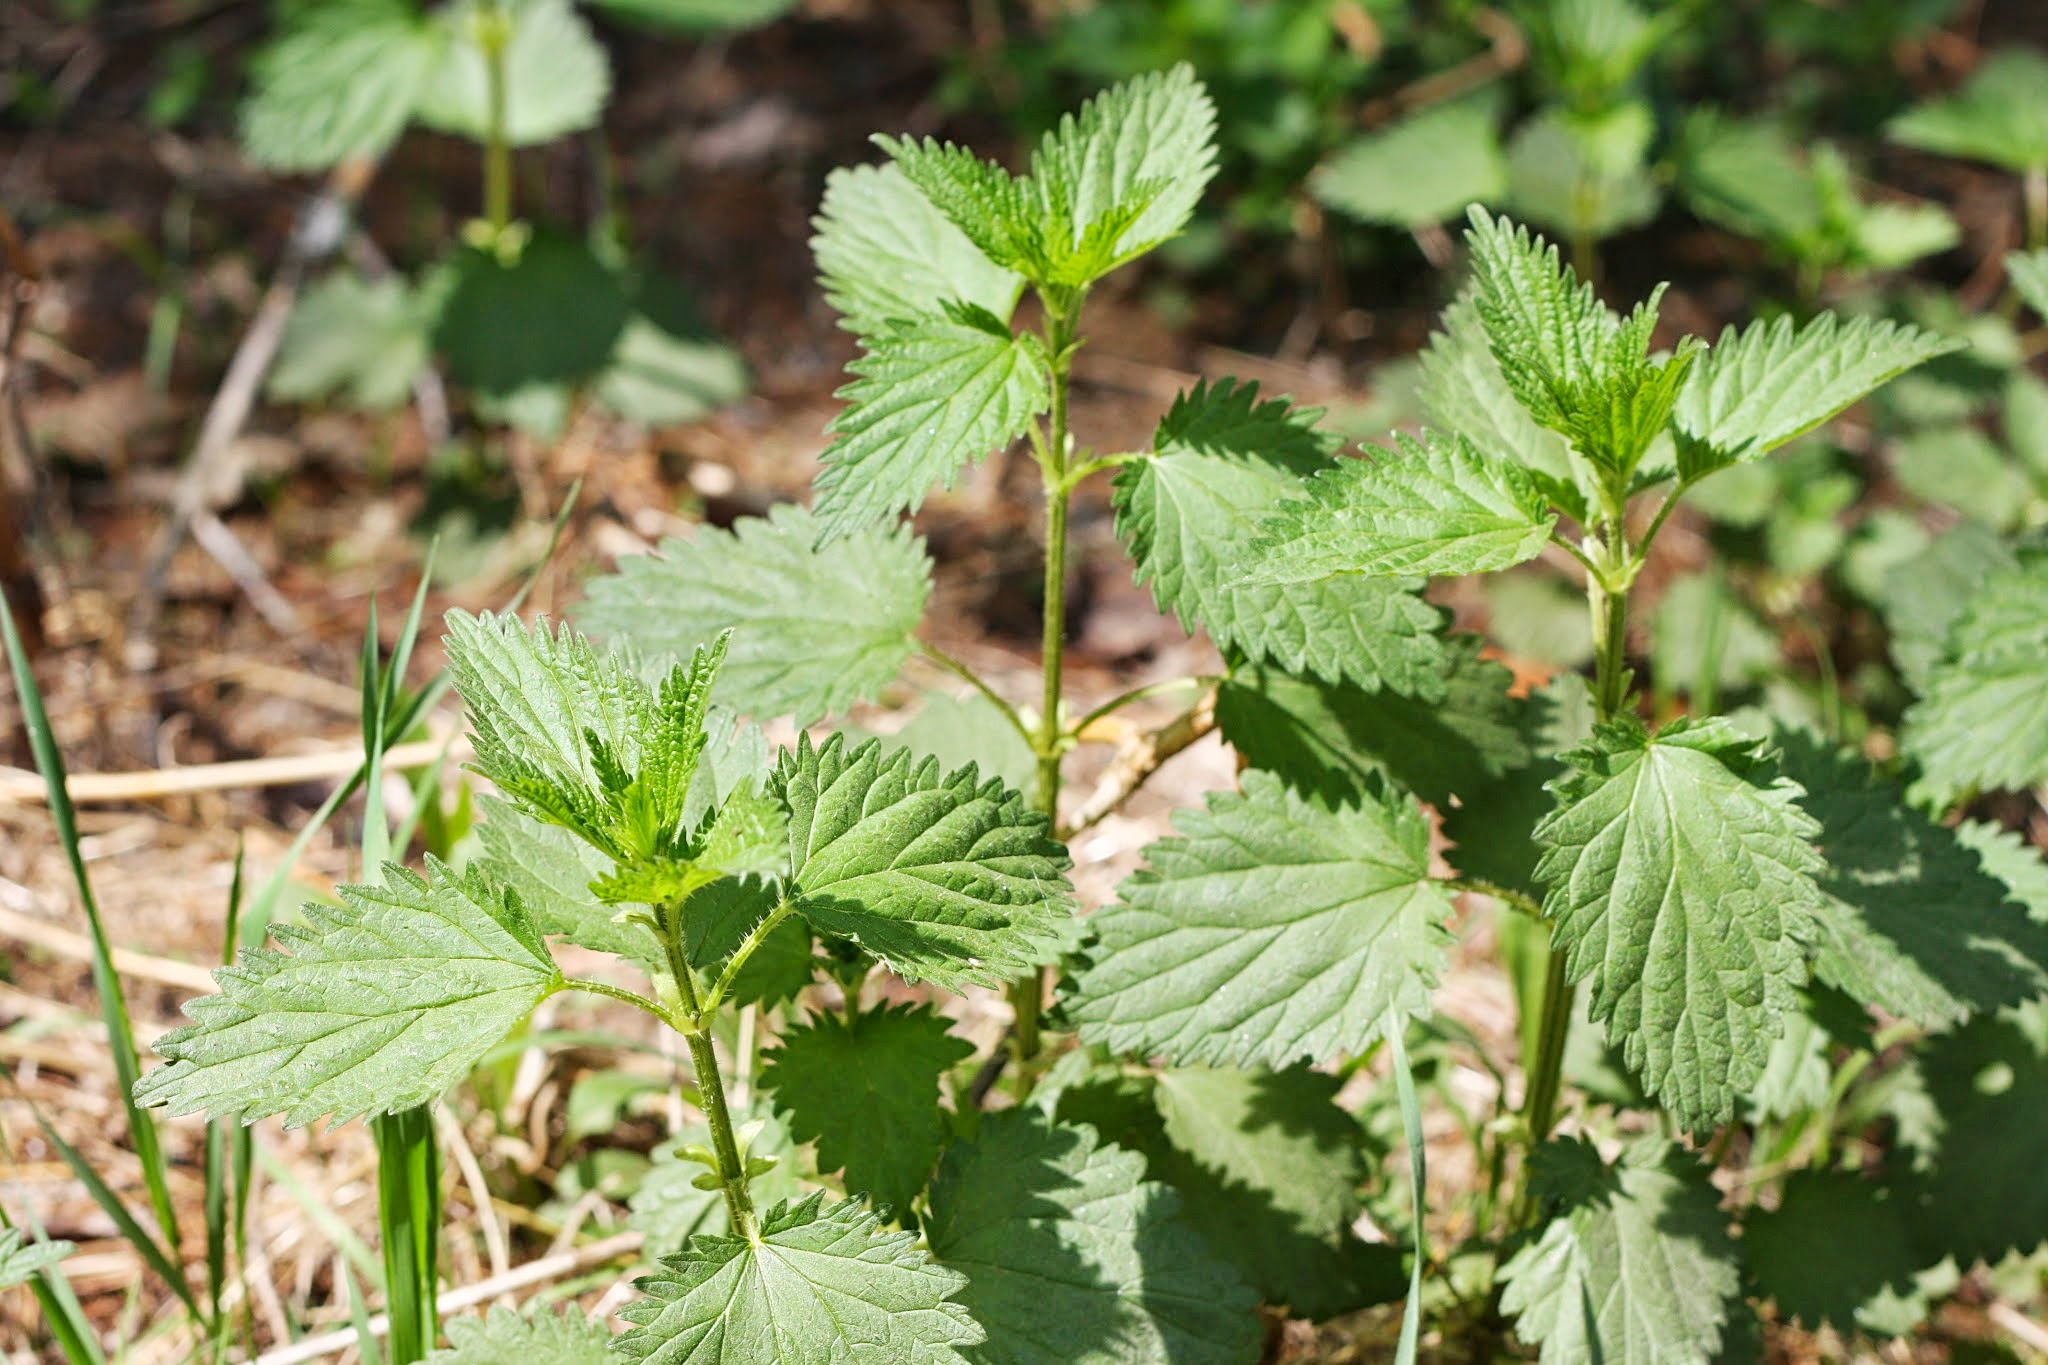
In summer, my favorite thing to pick is berries—blackberries are especially plentiful in the New England area, as our elderberries, which I hope to post about in a few months’ time, when they’re ripe for picking. In spring, stinging nettles are my top pick (literally). It took me a long time to finally find them, but when you do, you know—usually by getting stung by their tiny hairs (the pain is temporary and nothing major). They grow near a stream on a dead-end road I walk in my neighborhood. I feel comfortable picking them from there because it’s rural road with hardly any traffic and the land is conservation area.
Nettles, once cooked, taste like an earthy spinach, and go exceptionally well with pasta, eggs, or anything creamy. They are one of the most healthful foods on Earth, with more protein than any other green. They’re also very high in iron, calcium, magnesium, potassium, manganese, carotenoids, vitamins C, K, and B-complex, and more. Nettles have long been thought to help treat the chronically ill, especially those with iron deficiency, and have also been used as a diuretic aid and an anti-inflammatory. This link provides more info should you be interested.

Ready to be picked! I’ll snip the top 5 to 6 inches (or 2 to 3 sets of leaves) of these plants.
I know ramps are the current darling of foraging and farmer’s markets, but I would not be surprised if nettle took over the spotlight very soon. If you’re interested in picking your own, here’s what you need to know.
Where they grow: Partially shaded, moist, rich soil. Disturbed habitats, fields, open woodlands, edges of trails, thickets, and riverbanks. Nettles can be found in most of the continental U.S., Canada, and Mexico, as well as most of the temperate world.
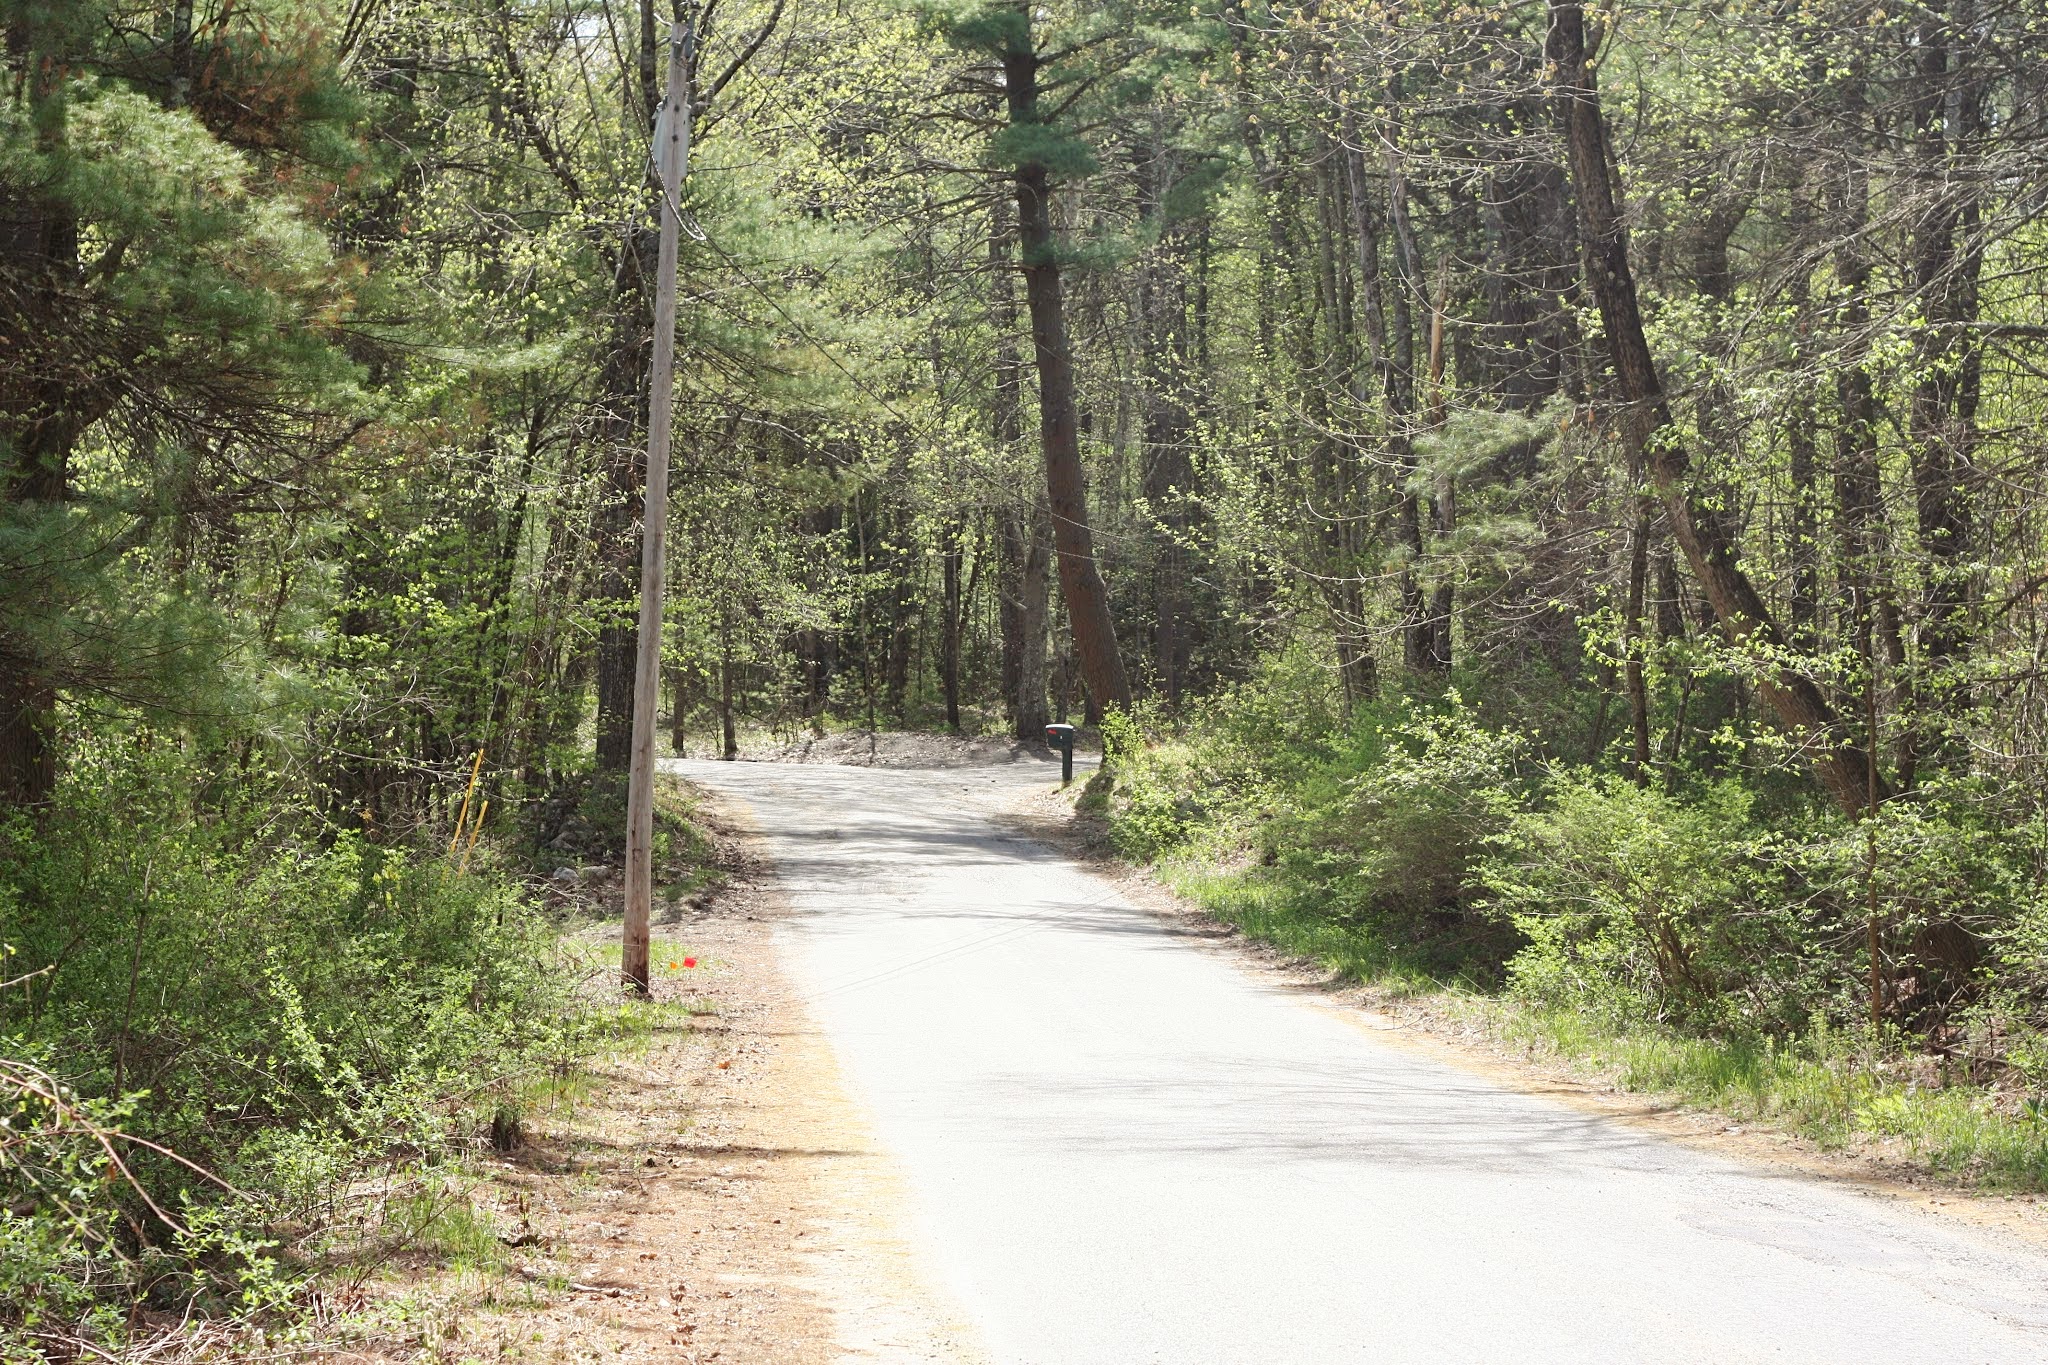
My foraging spot (the little nook to the right is where the nettles live).
When to collect: Early spring, before they flower and become inedible (which is close to late spring/early summer). You can also try collecting them in autumn, when new growth appears.
How to identify: Stinging nettles sting. This causes minor skin irritation (like a bee sting) but disappears within an hour. I was actually pretty excited to get stung the first time because it meant positive identification, but one sting was enough. You should always wear gloves and long sleeves when collecting them.
The stem of a stinging nettle plant has tiny, almost indistinguishable hairs (these are what sting) and is ribbed, four-sided, and hollow on the inside. They grow from 3 to 7 feet tall, though you want to collect them when they’re young, around 2 to 3 feet (as pictured). The leaves are heart-shaped with a toothed edge and pointed tip, and appear in pairs (meaning one right across from the other on the stem); I find the leaves are one of the best ways to find and identify them. When the plant flowers, the flowers are small and green. At flowering stage, they’re past their potential for picking, but you can at least mark the location for next year.
How to collect: Wear long sleeves, pants, and gloves. Using scissors, snip off the top third of the plant, or the first 5 to 6 inches, right above a leaf nodule/pair if you can so it’ll grow right back (and you can collect again). This the most tender part of the plant.
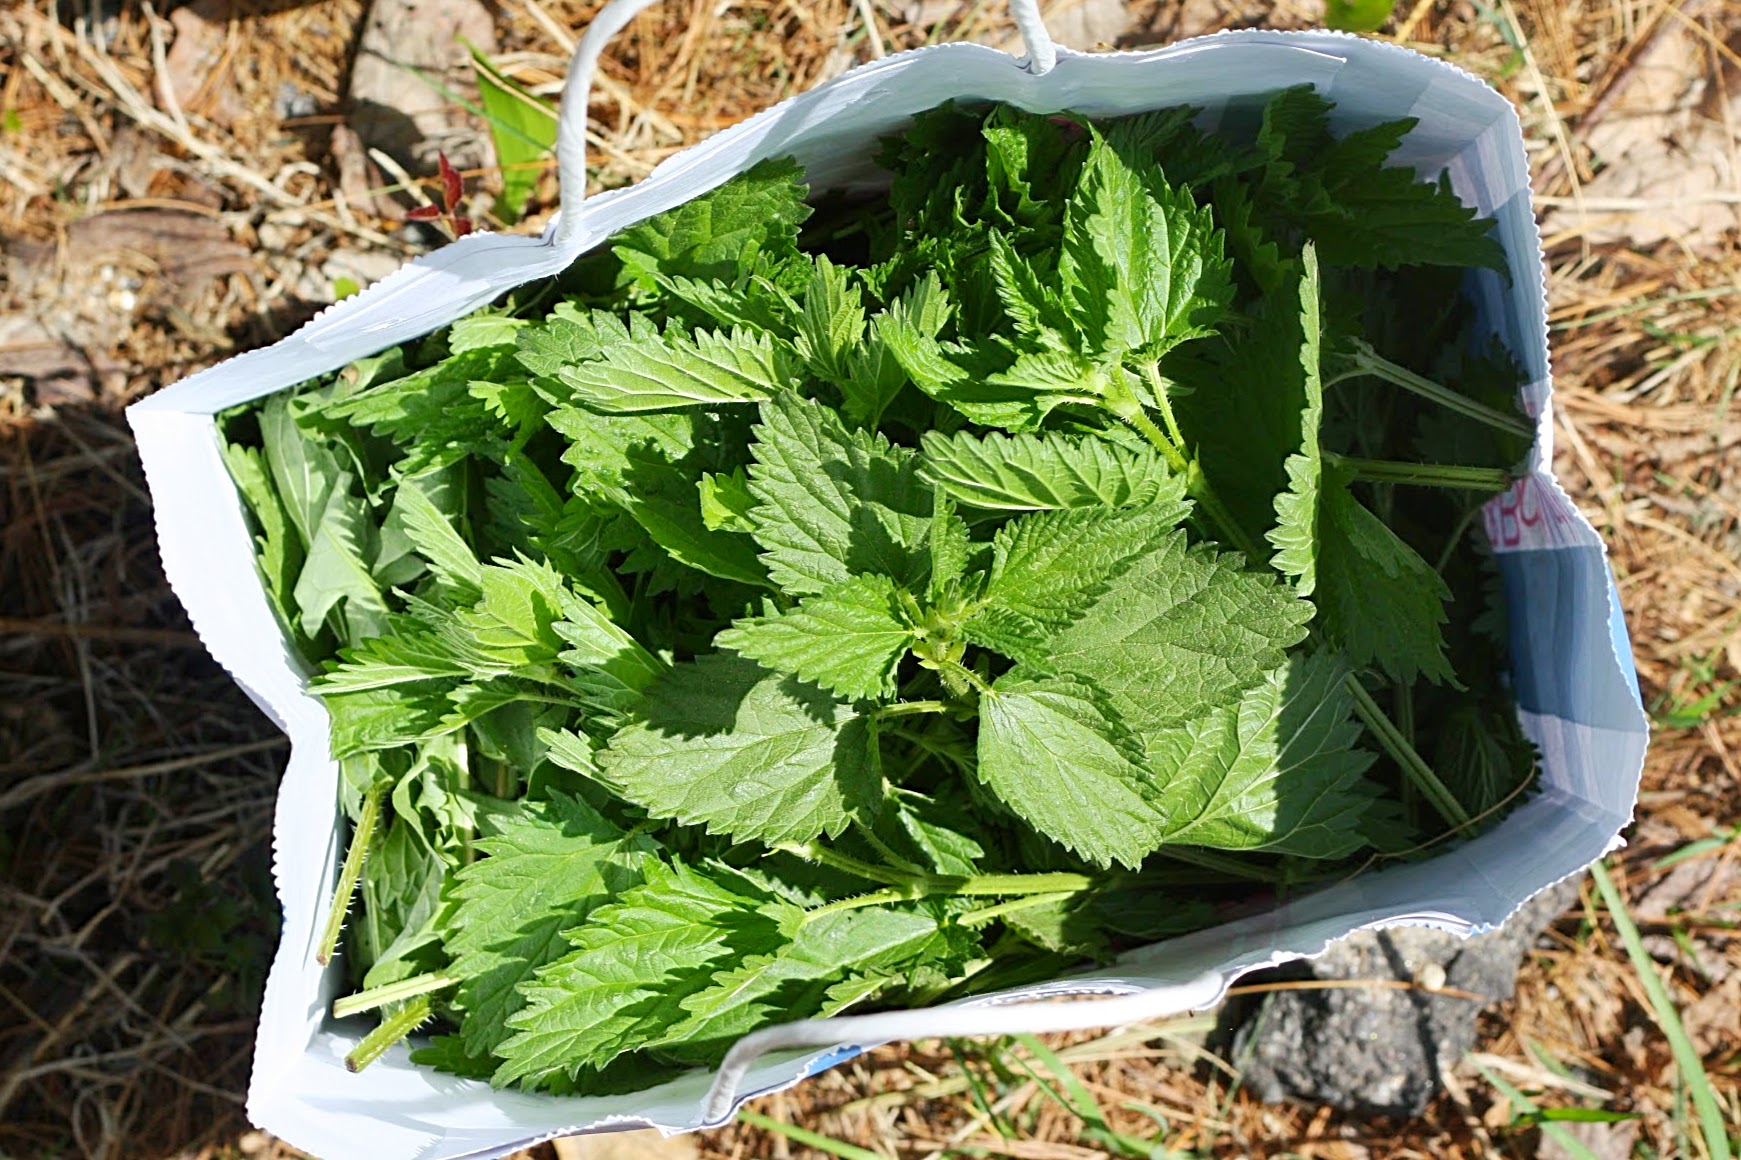
Ten minutes of work yields a full bag!
How to prepare: Rinse thoroughly in several changes of water to remove any dirt and bugs. I like add a little white vinegar to the water too, just to make sure I’ve gotten everything off. I use tongs for swirling/washing so I don’t touch the hairs.
Bring a large pot of water to a boil and add a tablespoon or two of kosher salt. Boil the nettle for about 5 minutes—this will completely deactivate the stinging hairs and make them perfectly safe to eat. You can also steam the nettles for the same amount of time instead of boiling; some say this helps them retain their flavor better than boiling.
Chop up the wilted greens and sauté with garlic and olive oil (and other greens if you like—I like broccoli rabe, but you may want to use something sweeter, like baby spinach, to offset the more forward flavor of the nettle) and add to pasta. Or make pesto. Or add to soups. Or eggs. Basically any place you add or like greens, nettles can go! The leftover cooking water (broth) is also deeply nutritious and can be used in soups. You can freeze the wilted nettle for future use as well.
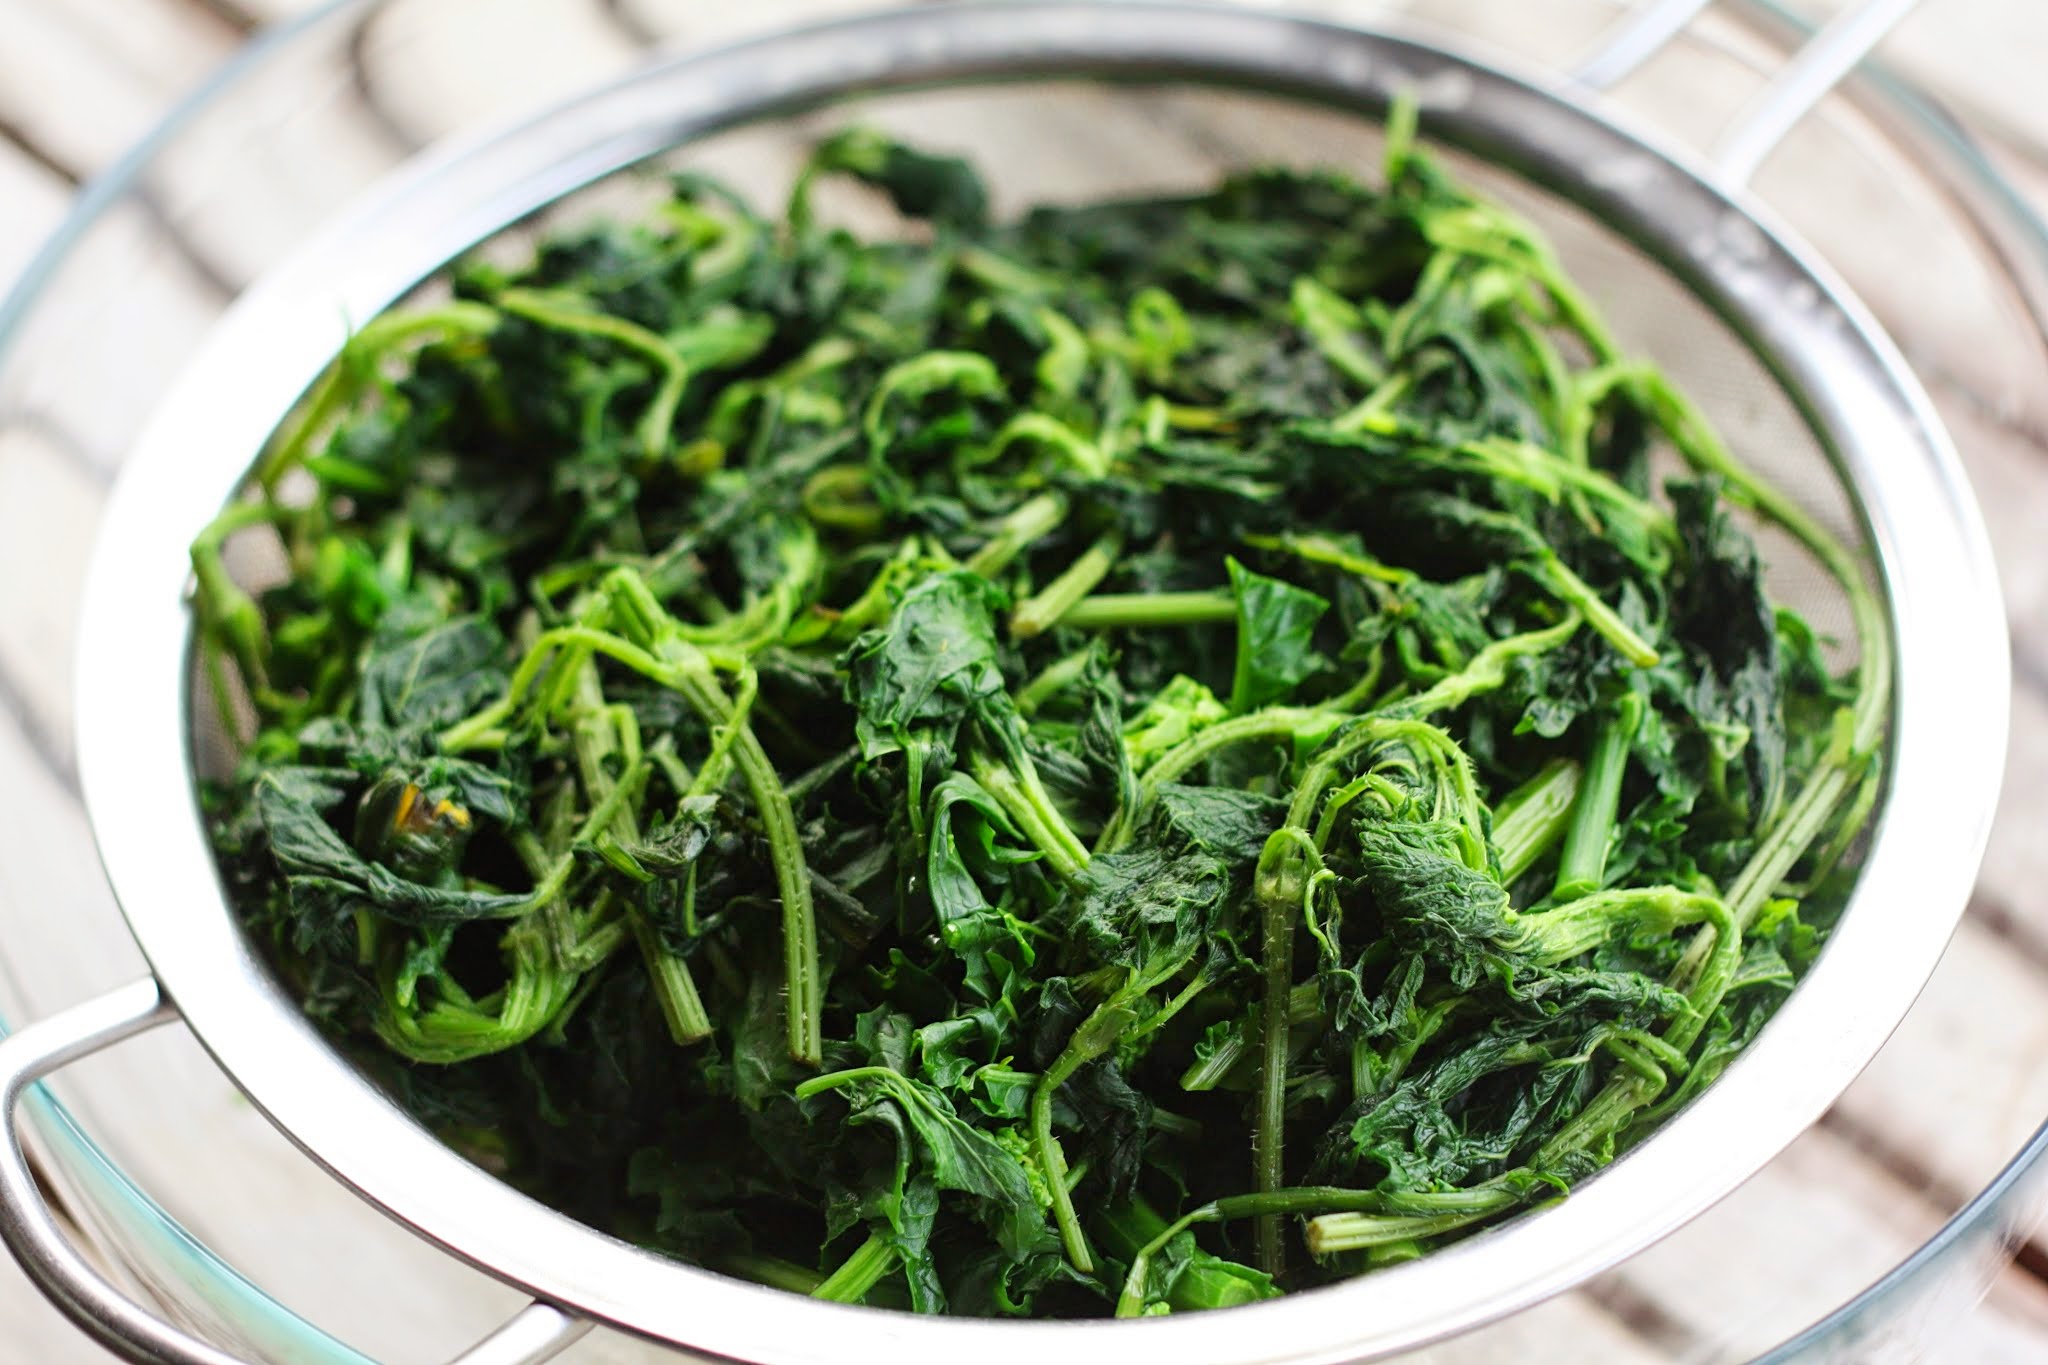
Wilted (cooked) nettle.
With this year’s first batch, I made this Greek wild greens and feta pie (pictured below), using a combination of nettle, dandelion greens, and garlic mustard (pictured above) in place of the chard. It was wonderful. We packed a few slices for a beach picnic, ate some for breakfast, and the rest I shared at work—they were gone in seconds. Last year, I made a big batch of this nettle pesto and froze it for quick weeknight pasta meals.
I know that foraging can seem a little intimidating, but I find the best strategy is to pick one or two plants to look for, and focus on those (get the kids involved too!). And if you happen to get “muggled” as my friend puts it (i.e., funny looks from someone who has no clue what you’re doing), use it as an opportunity to help spread the word! People are genuinely interested, and often end up sharing a great story about how their grandparents used to do the same, or where they’ve seen an untouched patch of berries or an apple tree. Embrace the plants, and the people too!

Greek wild greens and feta pie (hortopita).