The perks of being a cookbook editor are probably pretty obvious—you get to read hundreds upon hundreds of great recipes day after day. Yes, it is fun—and yes, it is exhausting. I liken it to going to the grocery store and buying one of every single thing in the store. You can make so…many…things…! The possibilities are endless! But where do you even begin? What do you do?
Simple. You faint like an over-excited goat.
(Sorry, too great not to share.)
Really though, this is what actually happens: You bookmark all your favorite recipes while you’re editing, tell everyone at lunch about your grand cooking plans—then forget about it all completely by the time you’ve reached home at 7:30 pm. You eat Chipotle for dinner.
BUT WAIT!, months later, the printed book arrives and it’s like Christmas! You get excited all over again, go nuts with your arrow flags, and bring an advanced copy home to (finally) commit to the task.
You make many, many snacks (or smoothies, or one-pot dinners, or whatever the subject may be) and declare how much you love your job, and your authors. You text your coworker friends, email your author your thanks, and decide to write a post on your blog about it all, which, ironically, is probably how you came across the book idea/author in the first place (yep, a blog).
That was a fun ride, wasn’t it? #booklyfe
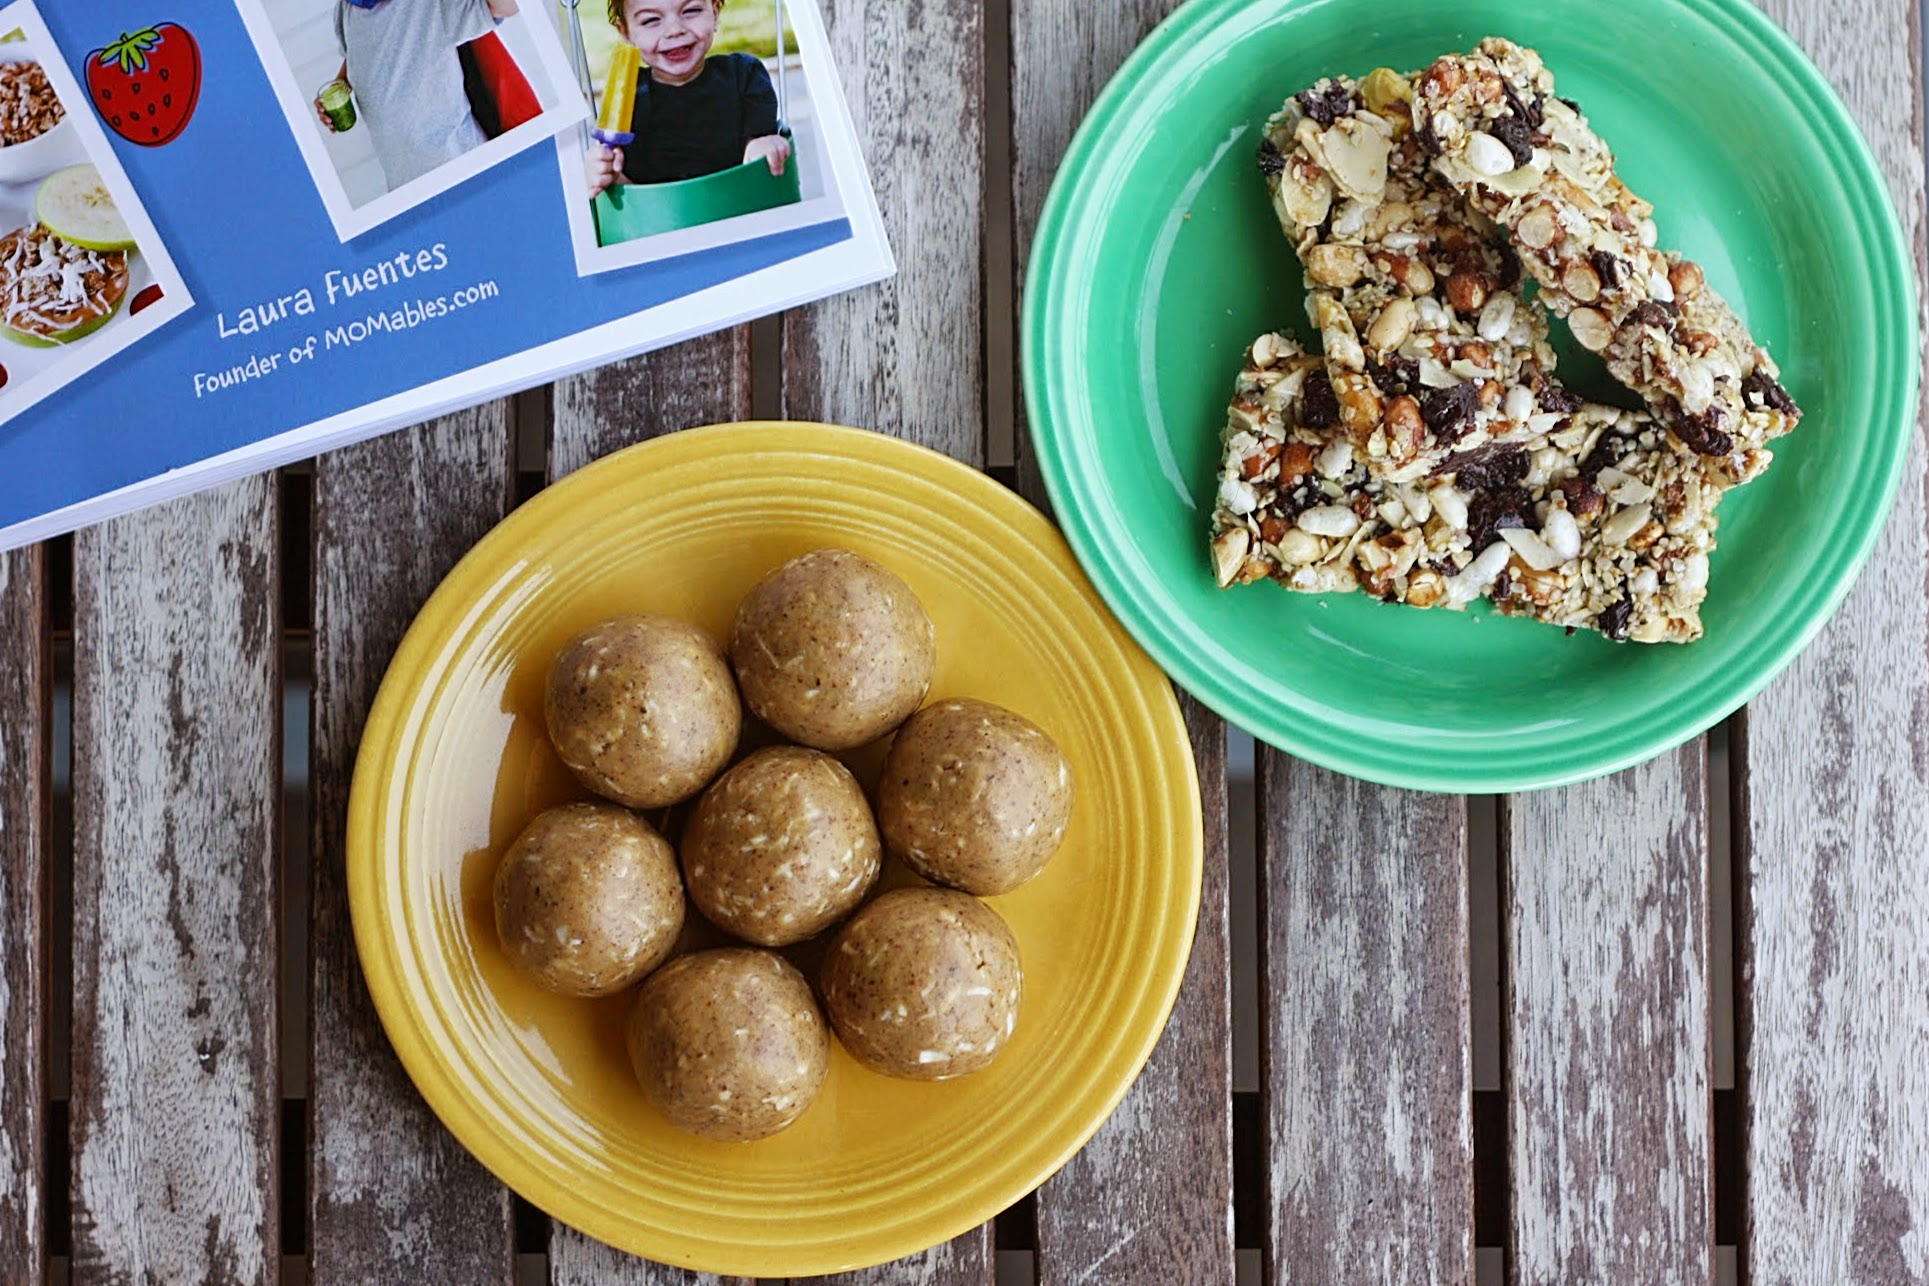
So back to the snacks. They come from a new book called The Best Homemade Kids’ Snacks on the Planet (yes I realize the title is wicked long—it is part of a series). The author, Laura Fuentes, and I are now working on our third book project together, which pretty much puts us in best-bud territory. Laura’s recipes are awesome, and the photos she and Alison Bickel churn out are amazing. Do I sound like a proud parent? Well, I am. Sometimes you have to gloat.
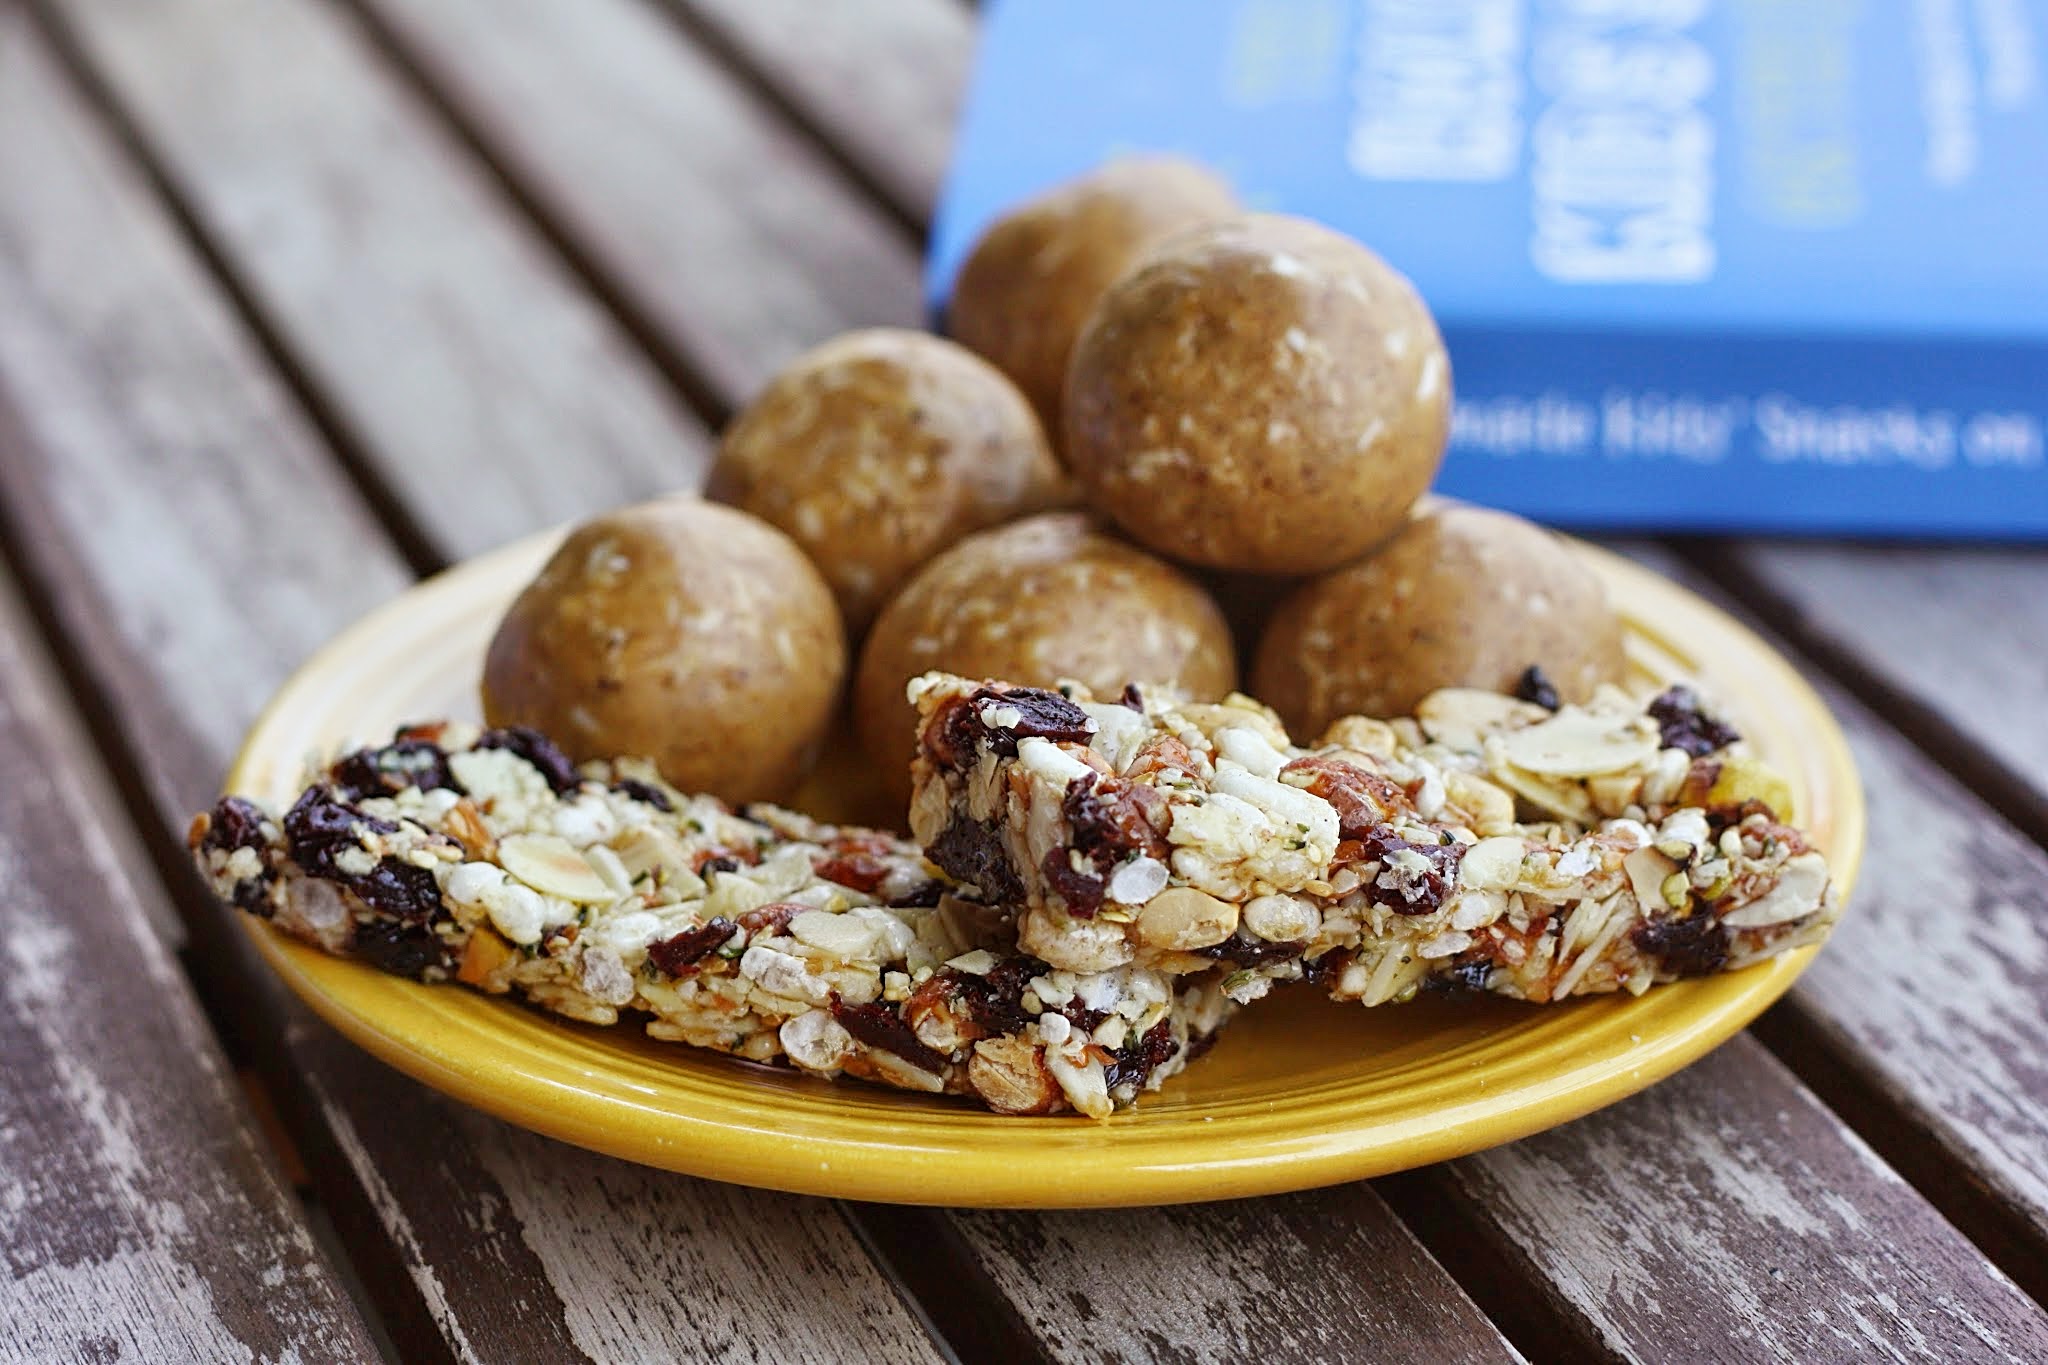
After finally getting my hands on a copy yesterday (there are quite a few of us fighting over them), I picked two recipes to make for myself. This was not an easy decision as 1) I LOVE snacks, a fact you may remember from this post, and 2) I was starving so all of the recipes seemed to be calling my name. I finally settled on one one super-simple, no-bake recipe (cookie dough balls) and one healthy baked treat (a granola-type bar). I loved them both so much that I asked Laura if I could share each of them here, and she of course agreed (best buds!).
Whether you’re making them for yourself or your kids, these are quick and easy recipes. They’re also filled with natural ingredients, and are about a zillion times better than the store-bought stuff, from both a taste and a nutritional standpoint. I’ll be making them weekly—until I’m swayed by the rest of my tabbed recipe pages, of course.


No-Bake Cookie Dough Balls
These are actually called “Winnie the Pooh Snacks” in the book, but I felt slightly creepy using that title as I was just making them for myself and thought Suraj might be a bit weirded out seeing a container with that label in the fridge. They’re so good though! Like a mix between a buckeye (minus the chocolate) and peanut butter cookie dough—but with all-natural ingredients. If you’re unsure on the coconut, I’d encourage you to try them anyway, as I didn’t find that flavor noticeable at all. Next time I’m adding a few mini chocolate chips too. // Yield: 8 to 10 balls1/2 cup (112 g) creamy almond butter (I used ¼ cup almond butter + ¼ cup natural peanut butter—definitely recommend)
1/4 cup (85 g) honey
1/2 teaspoon vanilla extract
1/3 cup (27 g) unsweetened, dried coconut
1/3 cup (42 g) coconut flour* (see Note below)
1/2 teaspoon cinnamonIn a medium bowl, combine all ingredients, mixing until they form a ball of dough. If your dough is dry, add a little more nut butter or honey. If it’s too wet, add a little more coconut flour. (Mine was just fine.)
Scoop out tablespoon-size portions and roll into balls.
Place on a plate and serve immediately or refrigerate in an airtight container for up to three days.
Note: Coconut flour is available in grocery stores now, and is a great product to keep on hand. It contains no gluten and no grain, and is low in digestive carbs and high in fiber and protein. It contains only one, all-natural ingredient—coconut—but is actually very subtle (and slightly sweet) in taste, so even if you don’t like coconut, you really can’t detect much of that flavor. And because it’s so high in fiber, you only need a small amount in any recipes calling for it, as it absorbs a good deal of liquid/moisture.
Energy Bars (aka Homemade KIND Bars)
These fruit and nut bars are the perfect cross between a granola bar and rice krispie treat, and remind me a lot of KIND bars (only with fewer ingredients). Light enough for a snack, but still satisfying. Brown rice syrup is available in most grocery stores, usually near the honey. You can swap out pretty much any of the nuts or fruit with what you have on hand, as I did below. Note that when you take them out of the oven, they may seem too soft, but they set up more once they’re full cooled. You can cut them into either squares or bars. // Yield: 8 bars or 16 squares1 cup (110 g) almonds, coarsely chopped (I used blanched, sliced almonds)
1/2 cup (48 g) sunflower seeds, chopped (I used a mix of hemp seeds, sesame seeds, and crushed peanuts instead, as I didn’t have sunflower seeds)
1/3 cup (6 g) crisped brown rice cereal (I used plain puffed white)
1/4 cup (35 g) raisins
1/4 cup (35 g) dried blueberries (I just used ½ cup chopped dried cherries for the raisins/blueberries)
1/8 teaspoon sea salt
1/4 teaspoon cinnamon
1/3 cup (115 g) brown rice syrupPreheat the oven to 325°F (170°C). Line a square baking pan with parchment paper. (I greased it with a little coconut oil first so the paper would stick.)
In a large mixing bowl, combine almonds, sunflower seeds, brown rice cereal, raisins, blueberries, sea salt, and cinnamon. Pour brown rice syrup over nuts and fruits, using a spatula to evenly distribute the syrup throughout.
Pour mixture into baking pan. Place a second piece of parchment or waxed paper on top of mixture and press down to compact ingredients (I just used wet hands). Remove the top layer of paper.
Bake for 20 to 22 minutes, or until the bars begin to brown around the edges. Remove from oven and cool to room temperature.
Using excess parchment paper as handles, lift the bars out of the pan and place on a cutting board, paper side up. Peel off paper and cut into bars or squares. Store extras in the fridge. I like to wrap them individually in waxed paper so I can pack them in my lunch bag.

Thank you for sharing your thoughts and the recipe! Of course, we ARE #bestbuds by now! my friends are begging for pre-sale copies… and they are non-existent Ha! I’m so glad you like the recipes 🙂
LikeLike
Hoooray! I am so glad you loved the recipes! I can totally relate with bookmarking tons of recipes and forgetting about them by dinner time. That’s the story of my life!
OH! and yes. #bestbuds. 🙂
LikeLike