If there is one thing that you will always find stocked in our freezer, it’s bread. Right now, we’ve got a loaf of regular wheat (this King Arthur recipe is a favorite) and three kinds of sourdough: Amish rye, sandwich-style multigrain, and sesame. I also have a loaf of fruit & nut on my to-do list. We really like toast around here.
Baking bread is my yoga. It calms me, it focuses me, and it fulfills me. It’s a process that takes time, but rewards you infinitely for the commitment.
More often than not, the bread I bake is made using a sourdough starter rather than store-bought yeast. What is a sourdough starter? It’s basically just a mixture of flour + water that has sat out over time, acting like a net and collecting all the healthy microbes and yeasts from the air. It’s “wild yeast” by definition and it’s super healthy for us because it is made up of good bacteria (yes, there is such a thing), which is essential for healthy digestion as well as our health overall. You’ve heard of probiotic foods, right? Well, sourdough is one of the best.
If you are someone who would much rather just buy sourdough bread than bake it, that’s fine too! Just be sure to look at the ingredients. The label should say: “flour, water, and salt” and possibly “sourdough starter” or “natural culture” (which, again, is just flour + water but some people include it). It should not contain yeast. Most local bakeries have a true sourdough—just ask!
Here are few more facts if you’re keen to learn more:
- Sourdough bread is healthier than regular (yeast) bread because it is fermented. Sourdough starter helps break down the many of the nutrients found in flour that our bodies cannot access otherwise. You know those microbes I just mentioned? Well, they’re responsible for eating all of the “anti” nutrients in the flour, and their pre-digestion in turn makes your digestion of the bread a breeze—they do the work for you, quite literally (those holes you see in the crumb are, in fact, their handiwork). The longer the bread dough sits/ferments before baking, the more work they can do, and the better the final bread is for you. This is why a lot of people find true sourdough bread easier on their stomachs than any other type of bread. Many people with gluten issues can even tolerate it.
- Sourdough baking is the traditional way of baking bread, one humans have relied on for at least 6,000 years. Commercial yeast is a very, very new thing; sourdough bread is ancient. I like to trust our ancestors. Pretty sure they wouldn’t have spent days carefully making their breads if there wasn’t a good reason for it.
- Sourdough tastes better. Sourdough breads have a much deeper flavor. I know some say they don’t like the sourness, but this certainly varies by recipe, and I also truly believe it’s one of those tastes that builds on your palette over time (seriously, does anyone like coffee the first time they try it? same kind of thing). Suraj, my partner, can definitely attest to this. The first few slices he wasn’t completely sold, but he now happily eats an egg sandwich on sourdough sandwich bread almost every morning.
- It’s exciting! I feel so empowered when I see my dough rising and take my finished loaf out of the oven. “Look what I did! With only air!” Harnessing the natural, wild yeast in our environment to create food is just such an extraordinary, ordinary idea, isn’t it?
- It’s easy. I realize this sounds hard to believe, but it’s true. Sourdough requires only three ingredients: flour, water, and salt. Oh, and time. That’s it. The techniques—resting, folding, shaping, etc.—can all be adapted based on what works best for you and your schedule. It’s really hard to mess up.
“In the long slow fermentation that produces sourdough bread, important nutrients such as iron, zinc and magnesium, antioxidants, folic acid and other B vitamins become easier for our bodies to absorb. Diabetics should note that sourdough produces a lower surge in blood sugar than any other bread: in a 2008 study published in Acta Diabetologica, subjects with impaired glucose tolerance were fed either sourdough or ordinary bread: the sourdough bread produced a significantly lower glucose and insulin response. In the sourdough process, moreover, gluten is broken down and rendered virtually harmless. In one small Italian study, published in the journal Clinical Gastroenterology and Hepatology, in January 2011, celiac patients fed sourdough bread for 60 days had no clinical complaints, and their biopsies showed no changes in the intestinal lining.” —The Guardian
I’ve maintained my sourdough starter for a few years now, which I first purchased from King Arthur (uh, can you tell I like them?). I’ve since learned I could have just as easily made one on my own (see link here), but whatever, it was $8 well spent.
If you don’t yet have a sourdough starter, I really encourage you to start or buy one (heck, I’ll even mail you some of mine). They are easy to maintain and can just be kept in a jar in the fridge when not in use. That’s where I keep mine, taking it out weekly to feed it a little more water and flour (in equal parts), discarding any extra. There have been weeks where I’ve forgotten to tend to it, and it’s been fine. I see people claim they’ve “killed” theirs, but I doubt this every time. Starters are resilient creatures. They don’t go down without a fight.
When you want to use your starter in a recipe, just take it out of the fridge and feed it every 4 hours or so, until it’s bubbling nicely and doubles in size each time you feed it—after a few feedings, it’s ready to go. I use it to make pizza dough, English muffins, pancakes, waffles, and even cake.
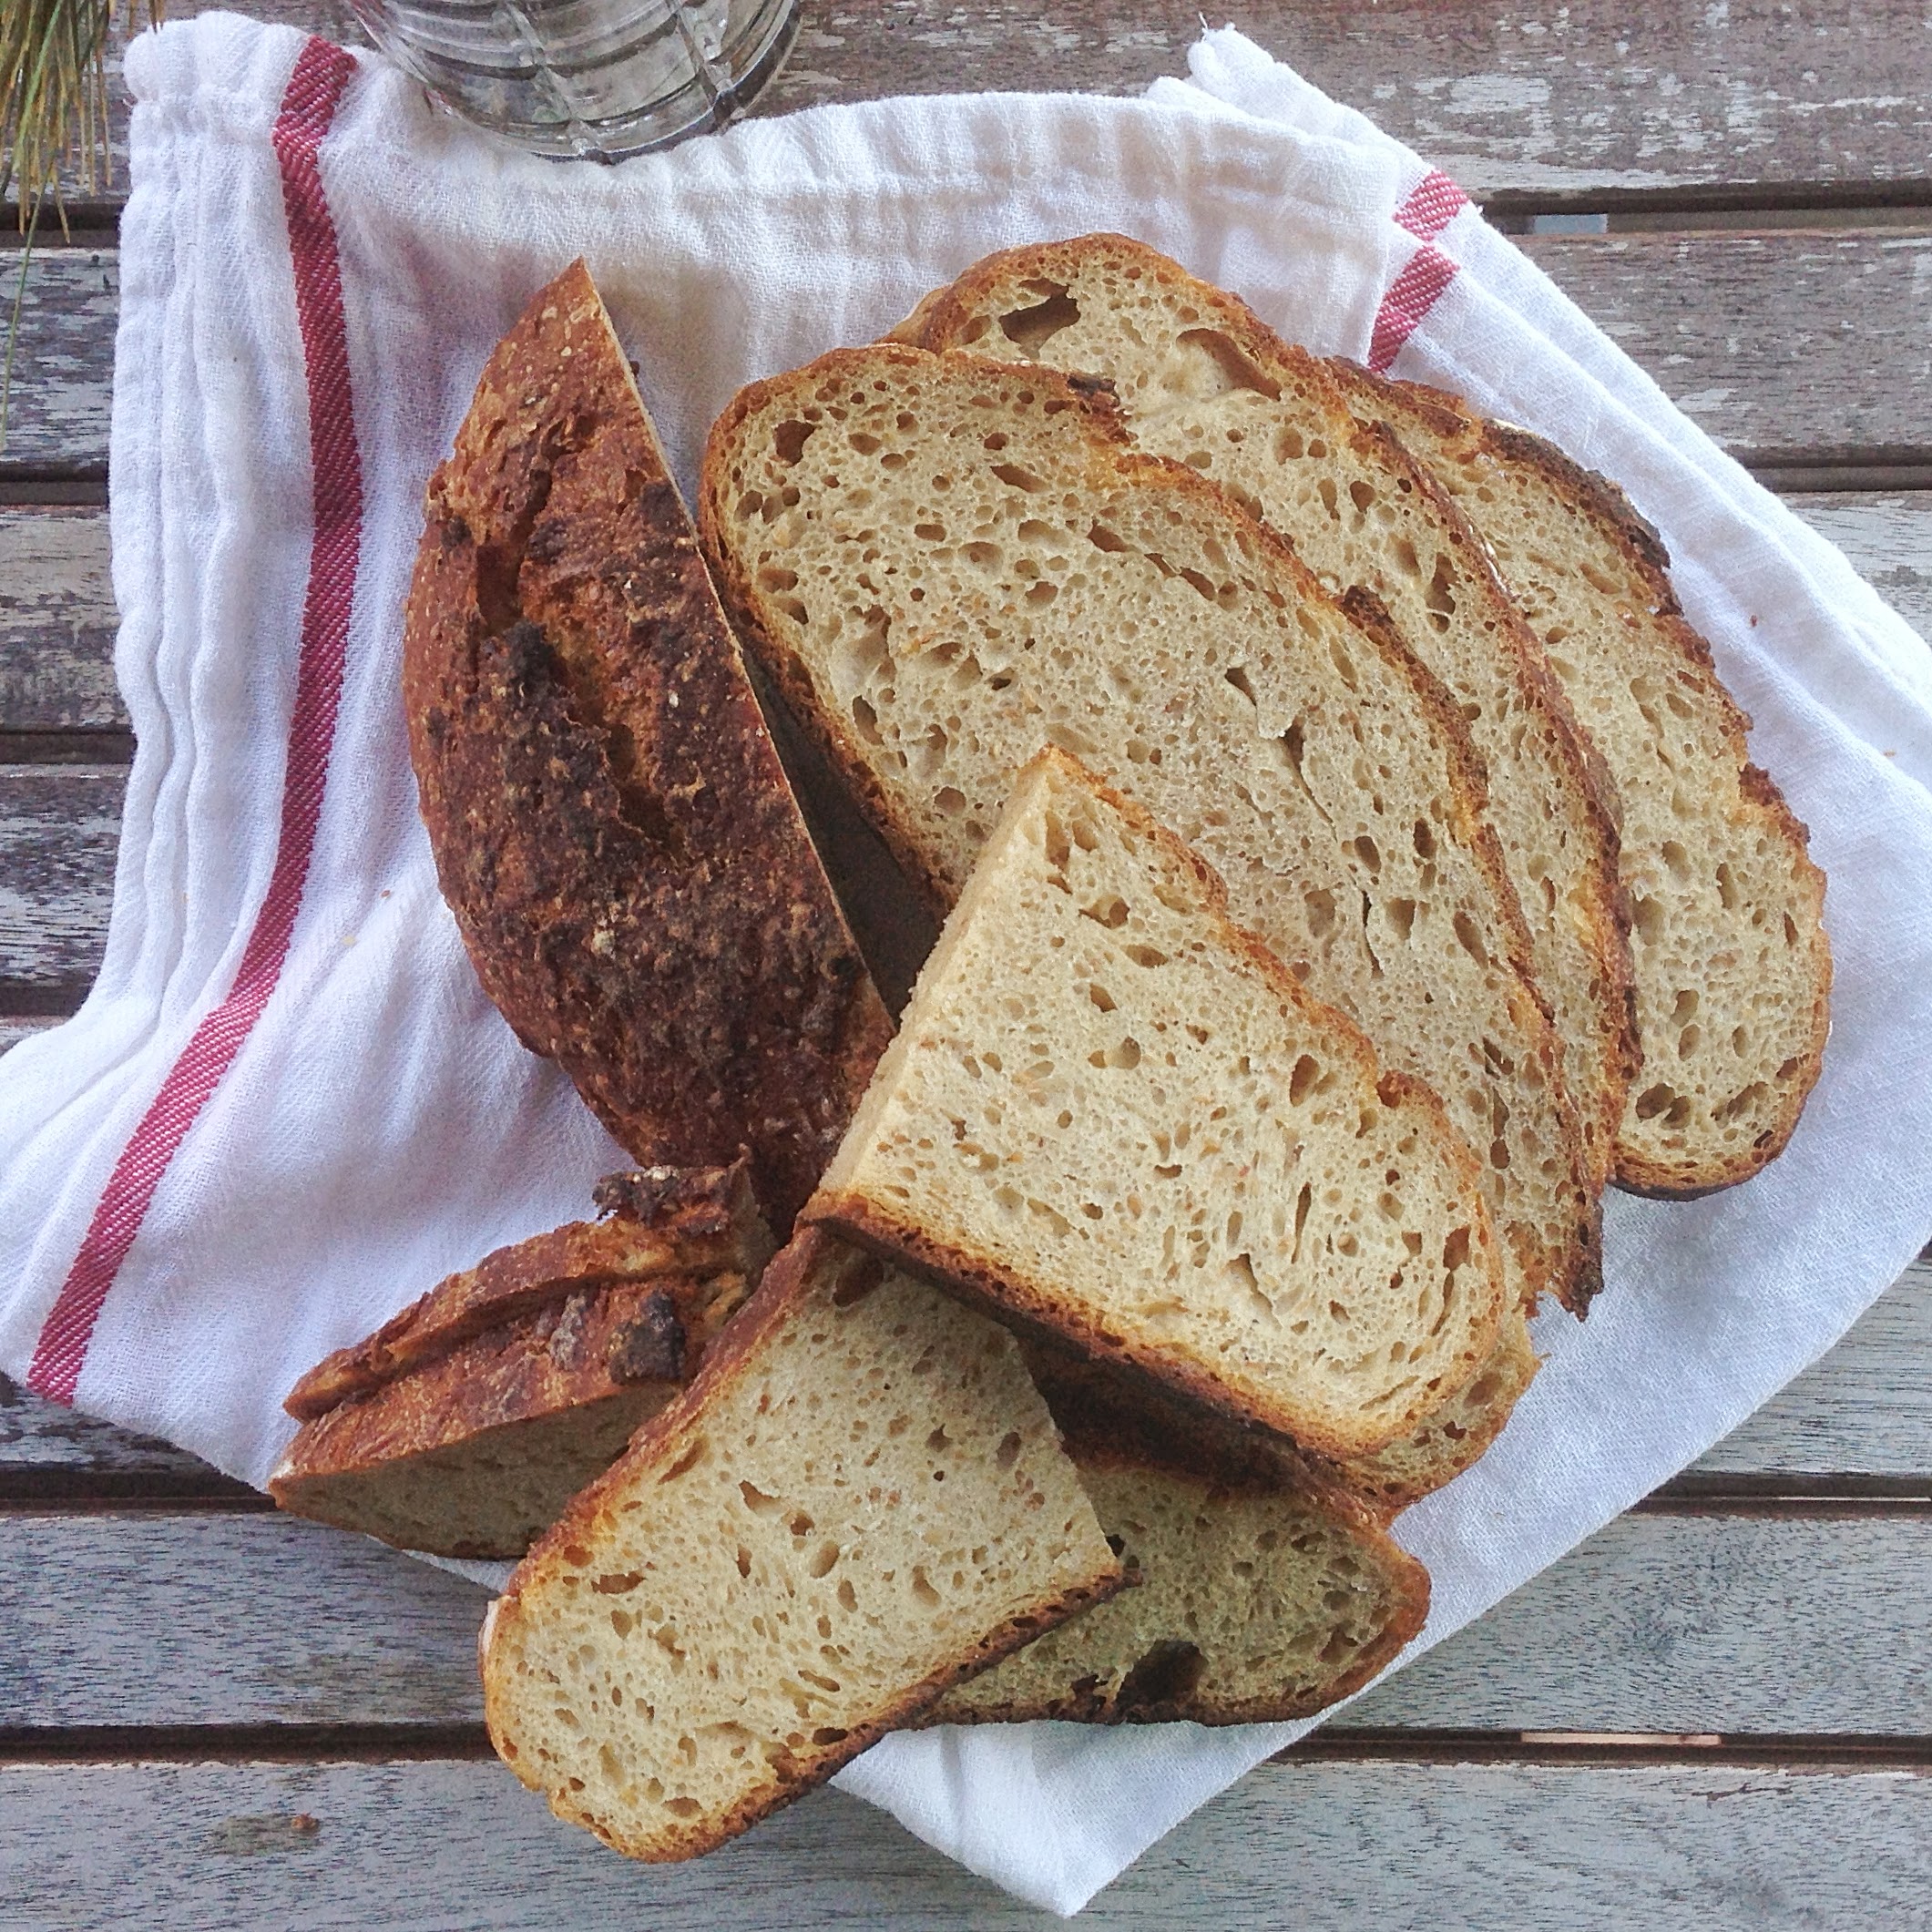
I have quite a few favorite sourdough loaves, but I wanted to share the easiest one with you today: a no-knead sesame sourdough. It’s the one I make when I have no time or energy, but still want to enjoy a fresh, warm loaf of bread the next night at dinner. The whole process takes about 20 hours start to finish, but only about 10 minutes of that is hands-on time. I usually mix the dough together around 9 or 10 pm, then bake it around 6 or 7 pm the next day, when I get home from work
This long fermentation/sitting time makes the final taste and texture of the loaf incredible—deeply nutty from the sesame seeds, with a soft, chewy interior and a crisp crust. Like something you’d get imagine standing in line for for hours at a trendy artisan bakery in San Francisco (not that I’ve done that or anything… ahem…). It’s also destined to be the best toast you’ve ever had; see my two favorite combos at the end of this post.
If you are still on the fence about obtaining a starter or have questions, ask away. You can also just use store-bought yeast in this recipe. It’ll still have great flavor, and about 50 ingredients less than a store-bought loaf. Whatever it takes to convince you give bread-baking a try! I promise it’s worth it.

No-Knead Sesame Sourdough
Adapted from the New York Times’ No-Knead Bread recipe. Note that weight/gram measurements are most precise, but either works. Makes 1 large loaf.
1 cup (5 oz.) white whole wheat flour
2 1/2 cups (11 oz.) white bread flour
1/3 to 1/2 cup white sesame seeds
1 1/2 teaspoons table salt
1 1/2 cups purified water
1/4 cup sourdough starter, or 1/4 teaspoon instant yeast
Dry-roast sesame seeds in a small pan over medium heat. Watch them carefully and stir frequently; it should take around 5 minutes to toast them. You want them to turn a deep golden color and smell fragrant, but don’t take your eyes off them because they can burn very easily. Let cool while you gather your other ingredients.
Combine the flours, salt, and sesame seeds in a large bowl. Mix in water and starter (or yeast) until incorporated; you don’t have to mix it a ton, just enough so that there’s no dry flour remaining. It will look pretty shaggy and messy.
Cover with plastic wrap or a lid and let sit at room temperature for 12 to 18 hours, during which it will do some fermenting and rising. If you’re not a big fan of that tangy sourdough flavor, aim for the shorter (12-hour) timeframe. I like to put my dough in a large (8-cup) Pyrex glass bowl and cover with a lid, then put it up on a shelf in my cupboard. A dark place is best. You could just cover with a towel on your counter too.
After you’ve let it sit, you should see that it’s bubbled up nicely (this is why I like using glass—helps give you a visual of what’s going on in that dough). It will be sticky and a bit wet too.
Lightly flour a work surface and place dough on it; sprinkle it with a little more flour and fold it over on itself once or twice (I found this video super helpful for this). Cover loosely with plastic wrap or a large bowl and let rest on the counter for about 15 minutes.
Using just enough flour to keep dough from sticking to work surface or to your fingers, gently and quickly shape dough into a ball. Generously coat a cotton towel (not terry cloth) with flour or line a bowl with parchment paper (my preference) and put the dough seam side down on the towel or in the bowl. Dust the top with a little more flour. Cover and let rise for 1 1/2 to 2 hours. The dough should rise slightly (more so if using yeast)—it’ll spring up much more once it hits the heat of the oven, so don’t worry about it rising too much here.
At least a half-hour before dough is ready, heat oven to 450 degrees. Put a 6- to 8-quart oven-safe heavy covered pot (cast iron, enamel, Pyrex, or ceramic) in oven as it heats—as always, I use my le Creuset dutch oven.
When dough is ready, carefully remove pot from oven. Slide your hand under towel and turn dough over into pot, seam side up; it may look like a mess, but that is okay. (If you’re using parchment like me, you can just carefully pick up the parchment by its sides and transfer the whole shebang into the pot. The parchment will darken when baking, but it shouldn’t burn—see photo above.)
Cover with lid and bake 30 minutes, then remove lid and bake another 15 to 30 minutes, until loaf is beautifully browned. Cool on a rack. If you can wait until it’s cooled a bit to cut it, the texture will be better, but I understand if you find that to be a ridiculous request.
Eat and rejoice.

Favorite toast #1: salted butter + bitter orange marmalade + tahini + raw honey.
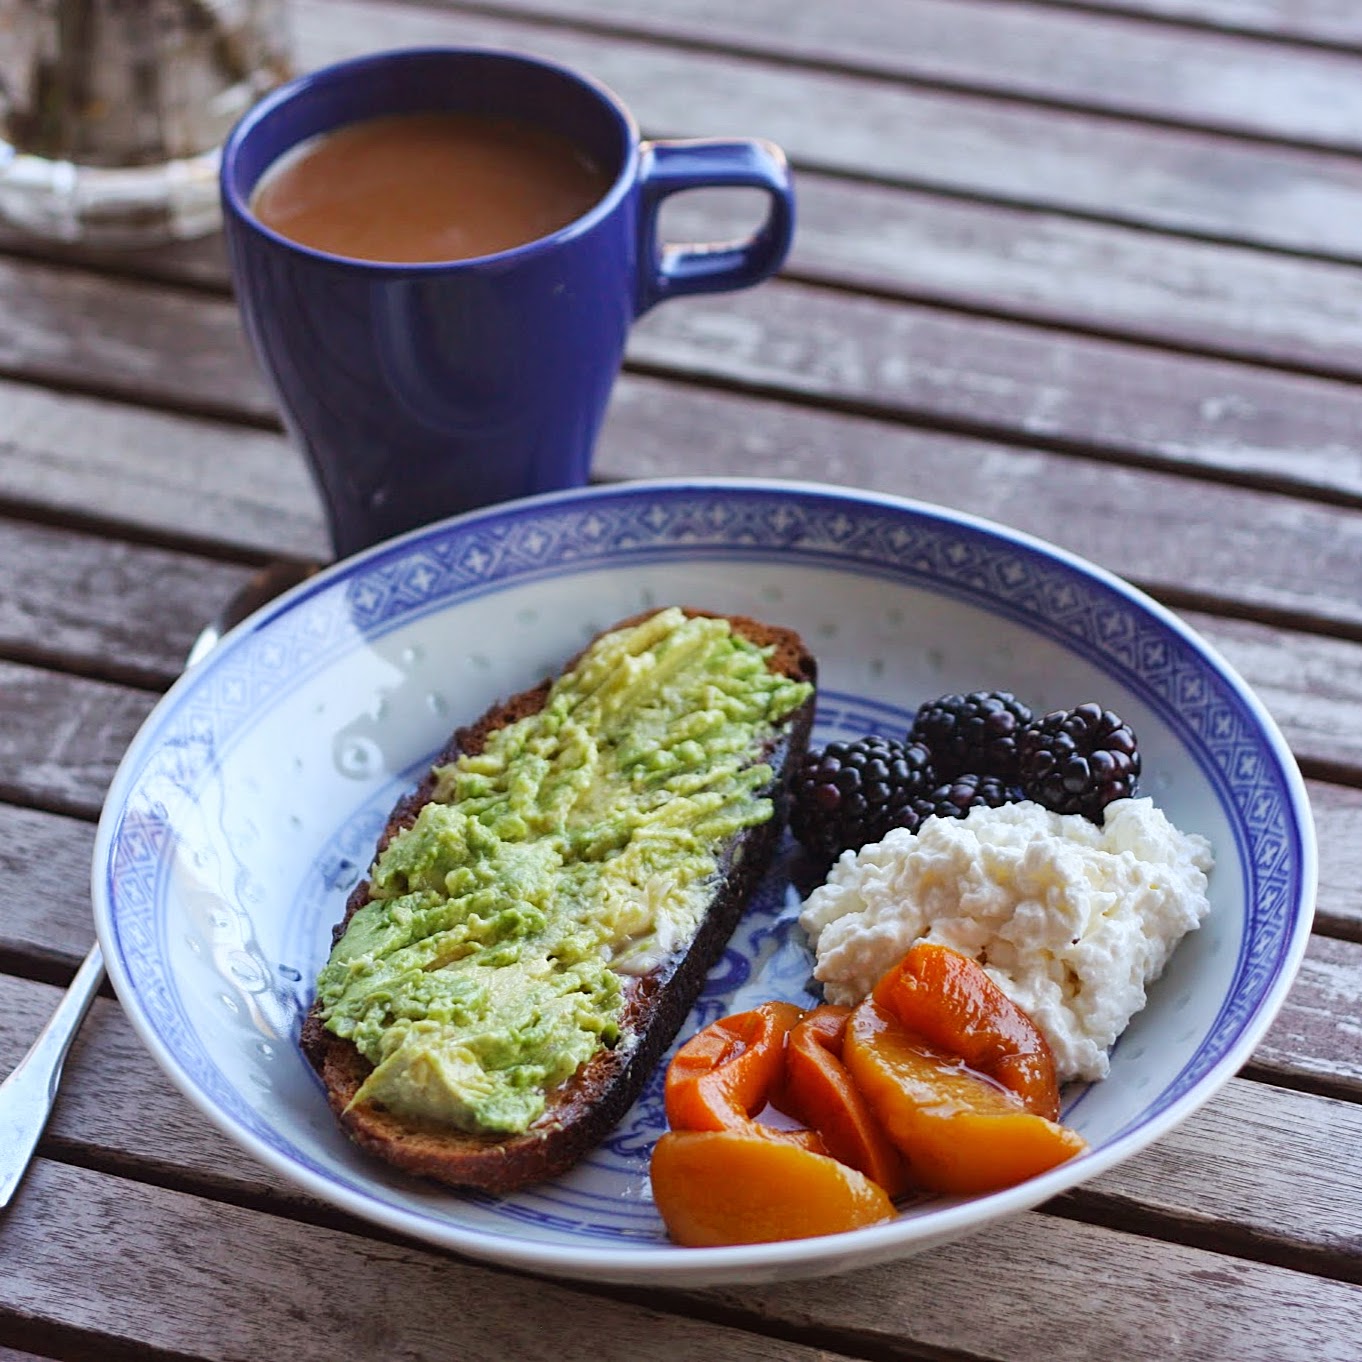
Favorite toast #2: butter + avocado + salt.

Pingback: Sprouted Spelt Chocolate Chip Cookies with Sea Salt | Eat & Edit
Hello Amanda, great blog and lots of useful information! Can you please give the sourdough starter recepie with measurements? Sounds very healthy and delicious and would like to try it out.
Thank you! Meera
LikeLike
Hey Meera! In the post, there is a live link embedded in the part where I talk about making own on my/your own (if you hover over the last part of that paragraph). Here it is in case you can’t find it: http://www.kingarthurflour.com/blog/2012/04/05/creating-your-own-sourdough-starter-the-path-to-great-bread/
I hope you give it a try! We love it 🙂
LikeLike
Pingback: Eating Habits, Part I | Eat & Edit
Pingback: Eating Habits, Part II | Eat & Edit
Pingback: Stollen Bread | Eat & Edit
Pingback: Kefir & The Importance of Fermented Foods | Eat & Edit
Pingback: Ribollita Soup | Eat & Edit