
Have you ever wondered how, no matter what Thai restaurant you go to, the curries taste almost exactly the same? Thai green curry here = Thai green curry there, and so on.
Either there’s some really phenomenal master recipe they all keep sharing, or they’re all using the same (ready-made) curry paste.
Spoiler alert: I’m 99 percent sure it’s the latter.
I certainly don’t blame them though. Curry pastes are a very complicated thing. They require a long list of ingredients, many of which most of us don’t readily have access to (lemongrass, galangal, kaffir lime leaves, etc.), and a good deal of measuring, chopping, blending, pounding, and so on. I remember making one once, and it took me the better part of an afternoon. If the end result had been outstanding, it might have been worth it, but sadly, it wasn’t.
Enter Maesri-brand curry pastes, aka small little tins of magic. I read about them on an Asian cooking blog years ago, and bought a can the next time I was at our local ethnic grocery store, because, to my amazement, it only contained real ingredients. Here is the label for Maesri’s red curry paste: “Ingredients: dried red chilies, garlic, shallot, salt, lemongrass, sugar, kaffir lime, galangal, spices (coriander seeds, cumin, cardamom). Product of Thailand.” Amazing, right? No fillers, no food colors, no things-you-can’t-pronounce. Better still, the flavors will blow you away. It’s restaurant-quality… quite literally.
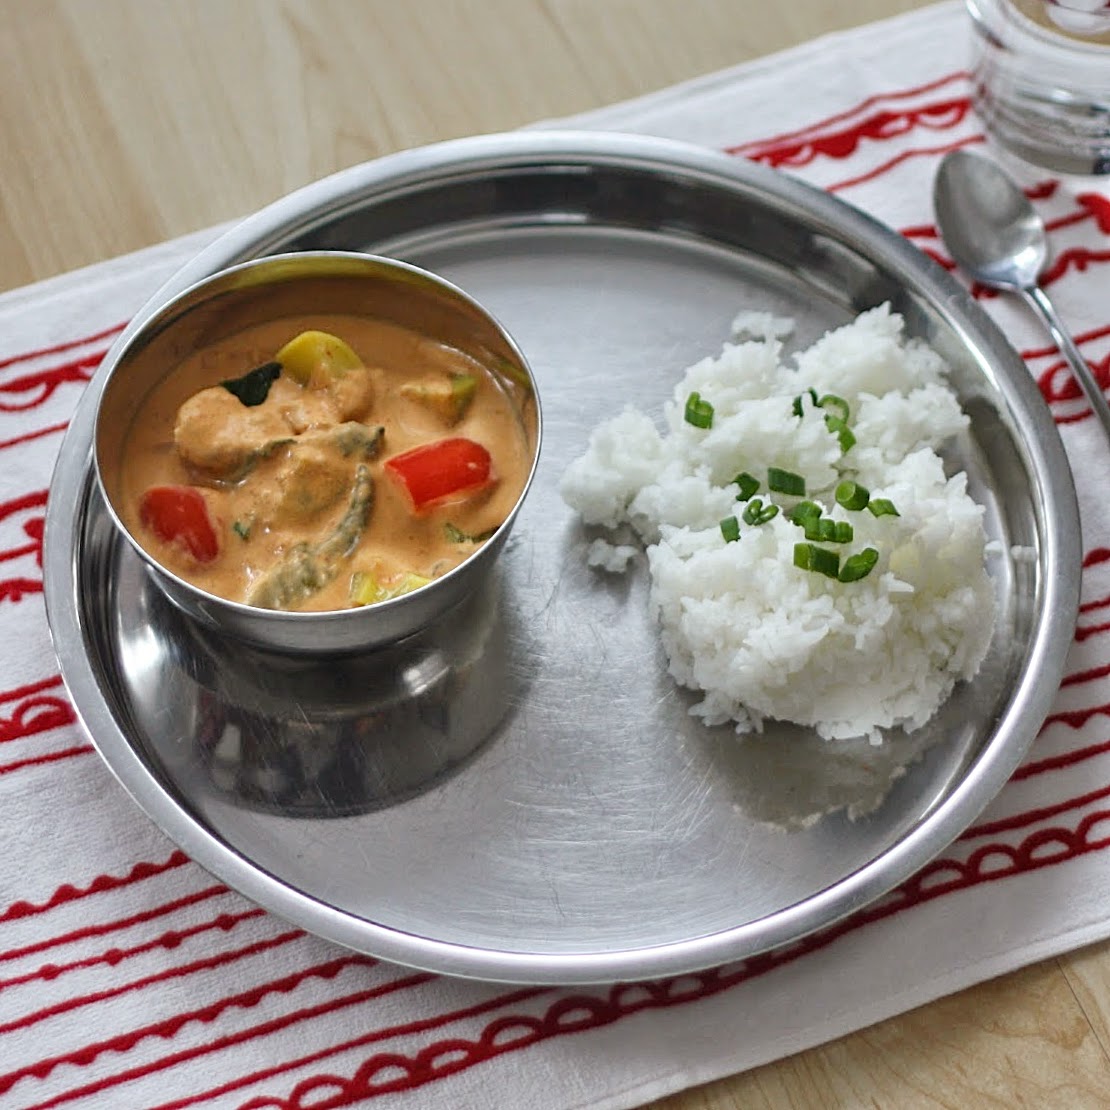
It’s probably already assumed that we eat very few canned/packaged goods in our household, which is true, but we do have a few exceptions: diced tomatoes, coconut milk, and this curry paste. The last two combine to build the foundation of the wonderful Thai red curry recipe below. Add in whatever meat/veg you like, boil up some rice, and in less than 30 minutes, you have one fantastic meal on your plates. It’s one of our weeknight staples. I hope it becomes one of yours, too.
[A note on Thai curry, if you’ve never had one: they are only mildly spicy (nothing close to Indian curries). My best description would be richly flavored, subtly sweet, and creamy. Most people, kids included, enjoy them. Green, red, and yellow Thai curries are three of the most popular. I’ve used red here, but the pastes can easily be interchanged (the red has a very tiny amount of sugar; many of the others do not, such as green). Red and green are our top choices, but there are quite a few different varieties made by Maesri (some of which contain soybean oil, so I avoid those).]
Thai Red Curry
A few notes: You can really use any vegetables or protein you want (or skip that part and make it vegetarian). In other iterations, we’ve used shrimp, mushrooms, water chestnuts, bamboo shoots, and asparagus—all with great success. You really can’t go wrong. As for the coconut milk, I always use full-fat because I love how thick and creamy it is… and because I truly believe that healthy, unadulterated fats are better for you than “skim” anything (if you really want a lighter version though, just use one can of coconut milk + water).
1 small can Maesri red curry paste (here’s what they look like)
1 1/2 to 2 cans full-fat coconut milk (I like Aroy-D brand because it has no preservatives)
1 lb boneless chicken thighs or breasts, cut into one-inch pieces
1 red bell pepper, cut into one-inch pieces
1 yellow zucchini/squash, cut into one-inch pieces
10 baby bok choy, ends trimmed
Scallions, for garnish
Thai basil leaves, torn, for garnish (optional)
Jasmine rice, for serving
Combine the curry paste and 1 1/2 cans coconut milk in a large pot or saucepan, whisking to combine. Bring sauce to a simmer over medium high heat, stirring occasionally with a spatula so it doesn’t scorch.
Once hot, add the chicken pieces and simmer for 20 to 30 minutes. (If you’re using chicken breasts, this will probably take less time. We always use organic chicken thighs because they have more flavor and are absolutely delicious when cooked in sauce or for long periods. Instead of becoming stringy like breast meat, they become mind-bendingly soft and tender. I encourage you to give them a try even if you “think” you don’t like them; I’ve converted quite a few people who were previously on the fence about them). Add remaining coconut milk if you think it needs it.
Once the chicken is done, add all of the vegetables and cook for another 3 to 4 minutes only, until vegetables are just cooked, but still have their color and a little bite. Add salt if you think it needs some.
Garnish with scallions and serve hot with rice.
My favorite way to cook jasmine rice: Rinse grains thoroughly and soak in water for 15 to 30 minutes, while you’re preparing the rest of your meal. –> Bring a large pot of water to a boil. Add drained/soaked rice and boil for 10 minutes, just as you would pasta. –> Drain and return rice to pot. Cover and let sit/steam for a few minutes. Serve hot.

Eating our way through Bangkok, Thailand in 2011. Any country where street food is the food is a country for me.

Pingback: Eating Habits, Part II | Eat & Edit