
Several years ago, when I first started researching/learning about fermented and cultured foods, I came across a few articles about kefir, an ancient probiotic dairy drink similar to yogurt but, reportedly, even better for you.
Curiosity piqued, I picked up a bottle from the store and used it to make a smoothie. The flavor was great—tangy and slightly effervescent. Moreover, I liked how it made my stomach feel: settled and refreshed. While I had never thought of myself as someone with digestive issues or sensitivities, I did regularly feel like I had too much “air” in my stomach after eating (I really can’t think of a better way to describe it—just kind of like there were air bubbles between my rib cage or something). It was a little uncomfortable, but I honestly didn’t think it was related to what I was—or, in this case, wasn’t—eating.
But the more I drank kefir, the less the cramps seemed to happen. As I started having it daily, and making it myself rather than getting it from the store, I noticed that everything became more regulated with my digestion—no cramps/constipation/gas /bloating/nothing. I felt completely cleansed. Was this really the work of fermented food?
I am inclined to think so. Kefir was the only change I made to my already healthy diet at that point in time, and the bloating symptoms that I thought were just part of everyday life disappeared completely. Many others that I have passed on my kefir starter to have reported similar benefits.
So what are fermented foods, and how do they perform magic like this? Simply put, fermented foods are living foods rich in the microbes that our bodies need to function and thrive. Just like there is bad bacteria, there is good bacteria, and this is what fermented foods contain. These “good guys” go after the bad bacteria (and other nasty stuff), help balance out your digestive system, keep your immunity up, stave off disease, and much more. Research is only just beginning to discover all of the intricate and powerful work that microbes do.
To our misfortune, however, the amount of good bacteria (probiotics) we consume has declined sharply over the last few decades. Why? Because we over-sanitize. We ultra-pasteurize. We eat processed, dead food instead of the real, living stuff like plants. And we have let go of the age-old practices of fermentation that were once seen as vital to diet and life. Sauerkraut and pickles, for example, which were traditionally made using salt + time (the two keys to fermenting vegetables) are now made with vinegar, a shortcut technique that mimics the same “tangy” taste, but takes away all the benefits of real fermentation.
Bacteria has somehow become a bad word in our society, when in reality, it’s a vital life force.
One of the ways we can get ourselves back into balance is by adding fermented foods to our everyday diet. These foods are nothing to be scared of. Fermentation is just a process that transforms one food into an even more nourishing one. Think of cabbage → sauerkraut, cucumbers → pickles, grapes → wine, or milk → yogurt/cheese/kefir. This process, called lacto-fermentation, enables natural (healthy) bacteria to feed on the sugar and starch in the food, which in turn creates more enzymes and vitamins, breaks down difficult-to-digest food components, and makes minerals in the food more available for your body to assimilate. It also preserves the food so it can be kept longer. Magic, I tell ya!
My favorite fermented foods are sauerkraut/fermented vegetables, yogurt, kvass, kombucha, sourdough, and of course, kefir. I make most of these foods at home because I find it both simple and gratifying. It’s also much less expensive than buying them at the store, but that’s certainly fine too if you would rather! Just be sure to inspect your labels carefully. You want to see some mention of the product being “probiotic,” “naturally fermented,” “cultured,” and/or with “live and active cultures.” Going back to the pickles I mentioned earlier—most are indeed made using a shortcut version (i.e., vinegar), but you can find the real, fermented thing if you look around. A true fermented pickle will only contain cucumbers, salt, water, and maybe some spices. Here is a good example: Bubbie’s Kosher Dills. Just scroll to the bottom of the linked page and check out the label. See the simple ingredients, and the mention of “live cultures”? That’s a winner. Pickles like this can increasingly be found at health food stores, and farmers’ markets too.
As for kefir, you can either buy it from the store—in which case I would encourage you to just get the whole milk, plain variety, not the flavored stuff—or you can buy some kefir grains online and start making it yourself. The kefir grains, which look a little bit like cottage cheese, are just the “live and active cultures” you need to ferment the milk—the term “grain” just refers to their appearance; they are in no way related to wheat grains.
The process for making kefir itself is dead easy: You put your grains in a jar, add milk, cover, and let sit on your counter for about 24 hours, until you see the milk start to separate a bit and thicken. Then you just strain out the grains and your milk is now → kefir!
Homemade kefir is typically more potent than store-bought, and of course fresher. Better still, the grains can be used over and over again, and stored in the fridge in some milk when not needed. You can drink the kefir itself plain/as is, put it in smoothies (my favorite use), strain it to make “kefir cheese,” or even use a few tablespoons to soak your oats, grains, or nuts (as I covered in this post; you just sub kefir for the apple cider vinegar, as it does the same thing).
Whether it’s kefir, or sourdough, or something else, I encourage you to experiment with whatever fermented foods you think you’ll like best, and branch out as your taste for them grows, which it surely will (I still can’t believe how much I’ve grown to love sauerkraut). Start trying these foods in small doses, as they can be quite powerful—especially for those with any imbalance—and increase as you feel ready. Over time, your stomach and digestion should start acclimate and improve for the better …because, of course, you’ll be letting the good guys win!


Homemade Kefir
What you’ll need:
Kefir grains
Milk, preferably organic and whole (avoid “ultra-pasteurized,” which will not work)
Glass jar, plus a small cloth and rubber band to cover
Strainer
Bowl
- Kefir grains are live, active cultures that look like little pieces of cottage cheese or tiny cauliflower (see photo above). You can buy them online or get some from a friend if you’re lucky enough to know anyone who has some. You can also try to finding a Facebook fermentation group (I belong to one called “Boston Culture Sharing”) to see if people in your area are willing to giving away any for free. Craig’s list is a good resource, too; I’ve sold quite a few starters (sourdough, kombucha, kefir, etc.) there. If you just want to buy online, I suggest either Cultures for Health or the Kefir Lady, which is where I got my grains years ago.
- When you get the grains—you’ll probably have about teaspoon or so—place them in a strainer and rinse with filtered water.
- Put the rinsed grains in a glass jar and cover with about one cup of pasteurized milk—I use whole, organic, pasteurized milk. DO NOT use ultra-pasteurized milk. It is too “dead” for the grains to ferment.
- Cover the jar with a cloth and secure with a rubberband. Allow the jar to sit at room temperature for about 24 hours; you can stir it once or twice if you like but it’s not necessary. The milk will be undergoing fermentation during this time, a safe process that can only happen at room temperature, not in the fridge. Have a little faith in the safety of this—kefir dates back centuries! (Legend has it that Mohammed gave kefir grains to the Orthodox people and taught them how to make kefir. It is still widely consumed today throughout Eastern Europe and Asia.)
- You’ll know the kefir is done when the milk doesn’t swish around when you move the jar. It will seem thick toward the top, and you may also see small pockets of whey (clear yellow liquid) start to separate out—that’s a tell-tale sign it’s ready (see first photo in series above). If you see more whey than milk, you have let it ferment a little too long. It is totally safe to consume, but will just be a bit more tangy.
- Place a strainer over a large bowl and dump the contents into it. The resulting (strained) liquid is your kefir, and the grains in the strainer are now ready to be used again. Place them back in the (rinsed out) jar, cover with fresh milk, and repeat the process.
- Use the strained kefir right away, or refrigerate until needed. It lasts for weeks, if not longer, in the fridge (though it does get more tangy over time, as fermentation slows, but doesn’t stop completely).
- For smoothies: Blend kefir + whatever fruit/veg you like in a blender or food processor. I find that the best smoothies always have at least some frozen fruit in them, which makes everything extra thick and creamy once blended. My favorite is 1 frozen banana + 3/4 cup wild frozen blueberries + 2 cups kefir (and sometimes a scoop of this Green Superfood powder). If the mixture looks too thick, just dilute with milk, water, or, my favorite, coconut water.
- Consume smoothies immediately, or within a few hours at most. Real kefir is so alive that it will begin feasting on the sugars in the the fruit pretty quickly, so after a few hours, most of the smoothie’s sweetness will be gone. I always drink immediately.
Some Final Notes
–The kefir grains talked about in this post are also known as “milk kefir grains.” They can ferment dairy as well as non-dairy milk (such as coconut milk, which is excellent). “Water kefir grains” are different and are used to culture sugar-water instead of dairy. They can be found online at all of the places listed above. I’ve experimented with them, but prefer kombucha over water kefir in terms of non-dairy, fermented drinks.
–Avoid using any metal utensils or bowls when making kefir, as it can react negatively and produce off-tasting flavors. (A metal strainer is fine since you’re only using it for a minute.)
–Your first batch of kefir may take a bit more time to ferment, as the grains need to adjust and acclimate to your house and the milk you’re using.
–Your grains will grow in size and multiply as you keep using them, and as they do, they will be able to culture larger amounts of milk. A tablespoon of grains can culture at least 2 to 3 cups, sometimes more. If you find you can’t keep up, just give some grains away or discard a bit.
–If your kefir is too strong for your liking, try fermenting for only 12 hours, or add some fresh milk to an over-fermented batch and let things balance out. It takes some experimentation to get it how you like it.
Favorite Kefir Smoothie Flavors
Note that pineapple is the only fruit I’ve found that doesn’t seem to go well with kefir. Everything else is great (especially frozen banana—essential for ultra creaminess!).
♦ frozen banana + fresh or frozen strawberries or cherries + dash of vanilla or almond extract
♦ frozen or fresh banana + ½ really ripe avocado + honey
♦ frozen banana + 1 knob fresh turmeric + juice of one orange + honey (pictured at the top of this post)
♦ frozen mango + strawberries
♦ frozen mango + fresh banana (or vice versa on the fresh/frozen) + juice of one orange
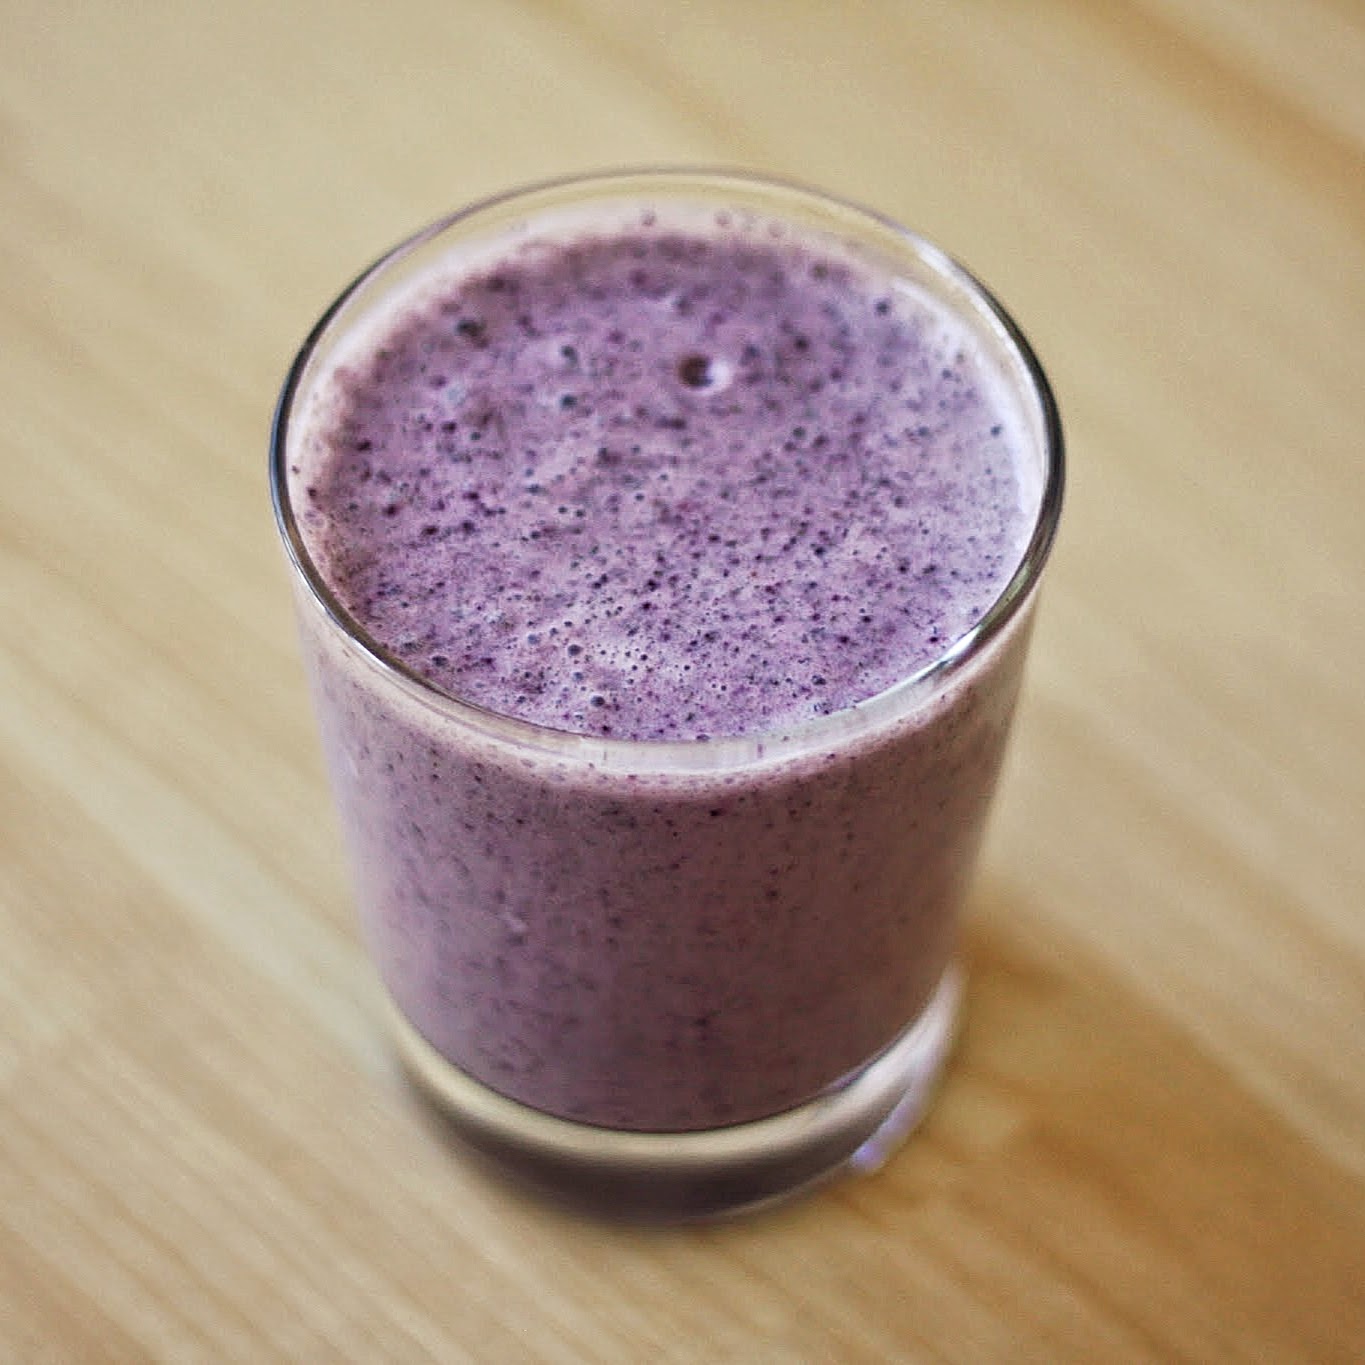
♦ frozen banana + frozen wild blueberries (pictured below)

I need some more kefir grains, please!!!!
LikeLike
Thanks for this post–I’ve been curious about making kefir for a while, and your clear instructions and pics have made me feel more confident. I’ll have to try it soon!
LikeLike
So glad you found it useful! It’s really easy once you get the hang of it. And so good too!
LikeLike
This is great!! I’ve been taking probiotics in generic pill form, I ran out the other day and my stomachs has been in a knot ever since. I started thinking that the pills aren’t so good and maybe shouldn’t be so dependent on them. I make smoothies every morning so I’m going to try the kefir from the store first to make sure i like it. Then maybe try my own. Really great instructions!!
LikeLike
Pingback: Homemade Breakfast Cereal | Eat & Edit